Introduzione
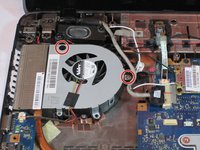
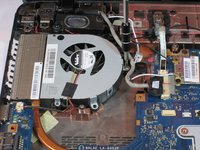
If your computer seems consistently hot, please check the troubleshooting guide to determine if you might have a faulty fan. If find that your fan is clogged, or broken, and not working, this guide will show you how to dismantle the back panel and the other parts of the laptop in order to reach the fan. Keep in mind, this removal process is rather difficult, and should not be attempted alone if you are not comfortable with removing components from your laptop.
Cosa ti serve
-
-
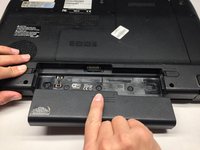
Remove the single captive screw on the back panel with your Phillips #1 screwdriver.
-
-
-
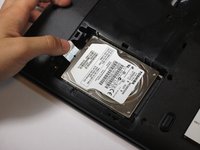
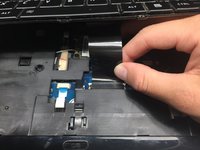
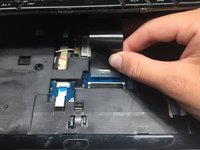
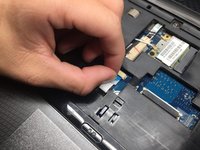
Slide the hard drive to the left, using the silver tab.
-
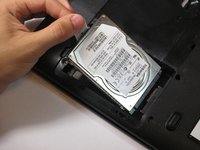
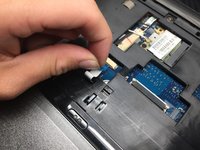
Pull up the silver tab, removing the hard drive from the slot.
-
-
-
-
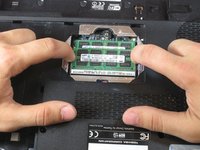
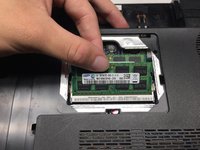
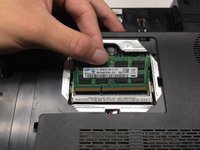
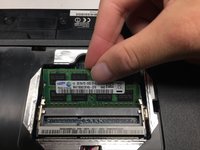
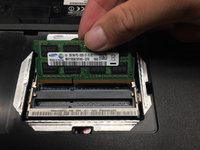
Using your fingers, spread the spring tabs holding the top stick of RAM in place.
-
Once the tabs are spread apart, the stick of RAM will pop up.
-
Remove the first stick of RAM by pulling out along the same angle the RAM stick springs up.
-
-
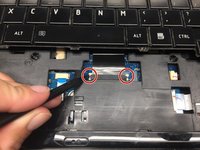
Attrezzo utilizzato in questo passaggio:Heavy-Duty Spudger$4.99
-
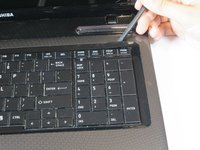
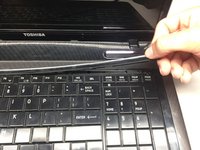
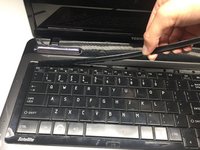
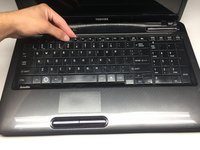
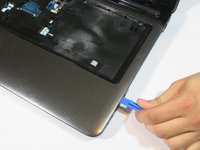
Pry under the plastic strip, starting on the top right side of the key board with a Heavy Duty Spudger.
-
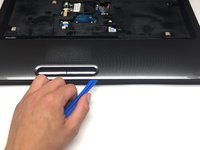
Once the first corner is raised, use your hand pulling upwards and release the rest of the strip.
-
-
-
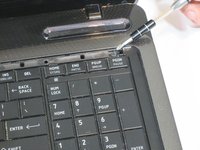
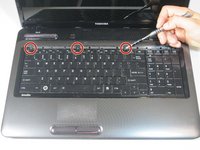
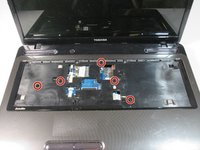
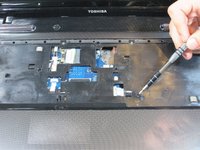
Remove the following screws with a Phillips #1 screwdriver.
-
Seventeen 5mm screws (recessed)
-
Three 2mm screws in the battery bay (flush-mounted)
-
Single 5mm screw does not need removal unless working on the screen
-


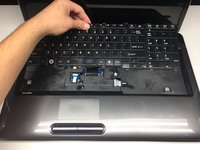


To reassemble your device, follow these instructions in reverse order.
To reassemble your device, follow these instructions in reverse order.
Annulla: non ho completato questa guida.
Altre 3 persone hanno completato questa guida.
Team

UC Davis, Team 2-2, Oliver Fall 2016 Membro di UC Davis, Team 2-2, Oliver Fall 2016
UCD-OLIVER-F16S2G2
5 Membri
10 Guide realizzate