Introduzione
Questa guida dovrebbe essere usata se stai avendo problemi con lo schermo,
Problemi comuni sono l'impossibilità di non visualizzare nulla sullo schermo, o problemi con lo schermo stesso, come lo schermo tremolante.
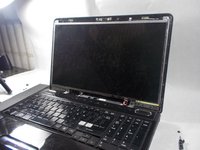
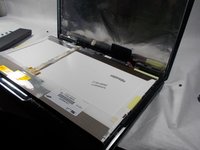
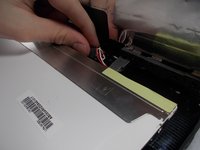
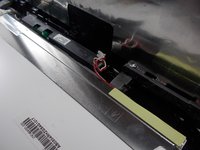
Questo processo richiede la rimozione della custodia anteriore, nonché un po' di lavoro sui cavi e la rimozione di alcune viti.
Cosa ti serve
-
-
Capovolgi il computer in modo che la parte inferiore sia rivolta verso l'alto.
-
Fai scorrere l'interruttore destro sopra la batteria in modo che sia nella posizione rivolta verso destra.
-
-
-
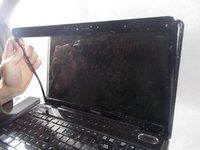
Aprirlo dalla posizione frontale.
-
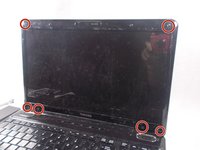
Rimuovi i copriviti dalla custodia protettiva.
-
Rimuovi le viti M2 5x6 mm che si trovano sotto i copriviti rimossi utilizzando un cacciavite Phillips #0.
-
-


Per rimontare il tuo dispositivo, segui queste istruzioni in ordine inverso.
Per rimontare il tuo dispositivo, segui queste istruzioni in ordine inverso.
Annulla: non ho completato questa guida.
Un'altra persona ha completato questa guida.
Un ringraziamento speciale a questi traduttori:
100%
Patrolea Maria Lorena ci sta aiutando ad aggiustare il mondo! Vuoi partecipare?
Inizia a tradurre ›
Team

UMass Dartmouth, Team S4-G2, Covino Spring 2018 Membro di UMass Dartmouth, Team S4-G2, Covino Spring 2018
UMASSD-COVINO-S18S4G2
2 Membri
7 Guide realizzate