Introduzione
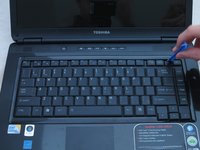
Use this guide to remove or replace the screen in your Toshiba Satellite L305-S5946. This may be necessary if the screen is blank when the computer is on.
Cosa ti serve
-
-
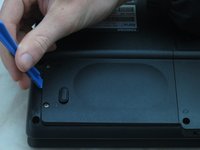
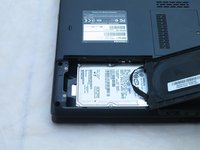
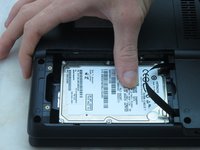
Loosen the two captive screws on the bottom left corner of the hard drive using a Phillips #1 screwdriver until you hear a click.
-
-
-
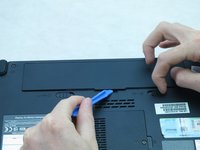
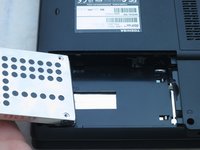
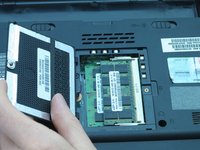
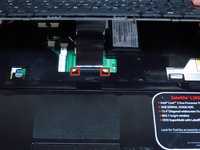
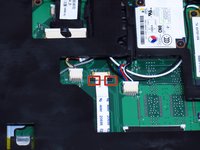
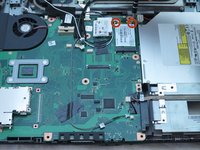
Using a Phillips #1 screwdriver, turn the screw on the RAM cover until you hear a click.
-
-
-
-
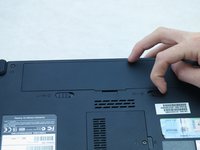
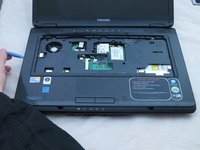
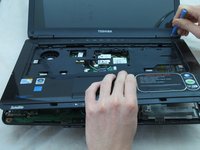
Place the laptop upside-down with the display hinges facing away from you.
-
-
-
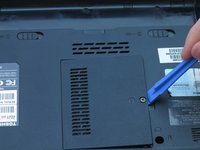
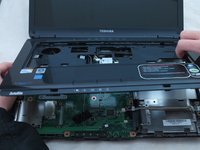
For the following steps, use a Phillips #1 screwdriver.
-
Remove the twelve 6-mm screws that border the bottom of the laptop.
-
Remove the 6-mm screw located in the lower middle of the device.
-
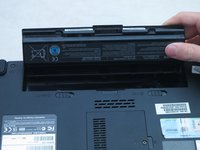
Remove the three 3-mm screws located in the battery bay.
-
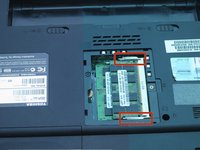
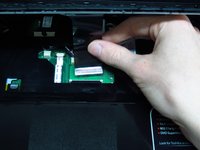
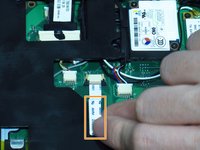
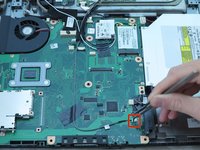
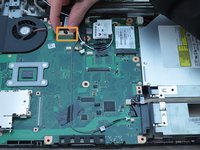
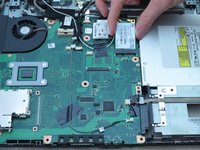
Remove the one 4-mm screw located near the RAM.
-
-
-
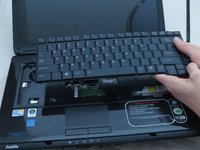
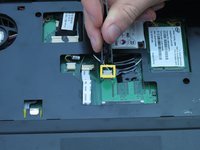
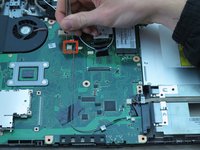
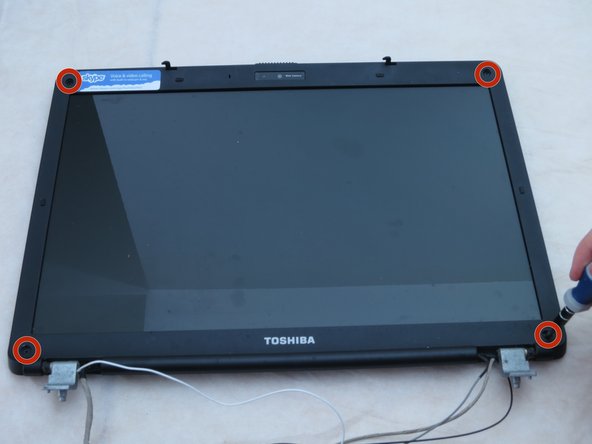
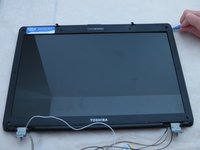
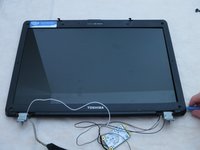
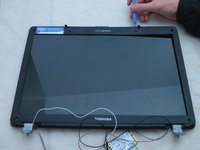
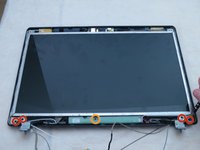
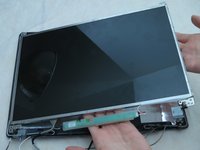
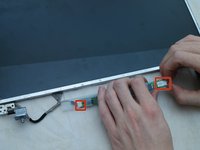
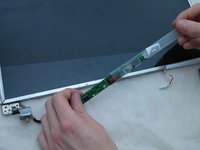
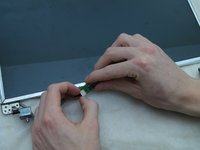
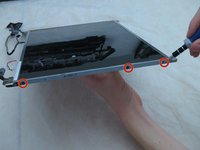
Using a Philips #1 screwdriver, remove the four 6-mm screws from the two metal tabs that connect the screen to the body.
-


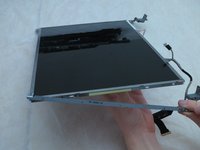
To reassemble your device, follow these instructions in reverse order.
To reassemble your device, follow these instructions in reverse order.
Annulla: non ho completato questa guida.
Un'altra persona ha completato questa guida.
Team

Cal Poly, Team 3-49, Amido Spring 2013 Membro di Cal Poly, Team 3-49, Amido Spring 2013
CPSU-AMIDO-S13S3G49
4 Membri
19 Guide realizzate