Cosa ti serve
-
-
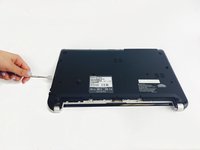
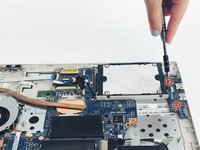
Remove the fourteen 3.75mm screws with a Phillips #0 Screwdriver as shown.
-
-
-
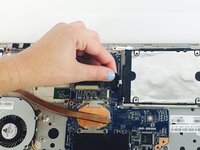
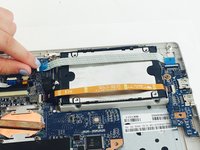
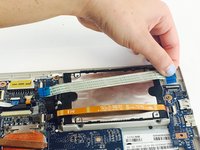
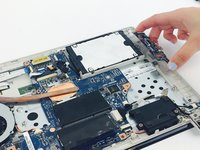
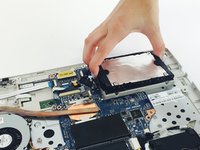
Using a spudger, poke the white tabs in by the battery until you hear a click.
-
-


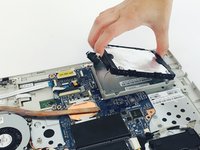
To reassemble your device, follow these instructions in reverse order.
To reassemble your device, follow these instructions in reverse order.
Annulla: non ho completato questa guida.
Altre 4 persone hanno completato questa guida.
Team

USF Tampa, Team 1-4, Leahy Fall 2016 Membro di USF Tampa, Team 1-4, Leahy Fall 2016
USFT-LEAHY-F16S1G4
3 Membri
10 Guide realizzate