Questa versione può contenere modifiche errate. Passa all'ultima istantanea verificata.
Cosa ti serve
-
Questo passaggio è privo di traduzione. Aiuta a tradurlo
-
Slide both of the latches to the outside to release the battery.
-
-
Questo passaggio è privo di traduzione. Aiuta a tradurlo
-
Pull the battery out by lifting the battery cover away from the laptop.
-
-
Questo passaggio è privo di traduzione. Aiuta a tradurlo
-
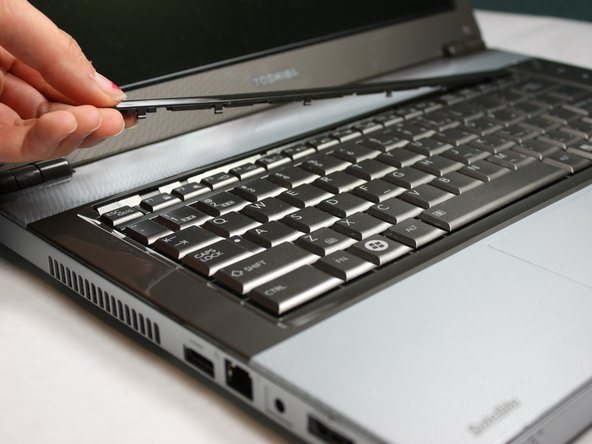
Flip the computer over and insert the plastic opening tool under the plastic strip at the top of the keyboard.
-
Pry the top plastic strip from the top of the keyboard.
-
Peel the strip completely away from the keyboard.
-
-
-
Questo passaggio è privo di traduzione. Aiuta a tradurlo
-
Using your Phillips #00, unscrew the two 4.80mm screws at the top of the keyboard.
-
-
Questo passaggio è privo di traduzione. Aiuta a tradurlo
-
Flip the keyboard up from the bottom in order to see the two ribbons connecting it to the motherboard.
-
-
Questo passaggio è privo di traduzione. Aiuta a tradurlo
-
Using the plastic opening tools, pop out the ribbon cable from the rest of the computer.
-
-
Questo passaggio è privo di traduzione. Aiuta a tradurlo
-
Using the plastic opening tools, pop out the second ribbon cable from the rest of the computer.
-
-
Questo passaggio è privo di traduzione. Aiuta a tradurlo
-
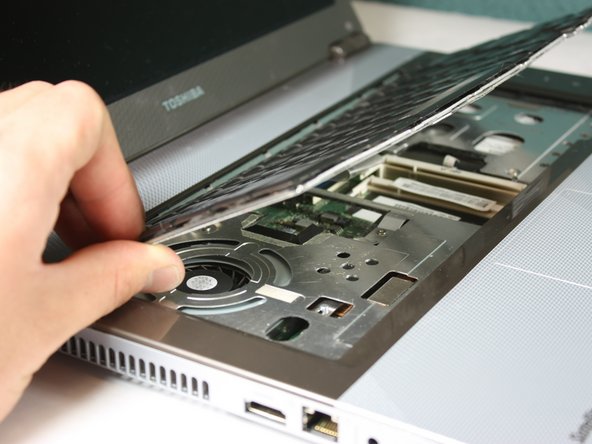
Completely remove the keyboard from the laptop by lifting up the part closest to the screen, and then gently pulling out the bottom half.
-


Team

Cal Poly, Team 17-21, Forte Winter 2013 Membro di Cal Poly, Team 17-21, Forte Winter 2013
CPSU-FORTE-W13S17G21
5 Membri
14 Guide realizzate