Introduzione
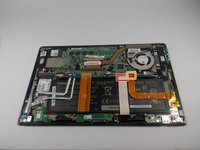
To attempt this guide, make sure to have all required materials and tools. This guide is the longest and most difficult of all the guides. Requires your full attention in to properly replace it.
Cosa ti serve
-
-
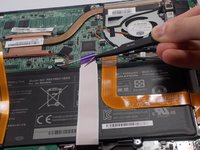
Attrezzo utilizzato in questo passaggio:Tweezers$4.99
-
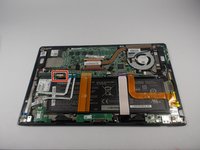
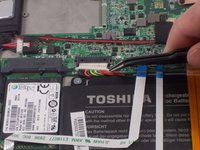
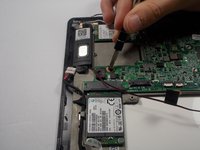
Remove the power connector from the fan using a pair of tweezers.
-
-
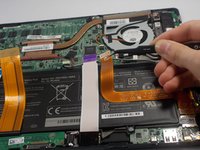
Attrezzo utilizzato in questo passaggio:Tweezers$4.99
-
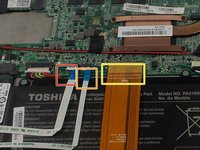
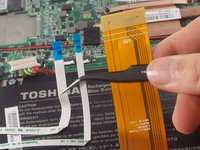
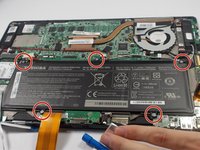
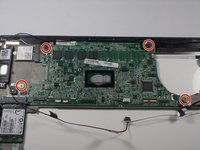
Locate and remove the five connectors using ESD safe tweezers.
-


To reassemble your device, follow these instructions in reverse order.
To reassemble your device, follow these instructions in reverse order.
Annulla: non ho completato questa guida.
Altre 3 persone hanno completato questa guida.
Team

UMass Dartmouth, Team 4-3, Catania Spring 2016 Membro di UMass Dartmouth, Team 4-3, Catania Spring 2016
UMASSD-CATANIA-S16S4G3
3 Membri
10 Guide realizzate