Introduzione
This guide will teach you how to get your laptop apart and replace it with a new screen. To put your laptop back together just follow the steps in reverse. Remember to make sure to keep track of your screws!
Cosa ti serve
-
-
Close the laptop and turn it over so that the base is facing upwards and the spine is facing away from you.
-
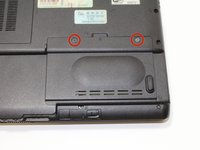
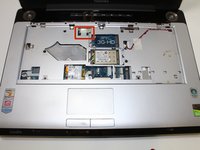
Find the battery compartment.
-
Slide the left slider which is just beneath the battery compartment into its leftmost position.
-
-
-
Place laptop right side up on a flat and clean surface. Open the laptop.
-
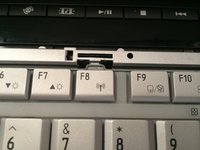
Find the strip just above the keyboard and locate the gaps behind the F1, F8, and Insert keys.
-
Remove the strip by sticking your plastic opening tool into these gaps in order, and pulling up.
-
-
Attrezzo utilizzato in questo passaggio:Tweezers$4.99
-
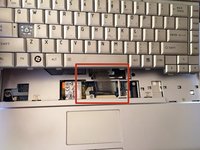
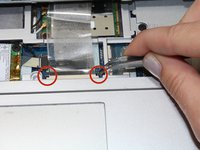
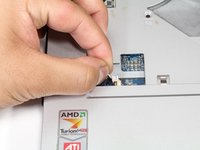
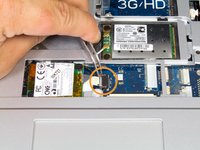
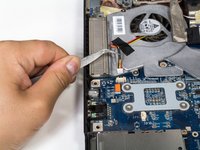
Find the ribbon cable that connects the keyboard to the laptop. Look for the black tabs on both sides of cable at the laptop end of the cable.
-
Using a pair of tweezers, pull the black tabs on both sides of the cable connector towards the screen until the cable can be pulled out easily.
-
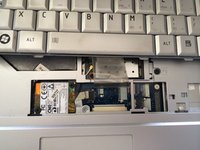
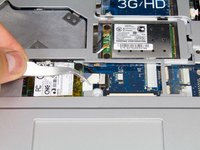
Pull out the cable and completely remove the keyboard.
-
-
-
Close the lid and flip the laptop over so that the bottom side is facing you.
-
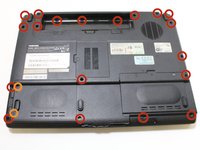
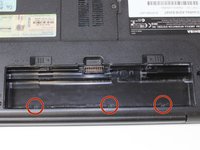
Remove nineteen 8mm Phillips #1 screws, labeled with "F8."
-
Locate and Remove two "f4" screws as well.
-
-
-
-
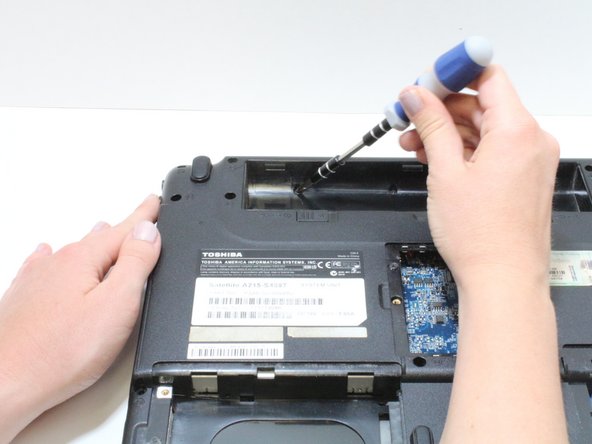
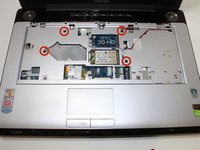
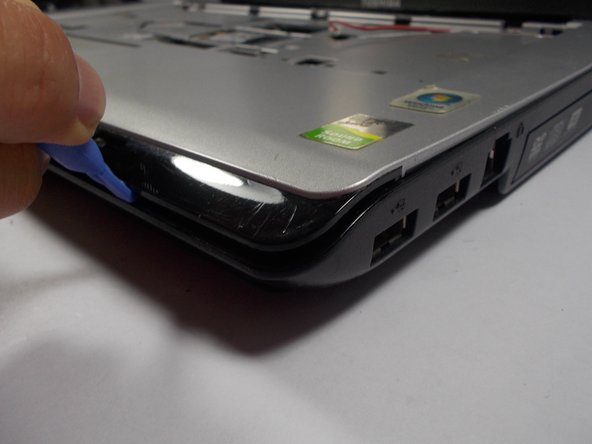
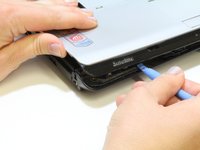
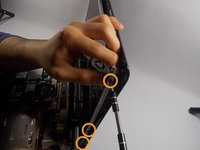
Begin by carefully removing the rubber bumper pads located at each corner of the plastic screen casing.
-
Using a Phillips screwdriver you may unscrew and remove the screws located directly under the the rubber bumper pads. Remember to keep track of the removed screws!
-
-
Attrezzo utilizzato in questo passaggio:Tweezers$4.99
-
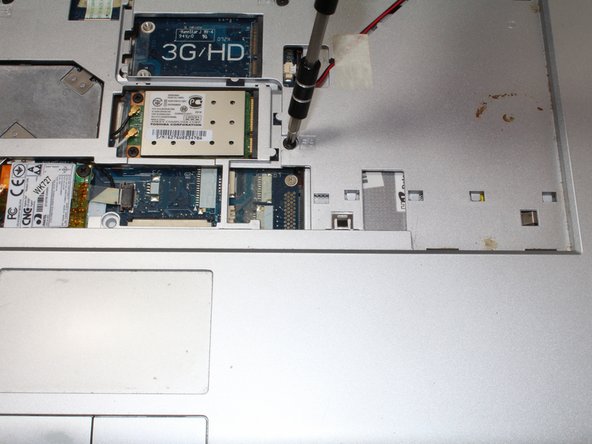
Gently place screen face down on laptops hardware
-
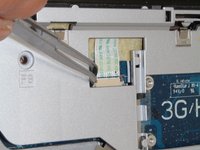
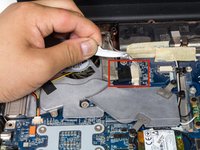
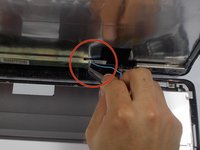
Detach tape that is over the screens connection to the laptop, and detach connection with tweezers by pulling back
-
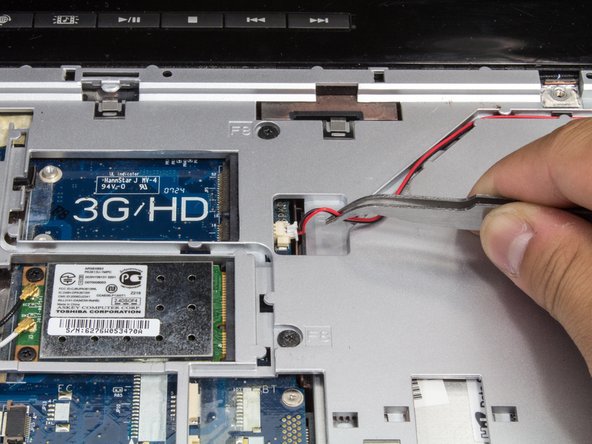
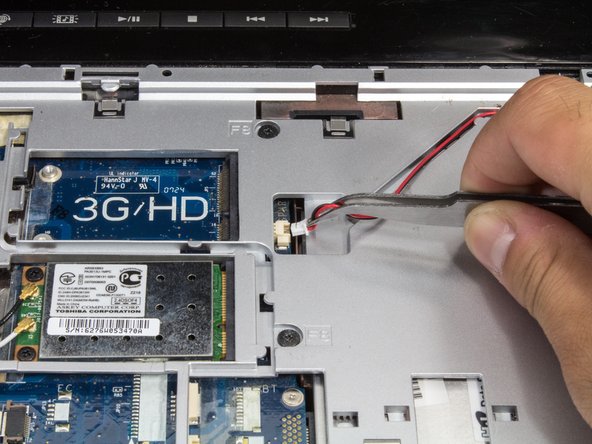
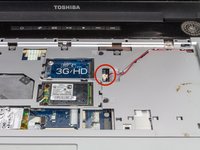
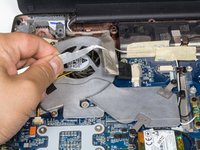
Disconnect blue wire near the base of the screen with tweezers, by pulling it straight out
-


To reassemble your device, follow these instructions in reverse order.
To reassemble your device, follow these instructions in reverse order.
Annulla: non ho completato questa guida.
Altre 2 persone hanno completato questa guida.
Team

University of Maryland, Team 5-1, Cichon Spring 2014 Membro di University of Maryland, Team 5-1, Cichon Spring 2014
UMD-CICHON-S14S5G1
3 Membri
9 Guide realizzate