Questa versione può contenere modifiche errate. Passa all'ultima istantanea verificata.
Cosa ti serve
-
Questo passaggio è privo di traduzione. Aiuta a tradurlo
-
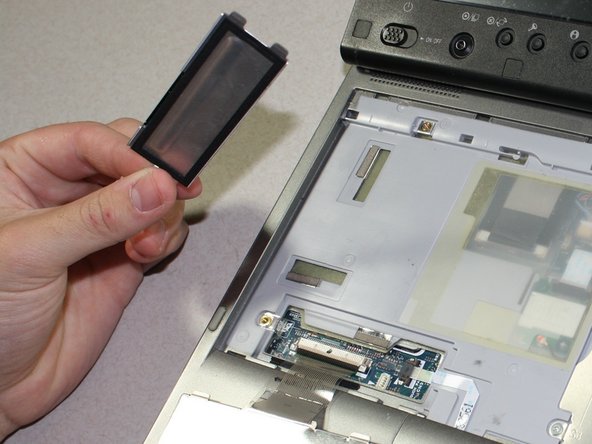
Remove the front face plate with a plastic opening tool.
-
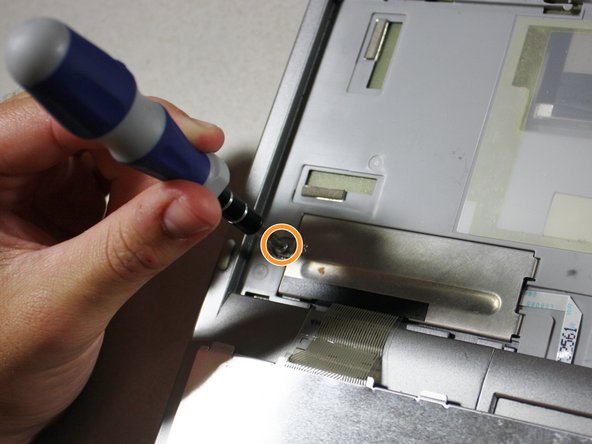
Unscrew and remove the two 3.8mm screws labeled B3 with the #1 Phillips screwdriver.
-
-
Questo passaggio è privo di traduzione. Aiuta a tradurlo
-
Lift the keyboard toward you starting from the edge closest to the screen.
-
Gently place the keyboard on top of the track pad with the keys upside down.
-
-
-
Questo passaggio è privo di traduzione. Aiuta a tradurlo
-
Find the white ribbon connector (where the keyboard is still attached to the rest of the laptop).
-
Remove the screw on the metal plate that keeps the ribbon from sliding out.
-
Gently remove the metal plate and set it aside.
-
-
Questo passaggio è privo di traduzione. Aiuta a tradurlo
-
Dislodge the white ribbon connector from the two clips holding it in place using the plastic opening tools.
-
Pull out the white ribbon connector with your fingers.
-


Annulla: non ho completato questa guida.
Un'altra persona ha completato questa guida.
Team

Cal Poly, Team 4-17, Maness Spring 2013 Membro di Cal Poly, Team 4-17, Maness Spring 2013
CPSU-MANESS-S13S4G17
3 Membri
12 Guide realizzate