Questa versione può contenere modifiche errate. Passa all'ultima istantanea verificata.
Cosa ti serve
-
Questo passaggio è privo di traduzione. Aiuta a tradurlo
-
Place laptop upside down.
-
Rotate so the battery side is facing away from you.
-
Locate the twelve screws on the bottom of the laptop.
-
Using the correct Phillips head screwdriver remove the twelve screws from the bottom of the laptop.
-
-
Questo passaggio è privo di traduzione. Aiuta a tradurlo
-
Locate the two screw covers and screws that can be found underneath the screen of the laptop.
-
Once located remove the screw covers and screws from underneath the screen by using the correct sized Phillips head screwdriver.
-
The screen should readily detach from the laptops body.
-
-
-
Questo passaggio è privo di traduzione. Aiuta a tradurlo
-
Locate the wires that connect the screen to the laptops body. (They are located at the bottom left side of the screen.)
-
Lift up the black protective cover that the wires lie under.
-
With one hand holding the black cover up, with free hand carefully pull away the wires, removing them from the laptop’s body.
-
-
Questo passaggio è privo di traduzione. Aiuta a tradurlo
-
Underneath the black protective cover locate the wires that are for the speakers.
-
With one hand holding the black cover up, with free hand carefully pull away the speaker wires, removing them from the laptop’s body.
-
-
Questo passaggio è privo di traduzione. Aiuta a tradurlo
-
Close laptop.
-
Grip the left and right sides of the top side of the laptop. (Silver portion).
-
Lift gently with both hands upward.
-
Top portion should disengage from the bottom half of the laptop. (Black portion).
-
-
Questo passaggio è privo di traduzione. Aiuta a tradurlo
-
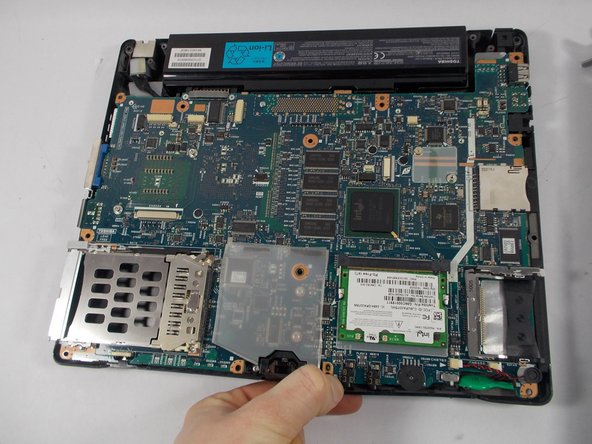
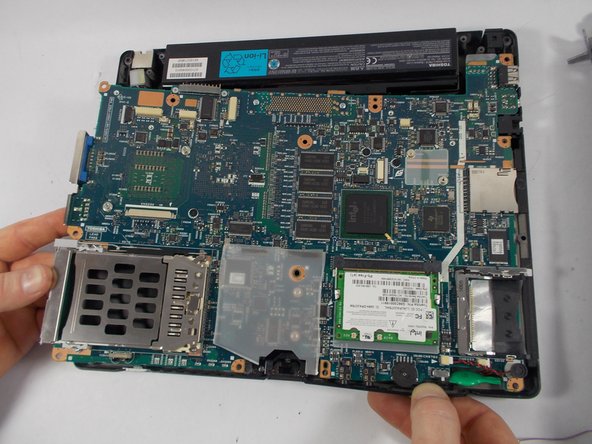
With fingers scale the sides of the motherboard and pull back tabs that are holding the motherboard in place to the laptop.
-
Once all tabs are pulled back the motherboard should easily be able to be removed from the bottom half of the laptop.
-


Annulla: non ho completato questa guida.
Altre 2 persone hanno completato questa guida.