Questa versione può contenere modifiche errate. Passa all'ultima istantanea verificata.
Cosa ti serve
-
Questo passaggio è privo di traduzione. Aiuta a tradurlo
-
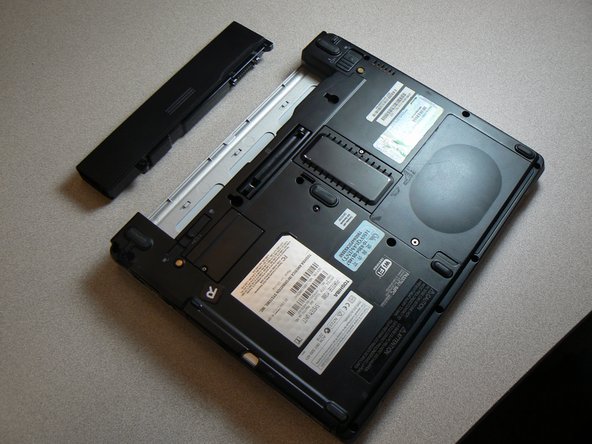
Slide the lock on the left side to the unlock position.
-
Slide the lock on the right side to the unlock position until there is a clicking sound.
-
-
Questo passaggio è privo di traduzione. Aiuta a tradurlo
-
Remove the battery by sliding it away from the laptop.
-
-
Questo passaggio è privo di traduzione. Aiuta a tradurlo
-
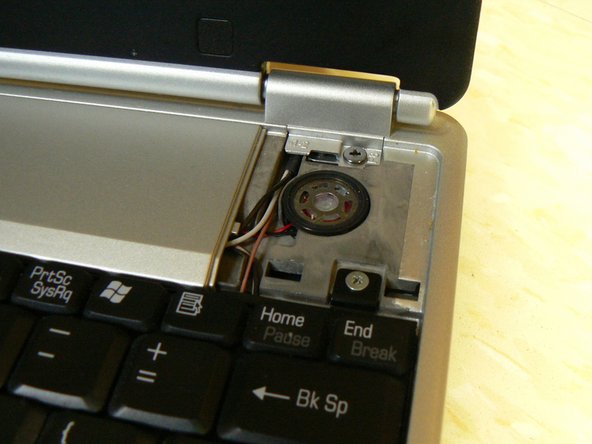
Use a plastic opening tool to unsnap the right hand side speaker cover.
-
-
-
Questo passaggio è privo di traduzione. Aiuta a tradurlo
-
Remove the rest of the cover by sliding it to the right and lifting the edge.
-
-
Questo passaggio è privo di traduzione. Aiuta a tradurlo
-
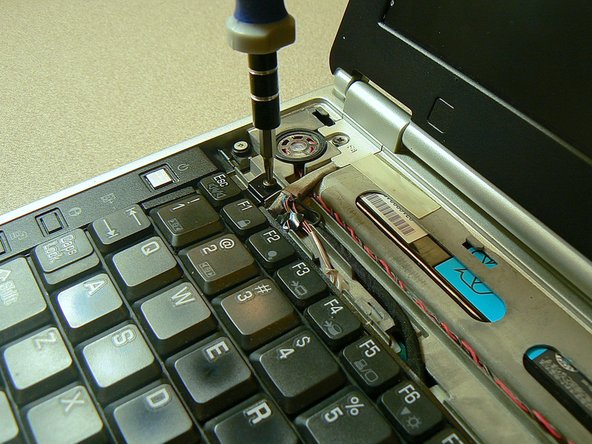
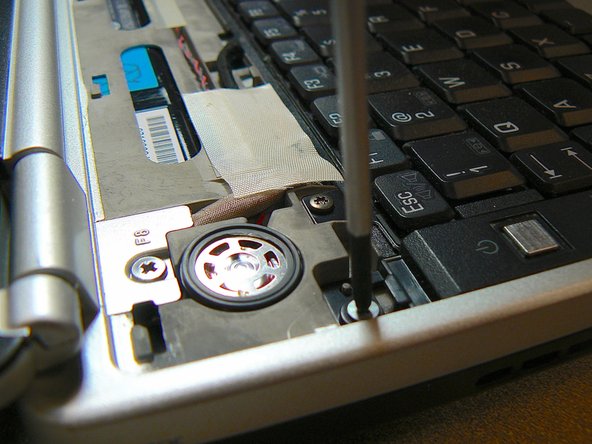
Use a Phillips head #00 screwdriver to remove the two silver screws at the top of the keyboard.
-
-
Questo passaggio è privo di traduzione. Aiuta a tradurlo
-
Remove the Torx screw holding the left keyboard tab in place, and lift it to release.
-
-
Questo passaggio è privo di traduzione. Aiuta a tradurlo
-
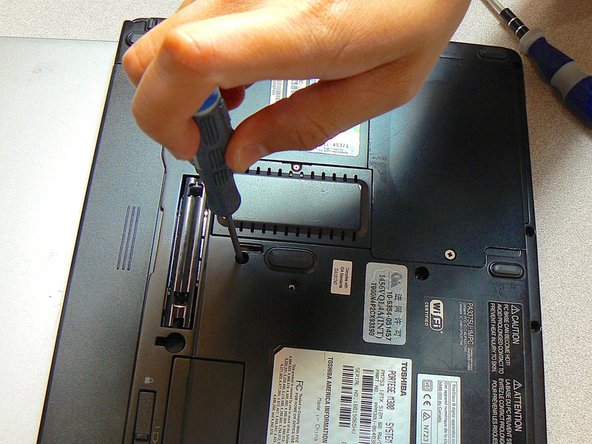
Turn the computer over on to the back.
-
Remove the middle screw with a Phillips head #000 screwdriver.
-
-
Questo passaggio è privo di traduzione. Aiuta a tradurlo
-
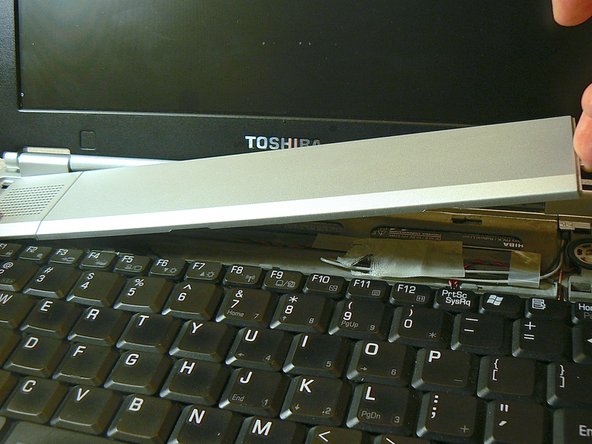
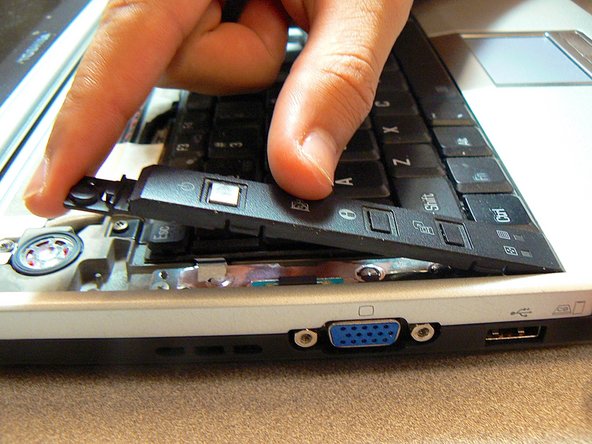
Turn the computer over to the front.
-
Gently pull at the top and bottom to remove the keyboard.
-
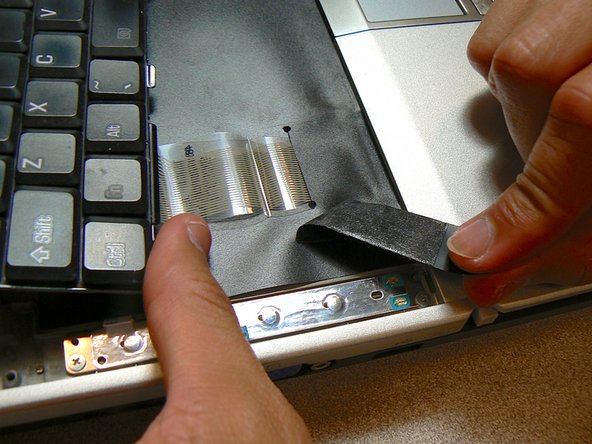
Peel off the black tape that holds the connection wire.
-
-
Questo passaggio è privo di traduzione. Aiuta a tradurlo
-
Flip the keyboard over and carefully unplug the connection wire.
-
Reverse the steps for proper instillation of the new keyboard.
-


Team

Cal Poly, Team 21-51, Johann Spring 2013 Membro di Cal Poly, Team 21-51, Johann Spring 2013
CPSU-JOHANN-S13S21G51
3 Membri
18 Guide realizzate