Salta al contenuto principale

Toshiba Encore 2 WT10-A Motherboard Replacement

Cosa ti serve

  1. Toshiba Encore 2 WT10-A Motherboard Replacement, Battery: passo 1, immagine 1 di 3 Toshiba Encore 2 WT10-A Motherboard Replacement, Battery: passo 1, immagine 2 di 3 Toshiba Encore 2 WT10-A Motherboard Replacement, Battery: passo 1, immagine 3 di 3
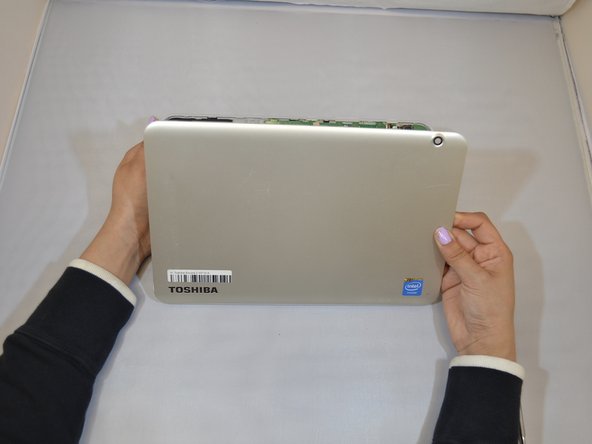
    • Start by holding your Toshiba tablet faced up.

    • Flip the tablet from left to right so that you are able to see the back of the tablet.

    • Hold tablet and be ready to continue onto the next steps.

  2. Toshiba Encore 2 WT10-A Motherboard Replacement: passo 2, immagine 1 di 3 Toshiba Encore 2 WT10-A Motherboard Replacement: passo 2, immagine 2 di 3 Toshiba Encore 2 WT10-A Motherboard Replacement: passo 2, immagine 3 di 3
    • Insert a plastic opening tool in the back case of the tablet to free the clips.

    • Begin to pull the tool up slightly and work your way around the tablet to free all the clips.

    • Using a metal opening tool as shown in the photos has the potential to damage your device.

  3. Toshiba Encore 2 WT10-A Motherboard Replacement: passo 3, immagine 1 di 3 Toshiba Encore 2 WT10-A Motherboard Replacement: passo 3, immagine 2 di 3 Toshiba Encore 2 WT10-A Motherboard Replacement: passo 3, immagine 3 di 3
    • Hold back lid with your right hand and keep lifting to remove the back lid.

    • Pull the back lid from right to left and top to bottom.

    • Once you disconnect the back lid, place lid aside.

  4. Toshiba Encore 2 WT10-A Motherboard Replacement: passo 4, immagine 1 di 2 Toshiba Encore 2 WT10-A Motherboard Replacement: passo 4, immagine 2 di 2
    • Use plastic spudger to remove the attached battery wires by pushing the plastic wire holder from right to left on top and bottom part of plastic holder.

  5. Toshiba Encore 2 WT10-A Motherboard Replacement: passo 5, immagine 1 di 3 Toshiba Encore 2 WT10-A Motherboard Replacement: passo 5, immagine 2 di 3 Toshiba Encore 2 WT10-A Motherboard Replacement: passo 5, immagine 3 di 3
    • Start by using your left hand on the top left corner on the battery.

    • Then, begin to lift and work your way around the battery.

  6. Toshiba Encore 2 WT10-A Motherboard Replacement: passo 6, immagine 1 di 2 Toshiba Encore 2 WT10-A Motherboard Replacement: passo 6, immagine 2 di 2
    • Remove the battery from the compartment.

  7. Toshiba Encore 2 WT10-A Motherboard Replacement, Motherboard: passo 7, immagine 1 di 2 Toshiba Encore 2 WT10-A Motherboard Replacement, Motherboard: passo 7, immagine 2 di 2
    • Once you take off the back case and battery, set tablet screen faced down.

    • Unscrew the 11 screws shown in the markups with a Phillips #00 screwdriver.

    • BE AWARE: Screws are extremely small.

  8. Toshiba Encore 2 WT10-A Motherboard Replacement: passo 8, immagine 1 di 3 Toshiba Encore 2 WT10-A Motherboard Replacement: passo 8, immagine 2 di 3 Toshiba Encore 2 WT10-A Motherboard Replacement: passo 8, immagine 3 di 3
    • Before taking off motherboard, grab tweezers to peel off tape on the two ribbons marked on the picture.

    • Once tape is removed, use the same tweezers to carefully pull the ribbons downwards to disconnect from motherboard.

  9. Toshiba Encore 2 WT10-A Motherboard Replacement: passo 9, immagine 1 di 1
    • On the top left corner, pull the black compartment carefully upwards.

    • This component still has wires attached, so be careful not to sever the wires as you remove it.

  10. Toshiba Encore 2 WT10-A Motherboard Replacement: passo 10, immagine 1 di 2 Toshiba Encore 2 WT10-A Motherboard Replacement: passo 10, immagine 2 di 2
    • Once black compartment is off, you will be prepared to disconnect motherboard.

    • Carefully lift motherboard upwards with the black compartment.

Conclusione

To reassemble your device, follow these instructions in reverse order.

0 Commenti

Aggiungi Commento

Visualizza Statistiche:

Ultime 24 Ore: 0

Ultimi 7 Giorni: 0

Ultimi 30 Giorni: 7

Tutti i Tempi: 654