Salta al contenuto principale

Top button Compartment

Cosa ti serve

  1. Top button Compartment, Top button Compartment: passo 1, immagine 1 di 3 Top button Compartment, Top button Compartment: passo 1, immagine 2 di 3 Top button Compartment, Top button Compartment: passo 1, immagine 3 di 3
    • Insert the flat end of wide metal spudger into the seam of the plastic buffer surrounding the buttons and pry it open.

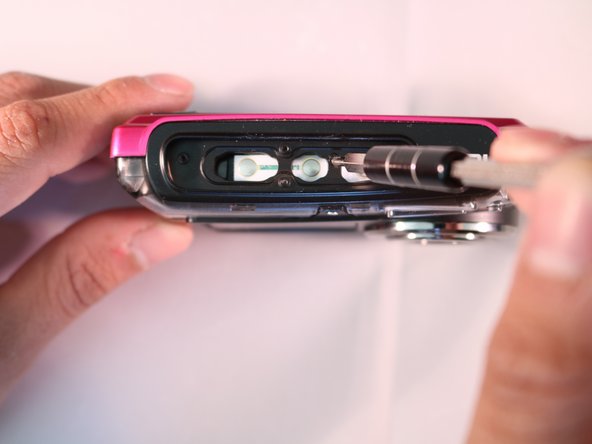
  2. Top button Compartment: passo 2, immagine 1 di 3 Top button Compartment: passo 2, immagine 2 di 3 Top button Compartment: passo 2, immagine 3 di 3
    • Use A #00 Phillips head screwdriver and turn counterclockwise to remove the four indicated screws.

    • Set the screws aside.

  3. Top button Compartment: passo 3, immagine 1 di 2 Top button Compartment: passo 3, immagine 2 di 2
    • Apply pressure and turn counterclockwise to remove the indicated 2.5 mm screw.

Conclusione

To reassemble your device, follow these instructions in reverse order.

Team

Marist, Team 1-3, Laflen Spring 2016 Membro di Marist, Team 1-3, Laflen Spring 2016

MARS-LAFLEN-S16S1G3

2 Membri

5 Guide realizzate

0 Commenti

Aggiungi Commento

Visualizza Statistiche:

Ultime 24 Ore: 0

Ultimi 7 Giorni: 0

Ultimi 30 Giorni: 1

Tutti i Tempi: 314