Questa guida ha delle modifiche più recenti. Passa all'ultima versione non verificata.
Introduzione
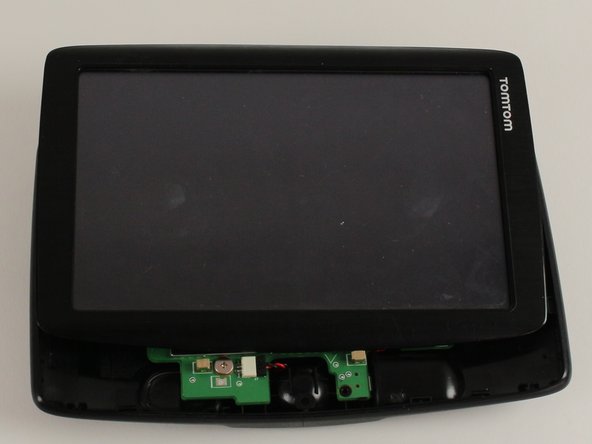
The back is either connected or interfaced with most components of the device. Since this must be removed in order to reach other interior components of the device, this guide will show how to remove it properly.
Cosa ti serve
-
-
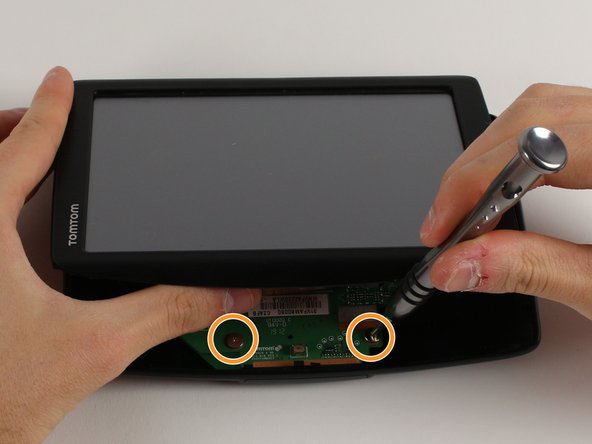
Position the device so that the underside is facing up.
-
Tilt the EasyPort Mount slightly upward and rotate it counterclockwise 180 degrees from the initial position.
-
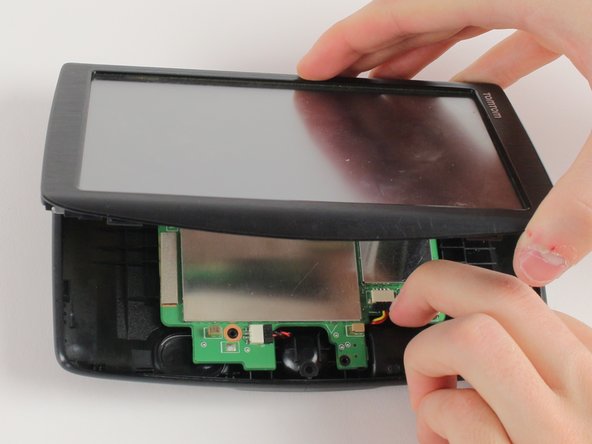
Firmly grab the EasyPort Mount and remove it.
-
-


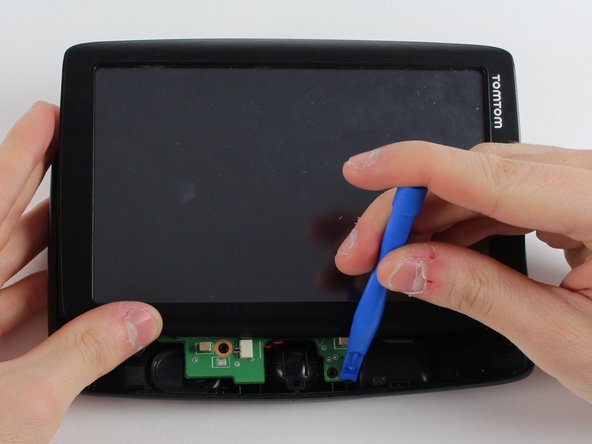
To reassemble your device, follow these instructions in reverse order.
To reassemble your device, follow these instructions in reverse order.
Team

Cal Poly, Team S12-G2, Banghart Winter 2018 Membro di Cal Poly, Team S12-G2, Banghart Winter 2018
CPSU-BANGHART-W18S12G2
3 Membri
6 Guide realizzate