Questa versione può contenere modifiche errate. Passa all'ultima istantanea verificata.
Cosa ti serve
-
Questo passaggio è privo di traduzione. Aiuta a tradurlo
-
Use a T-9 Torx screwdriver to unscrew the four screws on the back cover.
-
-
Questo passaggio è privo di traduzione. Aiuta a tradurlo
-
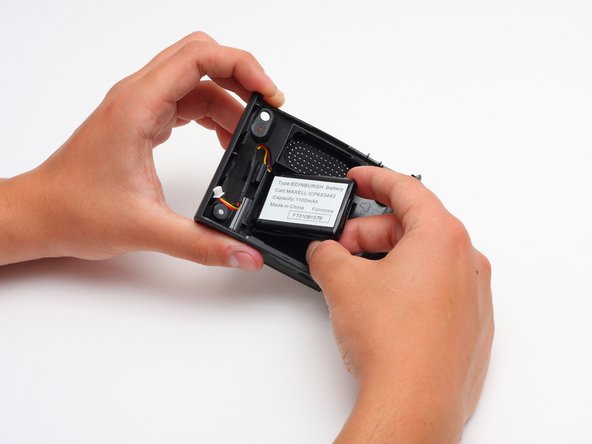
Using a spudger, gently pry apart the back case from the front case. It is easier to start on a side and work your way around the device.
-
-
-
Questo passaggio è privo di traduzione. Aiuta a tradurlo
-
Once the two covers are separated, use the tweezers, or even your fingers, to gently disconnect the two sets of wires that are connected to the motherboard from the back cover. You may have to wiggle the wires a little bit to get them to disconnect.
-
-
Questo passaggio è privo di traduzione. Aiuta a tradurlo
-
Using the spudger, gently pry out the battery.
-


Annulla: non ho completato questa guida.
Altre 3 persone hanno completato questa guida.
Team

Cal Poly, Team 7-7, Maness Spring 2010 Membro di Cal Poly, Team 7-7, Maness Spring 2010
CPSU-MANESS-S10S7G7
4 Membri
6 Guide realizzate