Salta al contenuto principale
Unisciti alla Community delle riparazioni - Crea un account
Tofu65 Keyboard PCB Replacement

Tofu65 Keyboard PCB Replacement

Daniel Payan

Daniel Payan e 2 altri collaboratori

Ultimo aggiornamento il June 20, 2024

30 minuti - 1 ora
Facile
Guida Studente in Evidenza

Introduzione

Vai al passo 1

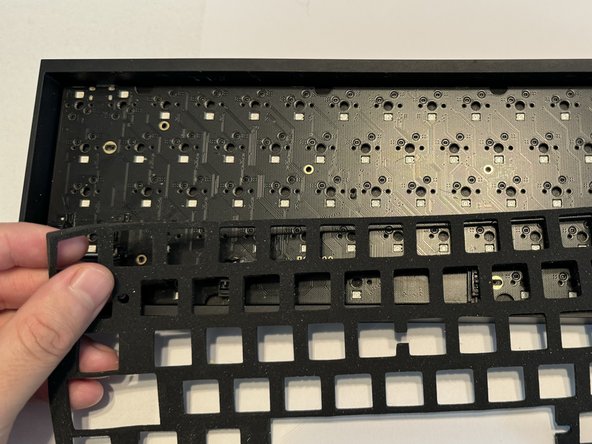
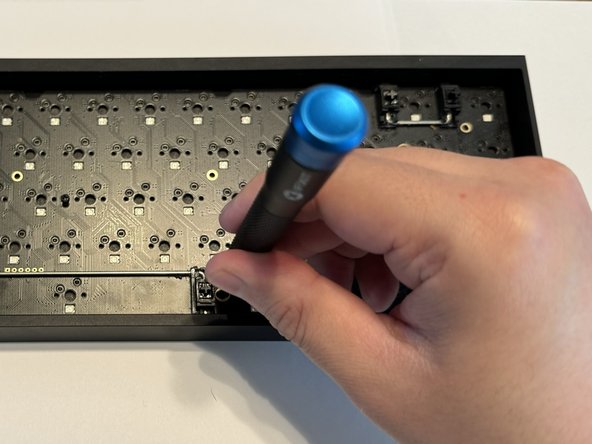
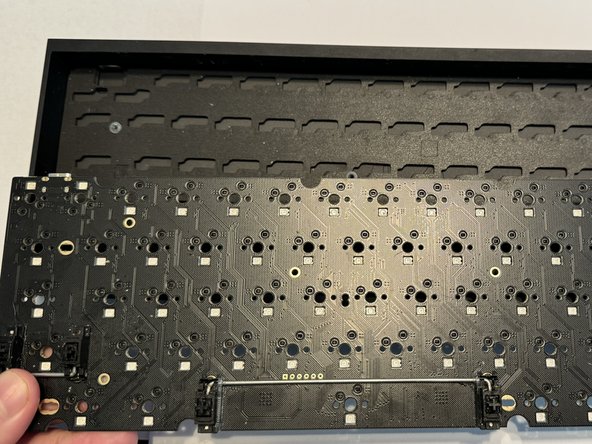
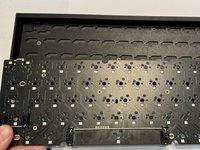
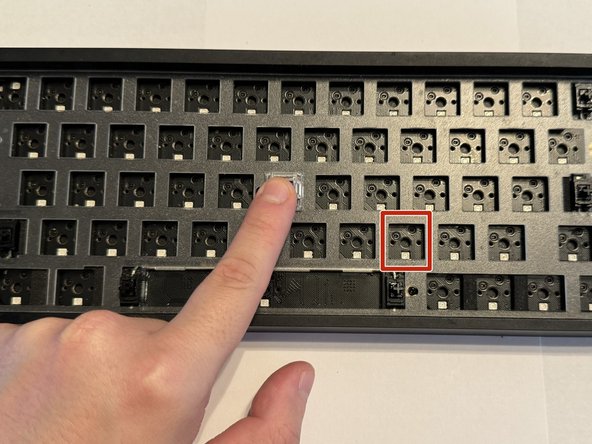
This guide demonstrates how to replace a malfunctioning keyboard PCB from a Tofu65 keyboard with a new hot-swap PCB. The PCB is the backbone of the keyboard and ensures connection or communication between the keyboard and other the components in the keyboard. It is essential to have in good condition so you don't have to replace the entire device. No prior experience is required.

Before you begin the repair, disconnect the power cord.

Cosa ti serve

iFixit guadagna commissioni quando acquisti tramite questi link.
  1. Tofu65 Keyboard PCB Replacement, Keyboard PCB: passo 1, immagine 1 di 1
    • Unplug the power cord.

  2. Tofu65 Keyboard PCB Replacement: passo 2, immagine 1 di 1
    • Use a keycap puller to remove the keycaps from the keyboard.

    • Be sure to pull straight up when removing the keycaps to avoid damaging the key switches.

  3. Tofu65 Keyboard PCB Replacement: passo 3, immagine 1 di 1
    • Use the switch puller to pinch the switch on the two pins to release the switch from the PCB.

    • Pull straight up when removing the switch. It should not take much force to pull them out.

  4. Tofu65 Keyboard PCB Replacement: passo 4, immagine 1 di 2 Tofu65 Keyboard PCB Replacement: passo 4, immagine 2 di 2
    • Remove the plastic cover that protects the PCB.

  5. Tofu65 Keyboard PCB Replacement: passo 5, immagine 1 di 2 Tofu65 Keyboard PCB Replacement: passo 5, immagine 2 di 2
    • Gently remove the foam layer protecting the PCB.

  6. Tofu65 Keyboard PCB Replacement: passo 6, immagine 1 di 3 Tofu65 Keyboard PCB Replacement: passo 6, immagine 2 di 3 Tofu65 Keyboard PCB Replacement: passo 6, immagine 3 di 3
    • Use a Phillips #000 screwdriver to remove the six 5 mm screws keeping the PCB in place.

  7. Tofu65 Keyboard PCB Replacement: passo 7, immagine 1 di 2 Tofu65 Keyboard PCB Replacement: passo 7, immagine 2 di 2
    • Remove the old PCB from the bottom case.

  8. Tofu65 Keyboard PCB Replacement: passo 8, immagine 1 di 2 Tofu65 Keyboard PCB Replacement: passo 8, immagine 2 di 2
    • Ensure your keyboard switches are in good condition and the golden pins are not bent.

    • If the pins are bent, carefully bend them so they are straight or replace them with new switches.

  9. Tofu65 Keyboard PCB Replacement: passo 9, immagine 1 di 3 Tofu65 Keyboard PCB Replacement: passo 9, immagine 2 di 3 Tofu65 Keyboard PCB Replacement: passo 9, immagine 3 di 3
    • Replace your PCB.

    • Place the foam and plastic plate cover back.

    • Line up the key switch pins with the sockets on the PCB before installing them.

    • Install the keyboard switches and apply a small amount of force to ensure they make contact with the PCB.

  10. Tofu65 Keyboard PCB Replacement: passo 10, immagine 1 di 2 Tofu65 Keyboard PCB Replacement: passo 10, immagine 2 di 2
    • Replace each keycaps onto the appropriate switch.

    • Press down firmly on each to ensure they are making contact.

Linea Traguardo

Un'altra persona ha completato questa guida.

Daniel Payan

Membro da: 03/05/24

202 Reputazione

1 Guida realizzata

Team

0Commenti sulla guida

Aggiungi Commento

Visualizza Statistiche:

Ultime 24 Ore: 1

Ultimi 7 Giorni: 7

Ultimi 30 Giorni: 32

Tutti i Tempi: 479