Salta al contenuto principale

Thrustmaster T3PA Pedal Spring Replacement

Cosa ti serve

  1. Thrustmaster T3PA Pedal Spring Replacement, Pedal Spring: passo 1, immagine 1 di 2 Thrustmaster T3PA Pedal Spring Replacement, Pedal Spring: passo 1, immagine 2 di 2
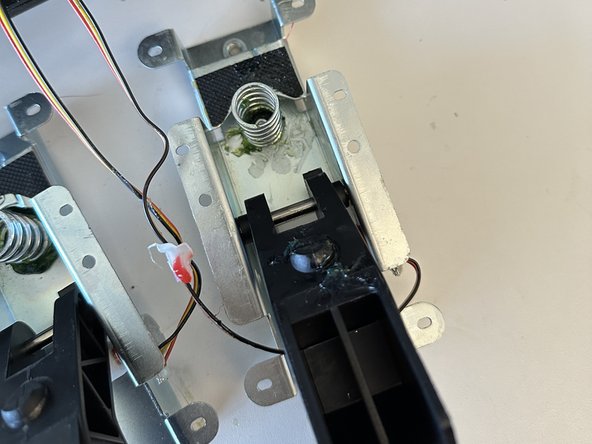
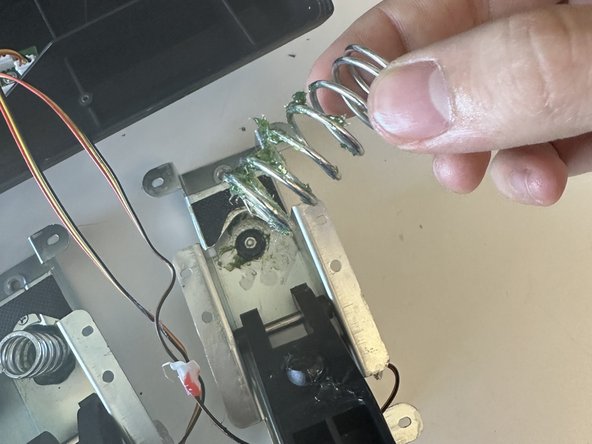
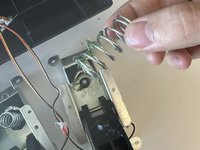
    • Start by removing the screws in the pedal that you are changing with a Torx t10H screwdriver.

  2. Thrustmaster T3PA Pedal Spring Replacement: passo 2, immagine 1 di 2 Thrustmaster T3PA Pedal Spring Replacement: passo 2, immagine 2 di 2
    • Remove the 14 Screws on the back with a PH2 Phillips head screwdriver and carefully pop it off.

    • (DO NOT COMPLETELY PULL IT OFF BECAUSE OF WIRES, INSTEAD UNPLUG IT)

  3. Thrustmaster T3PA Pedal Spring Replacement: passo 3, immagine 1 di 1
    • Once open, remove the 6 screws holding the pedal in place with the same PH2 screwdriver. Then pull out the pedal.

    • NOTE: DO NOT UNSCREW THE MIDDLE SCREW, IT KEEPS THE SPRING IN PLACE.

  4. Thrustmaster T3PA Pedal Spring Replacement: passo 4, immagine 1 di 3 Thrustmaster T3PA Pedal Spring Replacement: passo 4, immagine 2 di 3 Thrustmaster T3PA Pedal Spring Replacement: passo 4, immagine 3 di 3
    • Once it has been removed, pull the pedal forward and simply remove the spring.

    • NOTE: BE CAREFUL WITH THE GREASE, WASH YOUR HANDS ONCE YOU HAVE TOUCHED IT, DO NOT TOUCH YOUR EYES OR FACE WITH IT ON YOUR HANDS.

Conclusione

For reassembly, simply follow the steps in reverse.

Altre 3 persone hanno completato questa guida.

John.gmot

Membro da: 05/31/23

384 Reputazione

2 Guide realizzate

0Commenti sulla guida

Aggiungi Commento

Visualizza Statistiche:

Ultime 24 Ore: 1

Ultimi 7 Giorni: 7

Ultimi 30 Giorni: 39

Tutti i Tempi: 1,085