Introduzione
If the control buttons on your device are faulty or have stopped working completely, this guide will aid you in replacing these buttons on the inside of the device.
Cosa ti serve
-
-
To remove the front grate of the speaker grab a metal spudger and go to the back corner of the device where the front panel curves around the device. Insert the spudger and ply apart the corner until clips release from panel. Repeat for the other side of the grate. When all clips are released pull grate off from the front of device
-
-
-
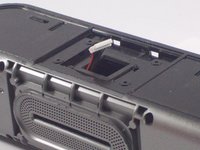
Grab two metal spudgers and insert one into the slit underneath the silver plating on the top of the device. Pry upward with the spudger until you unhook the two locks on the top. Repeat same step for the bottom of the device. When all four tabs are released, slide device out of the casing
-
-
-
-
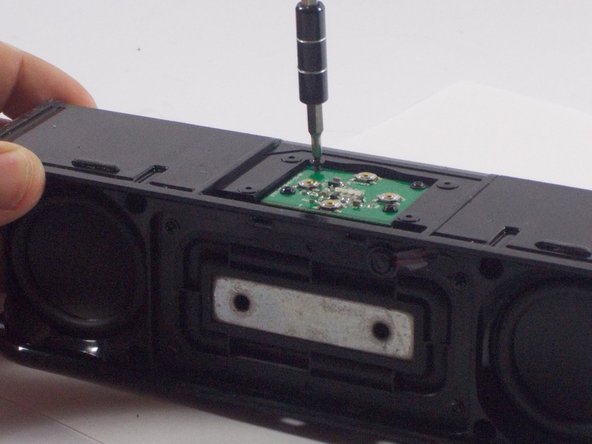
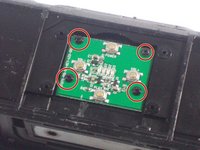
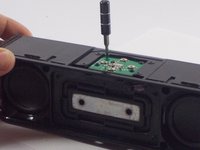
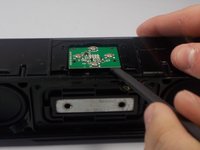
Locate the four, 6mm screws on the board on top of the device. Unscrew them with the PH0 bit on the screwdriver so that the board may be removed.
-


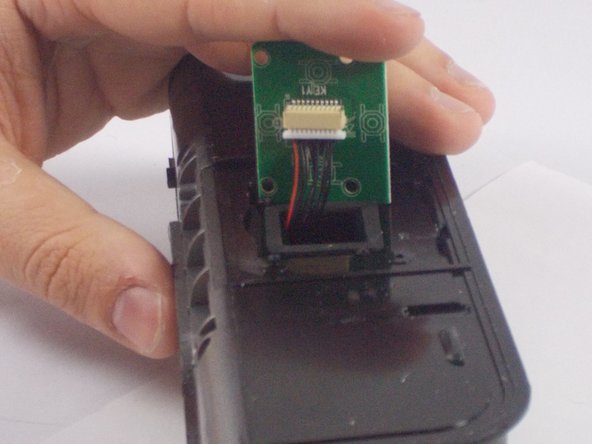


To reassemble your device, follow these instructions in reverse order.
Annulla: non ho completato questa guida.
Altre 2 persone hanno completato questa guida.
Team

UMass Dartmouth, Team 5-7, Landers Spring 2016 Membro di UMass Dartmouth, Team 5-7, Landers Spring 2016
UMASSD-LANDERS-S16S5G7
3 Membri
5 Guide realizzate
3Commenti sulla guida
Great guide,to repair this bluetooth speaker. I have the same speaker from another brand.It called Aiser HSR 13.It is just cheaper, than the Tao Tronics.
Where can I get the control button?
Where can I get the button