Salta al contenuto principale

Questa guida ha delle modifiche più recenti. Passa all'ultima versione non verificata.

Take apart of Macbook 2009-2010 Unibody White Disassembly

Cosa ti serve

  1. Take apart of Macbook 2009-2010 Unibody White Disassembly, Removing Back Plate: passo 1, immagine 1 di 3 Take apart of Macbook 2009-2010 Unibody White Disassembly, Removing Back Plate: passo 1, immagine 2 di 3 Take apart of Macbook 2009-2010 Unibody White Disassembly, Removing Back Plate: passo 1, immagine 3 di 3
    • Remove the six Phillips head screws with J00 bit.

  2. Take apart of Macbook 2009-2010 Unibody White Disassembly, Unplugging Battery from Logic Board: passo 2, immagine 1 di 3 Take apart of Macbook 2009-2010 Unibody White Disassembly, Unplugging Battery from Logic Board: passo 2, immagine 2 di 3 Take apart of Macbook 2009-2010 Unibody White Disassembly, Unplugging Battery from Logic Board: passo 2, immagine 3 di 3
    • Then Unplug the battery using a ESD Safe prying tool.

  3. Take apart of Macbook 2009-2010 Unibody White Disassembly: passo 3, immagine 1 di 3 Take apart of Macbook 2009-2010 Unibody White Disassembly: passo 3, immagine 2 di 3 Take apart of Macbook 2009-2010 Unibody White Disassembly: passo 3, immagine 3 di 3
    • Once Battery is Unplugged Remove two Philips head screws using J00 Bit.

  4. Take apart of Macbook 2009-2010 Unibody White Disassembly, Removing Hard Dirve Part 2: passo 4, immagine 1 di 3 Take apart of Macbook 2009-2010 Unibody White Disassembly, Removing Hard Dirve Part 2: passo 4, immagine 2 di 3 Take apart of Macbook 2009-2010 Unibody White Disassembly, Removing Hard Dirve Part 2: passo 4, immagine 3 di 3
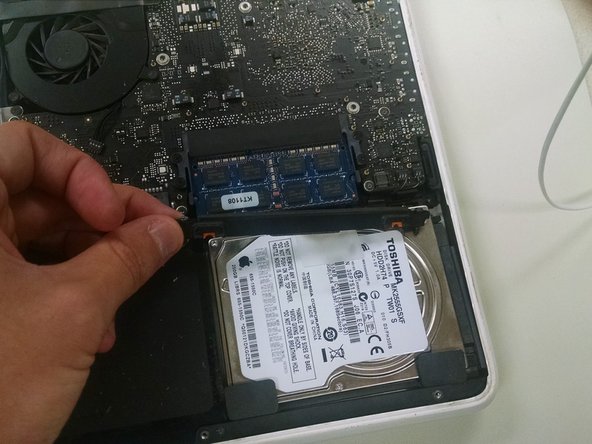
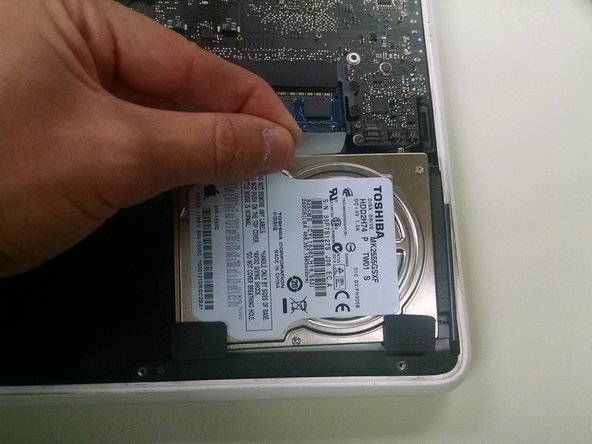
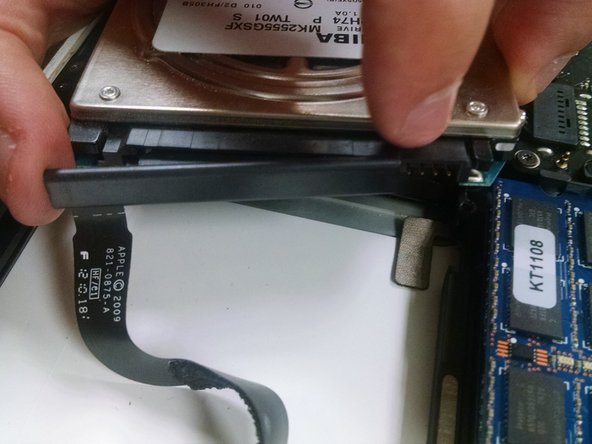
    • After removing the screws and plastic cover piece, remove the hard drive then unplug from Logic Board.

  5. Take apart of Macbook 2009-2010 Unibody White Disassembly, Removing The RAM: passo 5, immagine 1 di 3 Take apart of Macbook 2009-2010 Unibody White Disassembly, Removing The RAM: passo 5, immagine 2 di 3 Take apart of Macbook 2009-2010 Unibody White Disassembly, Removing The RAM: passo 5, immagine 3 di 3
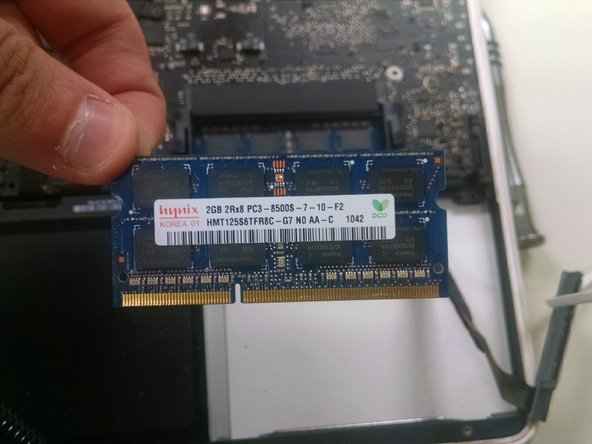
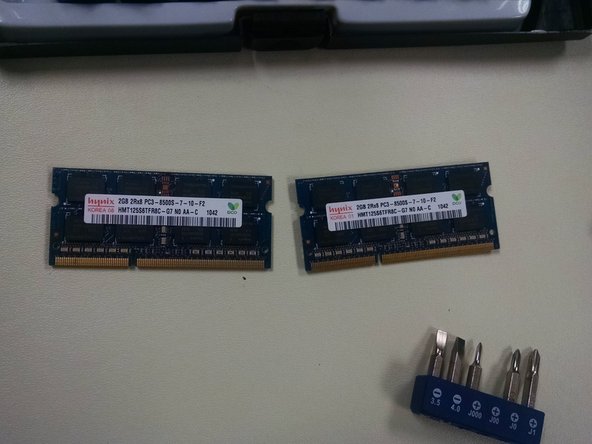
    • Locate the RAM Directly above the Hard Drive. Gently push the two snaps away from the RAM cards and gently pull the ram out. You Will do this step again to remove the Second card beneath the first.

Conclusione

To reassemble your device, follow these instructions in reverse order.

Altre 12 persone hanno completato questa guida.

Gyoyo

Membro da: 12/09/16

428 Reputazione

1 Guida realizzata

0 Commenti

Aggiungi Commento

Visualizza Statistiche:

Ultime 24 Ore: 0

Ultimi 7 Giorni: 13

Ultimi 30 Giorni: 50

Tutti i Tempi: 8,090