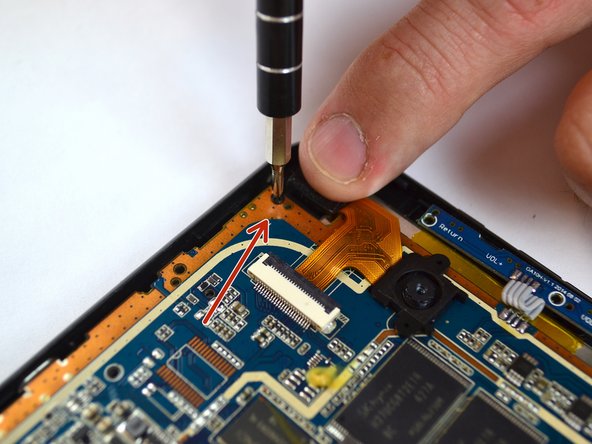
Salta al contenuto principale

Tagital T10 Power button Replacement

Cosa ti serve

  1. Tagital T10 Power button Replacement, Power button: passo 1, immagine 1 di 1
    • Always make sure your device is completely powered off before performing repairs.

    • Remove the two 4 mm Phillips head screws at the top of the tablet.

  2. Tagital T10 Power button Replacement: passo 2, immagine 1 di 1
    • Carefully remove the back cover by using a plastic opening tool, moving all the way around the perimeter of the tablet.

    • Set the back cover aside.

    • The speakers are attached to the inside back cover, and are connected by wires to the motherboard of the tablet. Carefully set the back cover aside so that you do not rip the wires free.

  3. Tagital T10 Power button Replacement: passo 3, immagine 1 di 1
    • Remove all of the 4mm screws that attach the display screen to the back of the touch screen with brackets.

    • There should be a total of 8 screws and at size PH000.

  4. Tagital T10 Power button Replacement: passo 4, immagine 1 di 2 Tagital T10 Power button Replacement: passo 4, immagine 2 di 2
    • Remove all of the 4mm screws that attach the motherboard to the rest of the device.

    • One screw is located beneath the black tape that holds the rear-facing camera in place. Peel the tape up to access it.

    • There should be a total of 7 screws at size PH000.

  5. Tagital T10 Power button Replacement: passo 5, immagine 1 di 2 Tagital T10 Power button Replacement: passo 5, immagine 2 di 2
    • Locate the 2 ZIF connectors.

    • Flip up the black tab to release the two filaments, so that they are no longer connected to the motherboard.

  6. Tagital T10 Power button Replacement: passo 6, immagine 1 di 2 Tagital T10 Power button Replacement: passo 6, immagine 2 di 2
    • Locate the notification light on the upper corner of the device.

    • Gently pull on the wires to remove the light from it's housing.

  7. Tagital T10 Power button Replacement: passo 7, immagine 1 di 1
    • Remove the motherboard from the back of the display screen.

    • Some wires are still attached to the device, so carefully set it to the side.

  8. Tagital T10 Power button Replacement: passo 8, immagine 1 di 2 Tagital T10 Power button Replacement: passo 8, immagine 2 di 2
    • Push the power button towards the interior of the device to free it from its slot, using tweezers.

Conclusione

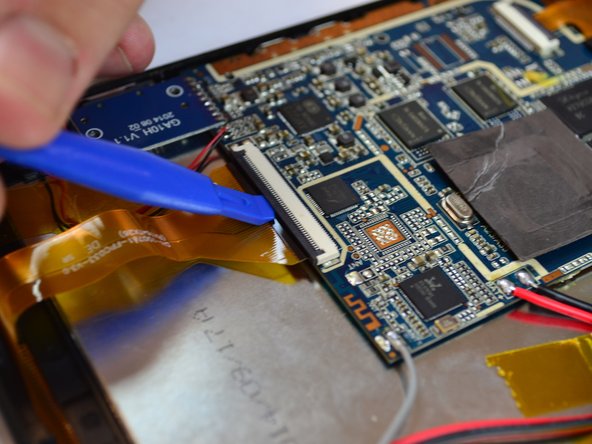
To reassemble your device, follow these instructions in reverse order.

Altre 2 persone hanno completato questa guida.

Destin Dawsy

Membro da: 09/26/16

328 Reputazione

2 Guide realizzate

Team

USF Tampa, Team 14-5, Eyestone Fall 2016 Membro di USF Tampa, Team 14-5, Eyestone Fall 2016

USFT-EYESTONE-F16S14G5

4 Membri

10 Guide realizzate

0 Commenti

Aggiungi Commento

Visualizza Statistiche:

Ultime 24 Ore: 0

Ultimi 7 Giorni: 0

Ultimi 30 Giorni: 1

Tutti i Tempi: 311