-
-
Once your machine has booted up, from the Idle Screen, press Settings.
-
Press Tools
-
Initialize EEPROM will clear all soft data and restore the machine back to the last firmware settings installed. The screen may return to the idle screen.
-
Reset BLTouch is only valid if you have a BL Touch probe installed. This button will clear any current errors with the Probe. No movement or confirmation will occur.
-
Adjust Steps/mm will bring you to a new menu where you can calibrate each Axis' steps/mm. Pressing this will enter the Calibration screen for Steps/mm.
-
PID Tuning will bring you to a new menu where you can calibrate thermal settings. Pressing this will enter the Calibration screen for PID Tuning.
-
-
-
-
Calibration
-
Calibration-PID Tuning>PID Automatic Tuning will initiate an automatic PID calibration. Enter a temperature 10 degrees over your printing temperature and press Start.
-
Calibration-PID Tuning>PID Manual Tuning will display the current saved values and allow manual adjustment.
-
After desired changes are made, press Store Settings
-
-
-
Thermistor Error! This is usually a wiring or component issue.
-
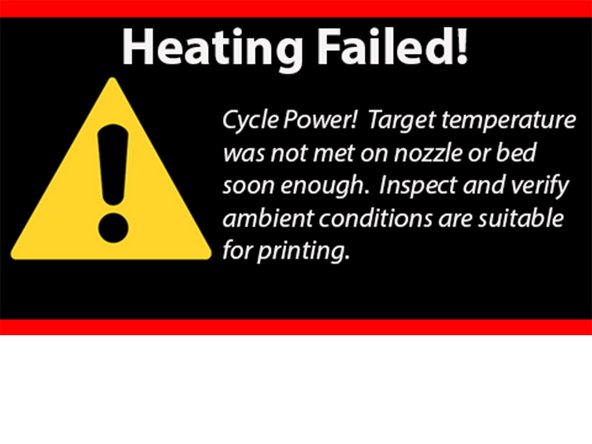
Heating Failed! This is sometimes a wiring or component issue.
-
MACHINE FAULT This is sometimes a wiring issue.
-


To reassemble your device, follow these instructions in reverse order.
Annulla: non ho completato questa guida.
Altre 7 persone hanno completato questa guida.

Team

10Commenti sulla guida
This is so hot mess, looking at Ender 5 Plus firmware and screen update…..documents are all out dated and files are not correct just a hot mess and wasted 2 hours try to figure your crap out.
What are you referring to? If you’re having issues with a firmware update, the best way to contact us is email - support@tinymachines3d.com.
https://docs.google.com/document/d/1lkhv... is where we have the latest files.
Hi
I have installed latest version of UI for CR10s Pro and Marlen 2.0.x. What is extruder value for, not defined above?
I want to know how to modify extrusion rate steps/mm thank you?
Can the screen firmware be flashed on any Ender 5 Plus? And it will just work? or does the board need firmware updates too? I’m running the Creatlity silent board
Check the link below