Introduzione
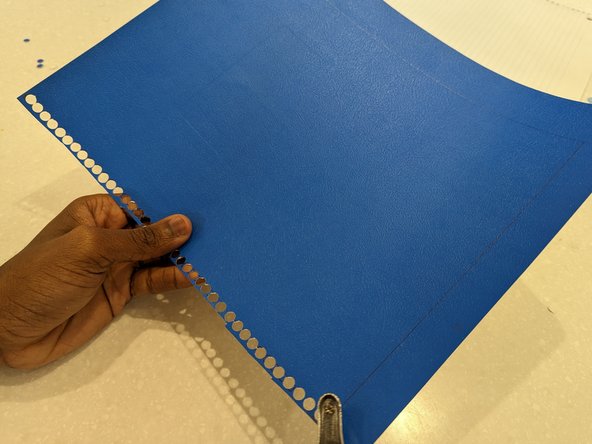
A damaged/ripped notebook cover leaves its important contents exposed and at risk.
With a proper cover, you can ensure the contents are safely preserved for the future.
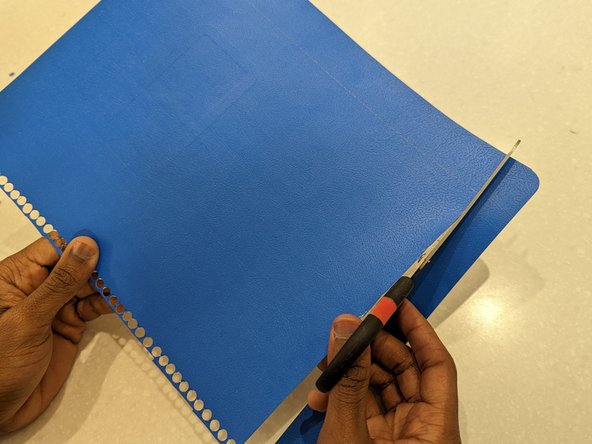
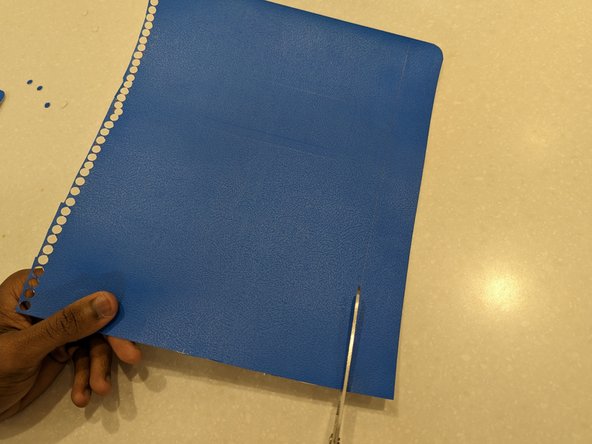
With the help of this guide, replace the damaged cover on your spiral bound notebook.
Cosa ti serve
-
-
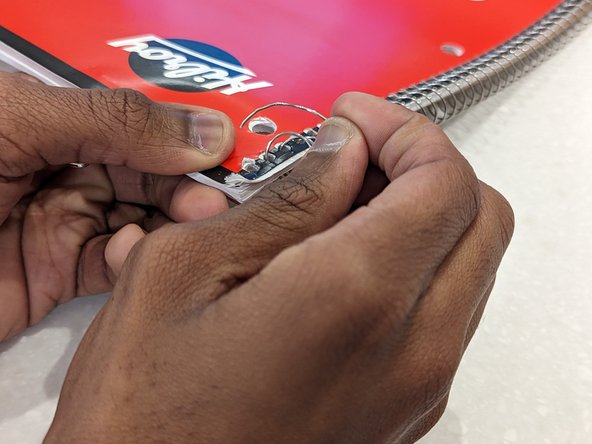
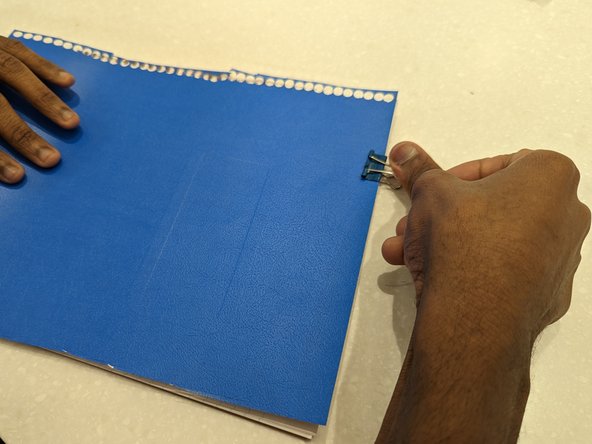
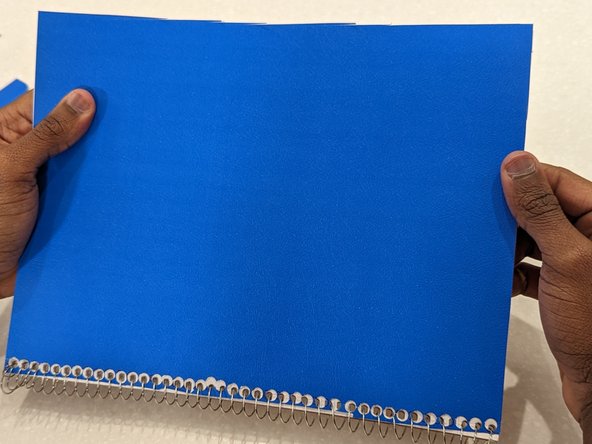
Use a binder clip on either end to hold the paper block together, excluding the damaged cover.
-
-


To reassemble your device, follow instructions 1 - 4 in reverse order.
To reassemble your device, follow instructions 1 - 4 in reverse order.
Annulla: non ho completato questa guida.
Un'altra persona ha completato questa guida.

Team

York University, Team O-31, Woodhouse Winter 2023 Membro di York University, Team O-31, Woodhouse Winter 2023
YORK-WOODHOUSE-W23SOG31
1 Membro
3 Guide realizzate