Salta al contenuto principale

Questa guida ha delle modifiche più recenti. Passa all'ultima versione non verificata.

Spin Master Hatchimal Draggle Fur Replacement

Cosa ti serve

  1. Spin Master Hatchimal Draggle Fur Replacement, Plastic Wing Replacement: passo 1, immagine 1 di 1
    • lay the Hatchimal on its side.

  2. Spin Master Hatchimal Draggle Fur Replacement: passo 2, immagine 1 di 1
    • Using the plastic opening tool, push in on the purple clip.

  3. Spin Master Hatchimal Draggle Fur Replacement: passo 3, immagine 1 di 1
    • Pull the wing off of the hatchimal.

    • The wing should come off with little resistance.

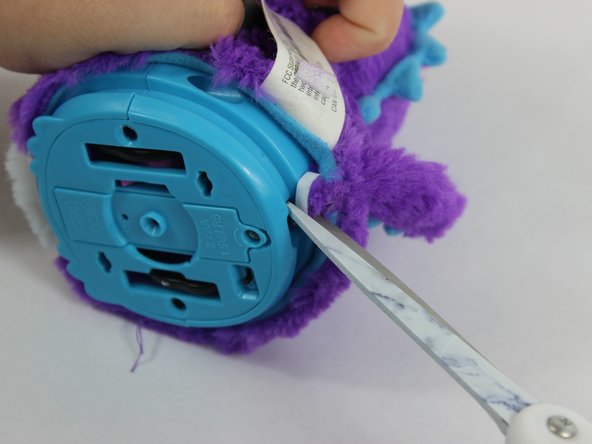
  4. Spin Master Hatchimal Draggle Fur Replacement, Fur Replacement: passo 4, immagine 1 di 2 Spin Master Hatchimal Draggle Fur Replacement, Fur Replacement: passo 4, immagine 2 di 2
    • Cut the fur retaining zip-tie with a pair of scissors.

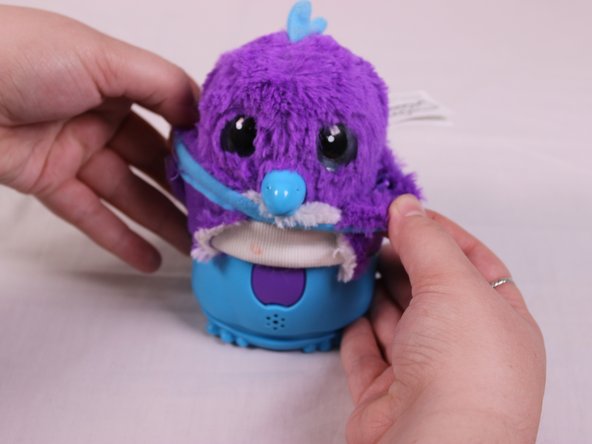
  5. Spin Master Hatchimal Draggle Fur Replacement: passo 5, immagine 1 di 2 Spin Master Hatchimal Draggle Fur Replacement: passo 5, immagine 2 di 2
    • Lift the fur up until it can't go further.

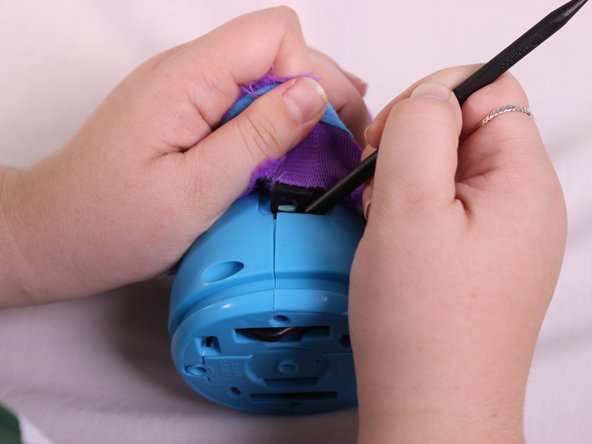
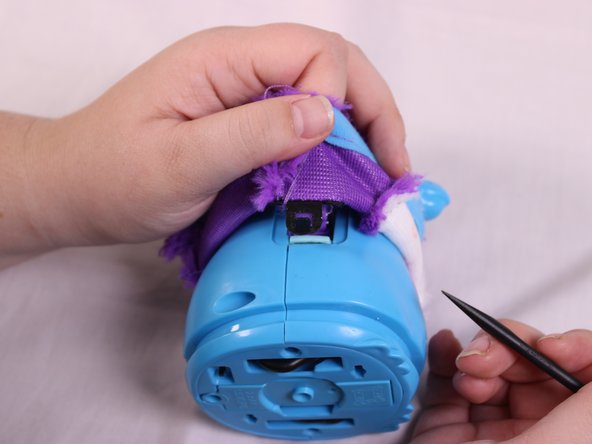
  6. Spin Master Hatchimal Draggle Fur Replacement: passo 6, immagine 1 di 3 Spin Master Hatchimal Draggle Fur Replacement: passo 6, immagine 2 di 3 Spin Master Hatchimal Draggle Fur Replacement: passo 6, immagine 3 di 3
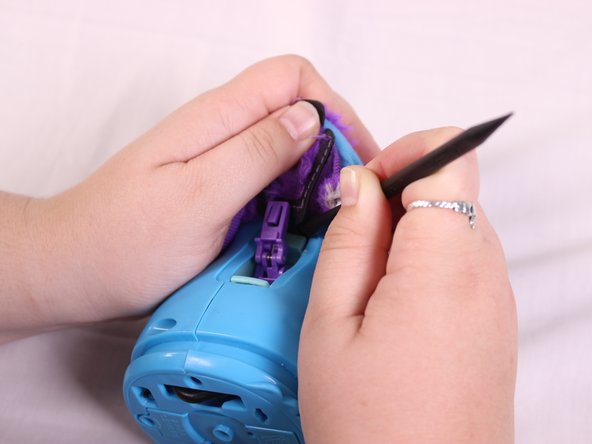
    • Use the spudger tool to push up on the black clip to free it.

    • Pull the clip out.

  7. Spin Master Hatchimal Draggle Fur Replacement: passo 7, immagine 1 di 3 Spin Master Hatchimal Draggle Fur Replacement: passo 7, immagine 2 di 3 Spin Master Hatchimal Draggle Fur Replacement: passo 7, immagine 3 di 3
    • Lift fur up to reveal the next set of clips.

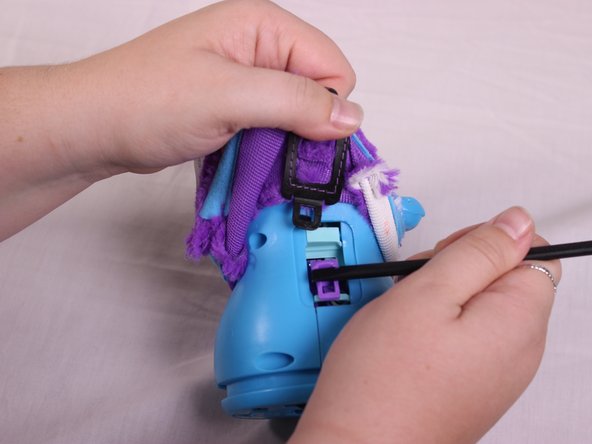
    • Insert a spudger to push up on the black clip to free it.

    • Pull out the clip.

  8. Spin Master Hatchimal Draggle Fur Replacement: passo 8, immagine 1 di 2 Spin Master Hatchimal Draggle Fur Replacement: passo 8, immagine 2 di 2
    • Lift the fur up and over the Hatchimals Head.

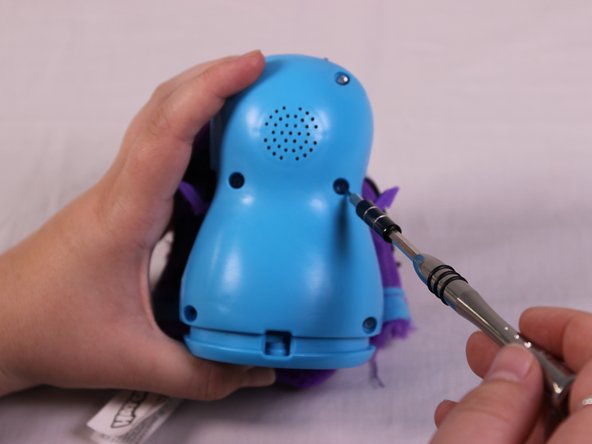
    • Remove the six 12mm Phillips #00 screws from then body.

  9. Spin Master Hatchimal Draggle Fur Replacement: passo 9, immagine 1 di 2 Spin Master Hatchimal Draggle Fur Replacement: passo 9, immagine 2 di 2
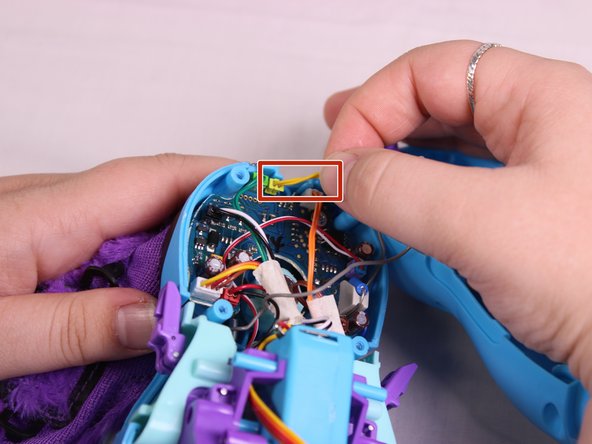
    • Pull the casing apart.

    • Remove the yellow speaker cable.

  10. Spin Master Hatchimal Draggle Fur Replacement: passo 10, immagine 1 di 3 Spin Master Hatchimal Draggle Fur Replacement: passo 10, immagine 2 di 3 Spin Master Hatchimal Draggle Fur Replacement: passo 10, immagine 3 di 3
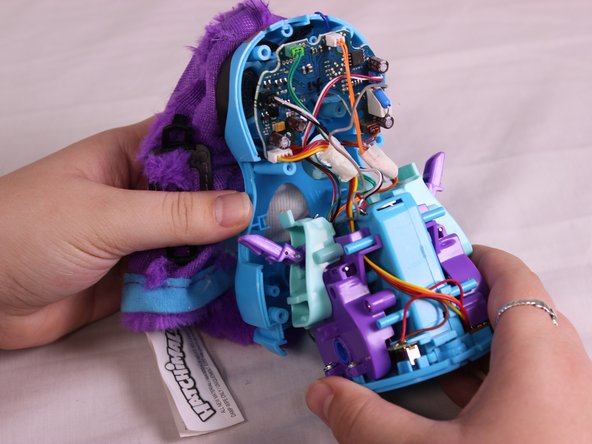
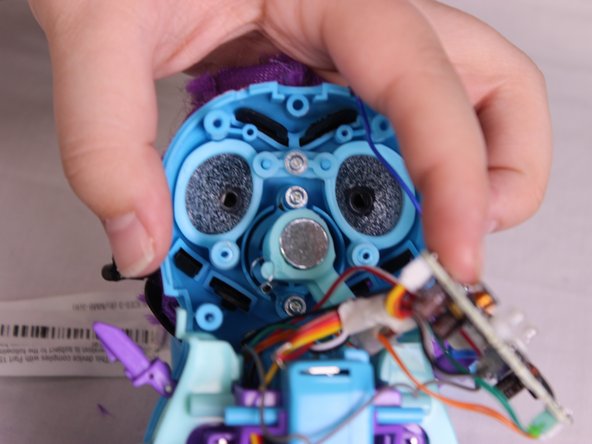
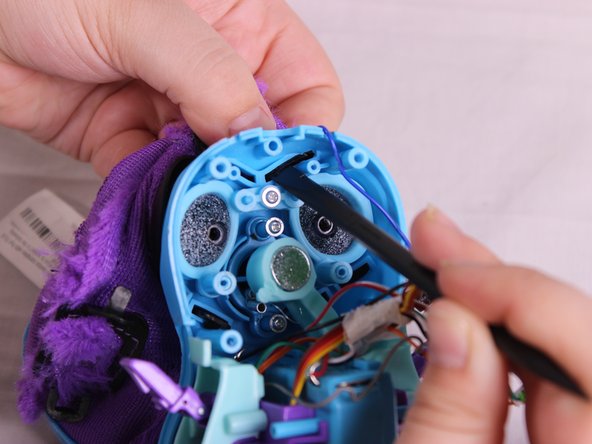
    • Remove the three 7mm Phillips #00 screws from the head.

    • Remove the wheel base and the circuit board carefully not to damage the spring.

  11. Spin Master Hatchimal Draggle Fur Replacement: passo 11, immagine 1 di 2 Spin Master Hatchimal Draggle Fur Replacement: passo 11, immagine 2 di 2
    • Push the six black fur clips out using the spudger.

    • Remove the fur completely.

Conclusione

To reassemble your device, follow these instructions in reverse order.

Team

USF Tampa, Team S1-G5, Nance Spring 2018 Membro di USF Tampa, Team S1-G5, Nance Spring 2018

USFT-NANCE-S18S1G5

3 Membri

10 Guide realizzate

0 Commenti

Aggiungi Commento

Visualizza Statistiche:

Ultime 24 Ore: 0

Ultimi 7 Giorni: 0

Ultimi 30 Giorni: 5

Tutti i Tempi: 715