Introduzione
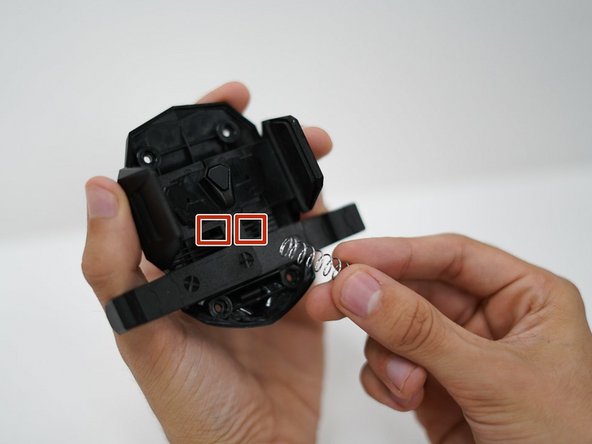
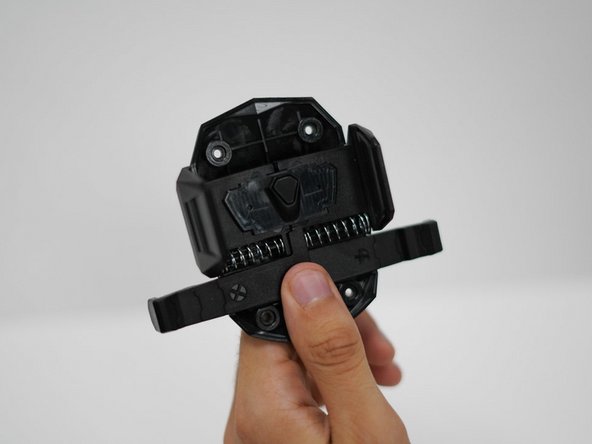
In the scenario that your Spigen Kuel TS36 Car Mount is experiencing difficulty gripping your phone, or if the device is refusing to extend its wings, this guide will prove beneficial in replacing the internal coils. Driving with a faulty car mount is dangerous because it has the potential to fall and cause a distraction to the driver, perhaps endangering others in the process as well. Prior to beginning this guide, be mindful of the tension within the two individual springs. Step 3 of this guide cautions the opening of the car mount due to the potential launch of these coils; therefore it’s advised to perform this step carefully. To reduce the possibility of these springs launching from the device, make sure to press the button within the middle of mount to release any tension built up within the coils before beginning this guide.
Cosa ti serve
-
-
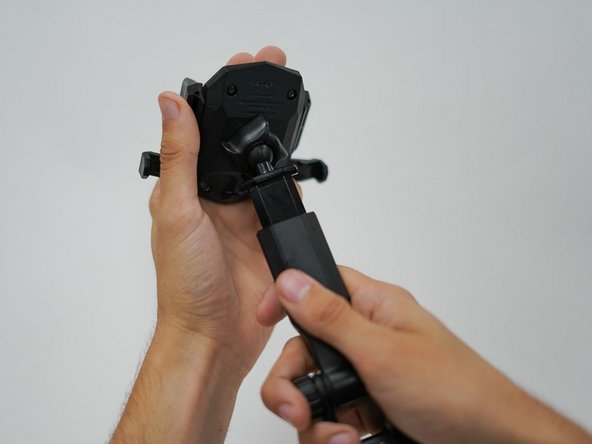
Pull the phone holder off the mount by applying force; the parts will not actually break from the pressure. Temporarily remove the two round half-socket covers on the ball socket, as they are prone to slipping off.
-
-


To reassemble your device, follow these instructions in reverse order.
To reassemble your device, follow these instructions in reverse order.
Annulla: non ho completato questa guida.
Un'altra persona ha completato questa guida.
Team

CSU Fullerton, Team S1-G1, Bruce Fall 2019 Membro di CSU Fullerton, Team S1-G1, Bruce Fall 2019
CSUF-BRUCE-F19S1G1
4 Membri
1 Guida realizzata