Questa traduzione potrebbe non riflettere gli aggiornamenti più recenti dalla guida originale. Aiuta ad aggiornare la traduzione o visualizza la guida d'origine.
Introduzione
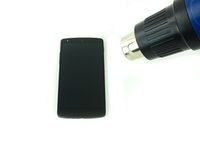
Questa guida riporta le istruzioni su come sostituire uno schermo LCD crepato o danneggiato e il gruppo digitizer del Google Nexus 5.
Cosa ti serve
-
-
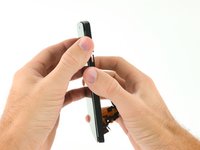
Inserisci uno strumento di estrazione SIM o una graffetta nel foro vicino all'alloggiamento della scheda SIM posizionato appena sotto il pulsante di accensione.
-
Spingi lo strumento nel foro finché non sentirai lo scatto della scheda che esce.
-
-
-
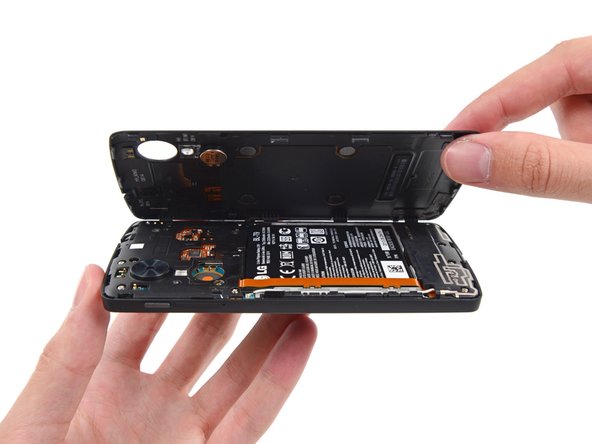
Usa uno strumento di apertura in plastica per sganciare le clip nella parte superiore e su ogni lato della cover posteriore.
-
-
-
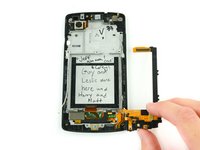
Rimuovi le sei viti Phillips #00 da 4,0 mm che fissano il telaio intermedio al telefono.
-
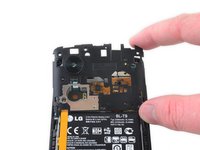
Per sostituire lo schermo LCD e il digitizer, rimuovi, con lo stesso cacciavite, le altre quattro viti da 4,0 mm della cover della scheda figlia. Potresti dover forare del materiale adesivo trasparente per svitarle.
-
-
Attrezzo utilizzato in questo passaggio:Spudger$2.99
-
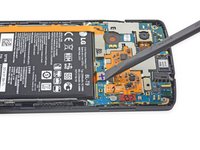
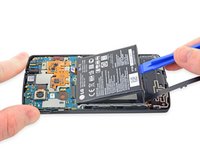
Usa l'estremità piatta di uno spudger in nylon per scollegare il connettore della batteria.
-
-
-
-
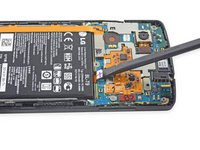
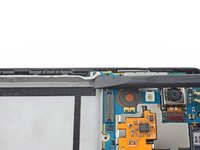
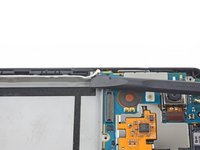
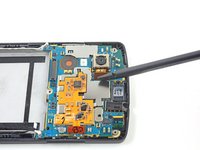
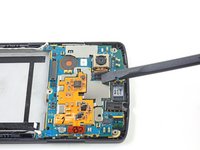
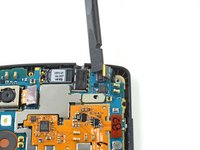
Usa l'estremità piatta di uno spudger per disconnettere il cavo dell'antenna di sinistra.
-
-
-
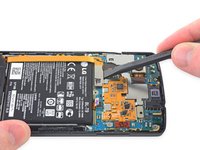
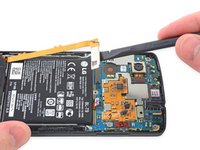
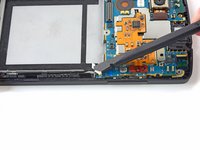
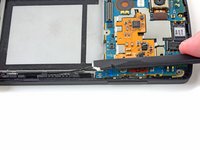
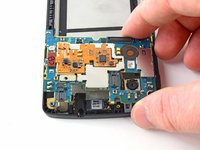
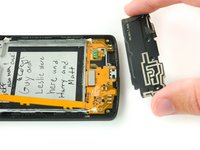
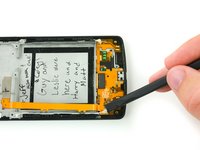
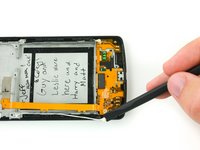
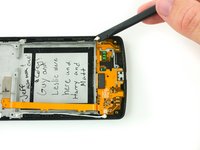
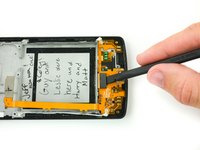
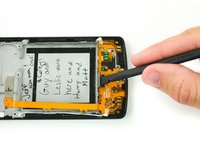
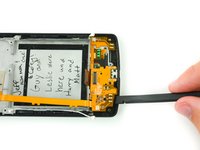
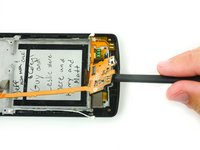
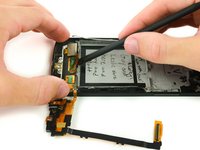
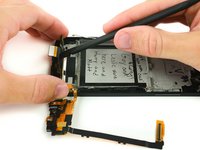
Inserisci uno spudger nell'apertura tra la scheda figlia e l'alloggiamento in plastica.
-
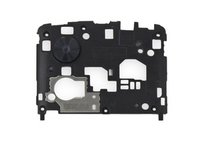
Solleva la cover della scheda figlia verso l'alto per staccarla dal telaio.
-
-
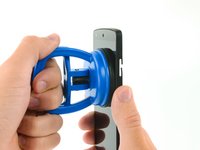
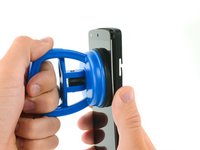
Attrezzo utilizzato in questo passaggio:Heavy-Duty Suction Cups (Pair)$14.95
-
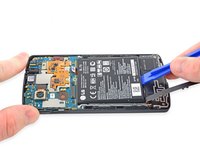
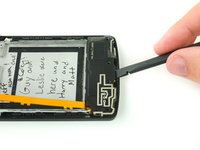
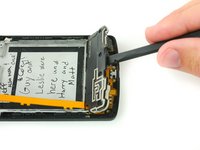
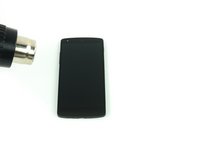
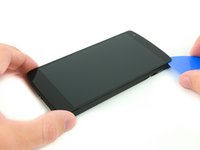
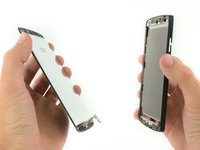
Usa una ventosa per carichi elevati e tira con una certa forza lo schermo per staccarlo completamente dal telaio oppure quanto basta per creare una piccola fessura.
-


Per rimontare il tuo dispositivo, segui queste istruzioni in ordine inverso.
Annulla: non ho completato questa guida.
Altre 45 persone hanno completato questa guida.
Un ringraziamento speciale a questi traduttori:
85%

albertob ci sta aiutando ad aggiustare il mondo! Vuoi partecipare?
Inizia a tradurre ›

10Commenti sulla guida
This is a nice guide to understand how to disassemble and assemble your Nexus 5. 95% can be done with this guide.
Tip: read the comments!
My own tips are:
1) Search for instructions how to use glue or double sided adhesive tape. It's a must if you want succesfully put everything back together
2) You need to transfer the speaker protection from the inside of the glass to the new glass
3) The same needs to be done with with a white rectangle. It has something to do with your LED-light at the bottom.
Saw these tips in this YouTube video https://youtu.be/jQS618ayL5w
Thanks for the extra tips, Jeroen! These two steps can be found at 2:50 of the video for those who want to skip right to it. ;)
We do supply the tape as well: Tesa 61395 Tape
By the way, does the guy in this video remind anyone else of Thrawn from Star Wars Rebels (aka Lars Mikkelsen?)
Richard -
Hey, what size do I need for the tape? Is the mm size referring to width or thickness?
I assume it’s width and I need 1mm or 2mm to repair my Nexus 5, but which one?
I need a little help with this tutorial. I’ve bought a second hand N5 where someone replaced the screen, now the display lifts off slightly in the bottom left corner of the device. Pushing it back will only hold it in for a few minutes. Should I slide a tiny piece of double-sided adhesive tape underneath, or rather some modelmaking glue?
The new screen is not adhered as the old one was.. not sure what I would use for that. Not terribly important for me since it sits 99% flush, and lives in an enclosed case, but the guide should probably mention this.