Introduzione
Questa guida ti mostrerà come accedere ai filtri nello Shark Rocket HV301. Pulire o sostituire i filtri migliorerà il potere aspirante e le prestazioni. Non è richiesto alcuno strumento, in quanto questa procedura è facile da eseguire.
Cosa ti serve
-
-
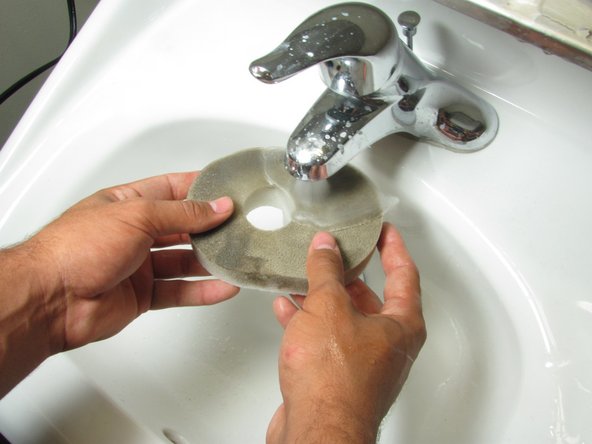
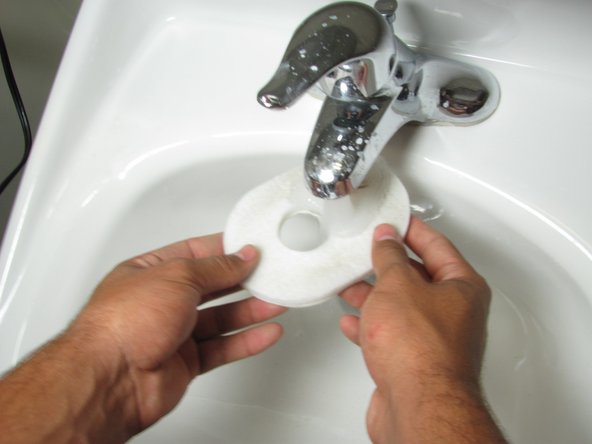
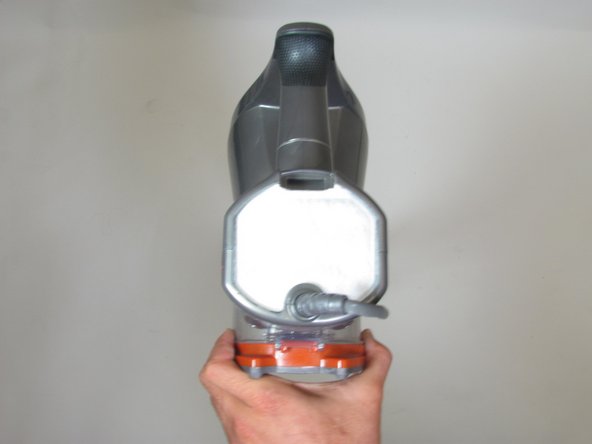
Trova il coperchio arancione del filtro sul davanti dell'aspirapolvere.
-
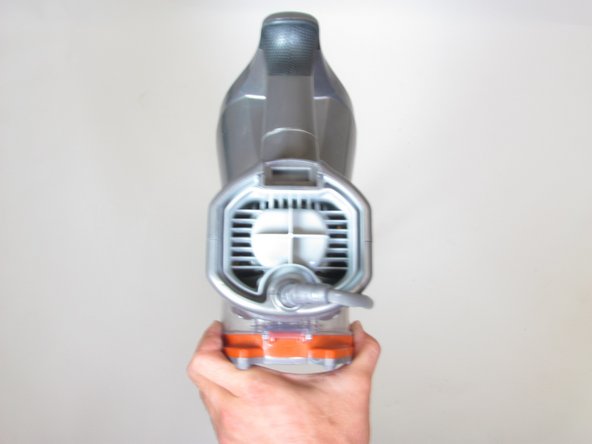
Rimuovi il coperchio arancione del filtro tirando l'aletta con scritto "Clean Filter Monthly" sopra.
-
-


Per rimontare il tuo dispositivo, segui le istruzioni in ordine inverso.
Per rimontare il tuo dispositivo, segui le istruzioni in ordine inverso.
Annulla: non ho completato questa guida.
Altre 7 persone hanno completato questa guida.
Un ringraziamento speciale a questi traduttori:
100%
Daniele Carminati ci sta aiutando ad aggiustare il mondo! Vuoi partecipare?
Inizia a tradurre ›

Team

Cal Poly, Team 10-5, Livingston Fall 2016 Membro di Cal Poly, Team 10-5, Livingston Fall 2016
CPSU-LIVINGSTON-F16S10G5
4 Membri
14 Guide realizzate
11 Commenti
great! I had an extra filter in a package of filters I bought and couldn't for the life of me figure there that one on top of the motor went. I haven't changed it since I bought the cleaner 2 years ago!
Nope. If it’s cloth, wash it with soap and water, toss it in the drier, and put it back in. If it’s washable but not cloth, wash it, let it dry - good to go
Am I missing something? Isn’t the conclusion a little premature? The filter in the back, are we able to clean it or not? A couple of YouTube videos on the subject say not to clean this filter. When my vacuum is under load and they close off the suction I immediately have a loss of suction power and loud suction noise out the back. Basically it is losing almost all the suction power out the back when the vacuum is under load. This happens regardless if I have the filter in or out so I can’t imagine cleaning it will make much difference. I have cleaned all my other filters. Other than that the vacuum sounds like it’s working well. I can’t find any other information on the topic. This is not happen to anyone else? Thank you for any help and also if you could clarify if we can clean the filter in the back or not as well that would be great. My apologies if this was already mentioned somewhere in the video earlier on. May want to include it at the end when discussing that particular filter anyways?
Can I rinse the motor filter?