Introduzione
Dopo un estensivo utilizzo della tastiera, arriverà il tempo che certi tasti smettano di funzionare. Questo può essere difficile, soprattutto se i tasti che smettono di funzionare sono tasti necessari, come una lettera. Questa guida ti mostrerà come sostituire uno Switch Romer G in una tastiera Logitech G Pro, cosi che tu possa continuare ad utilizzare la tua tastiera senza che tu debba sostituire l'intera unità. Dopo che avrai finito con questa riparazione, in futuro sarai in grado di sistemare la tua tastiera se più tasti smetteranno di funzionare.
Cosa ti serve
-
-
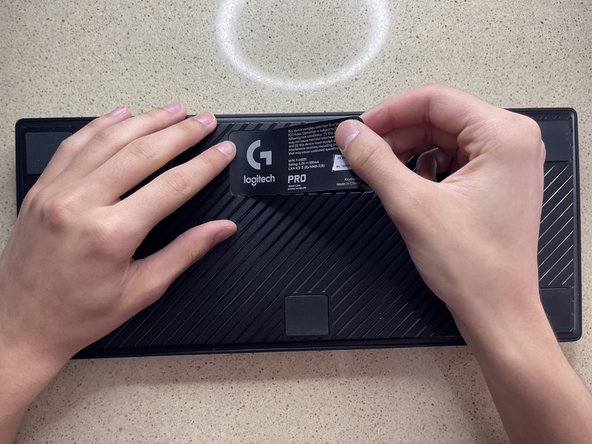
Utilizza le tue dita per rimuovere i keycap dai tasti che non funzionano più.
-
-
-
-
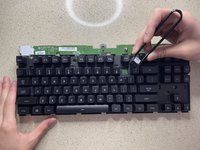
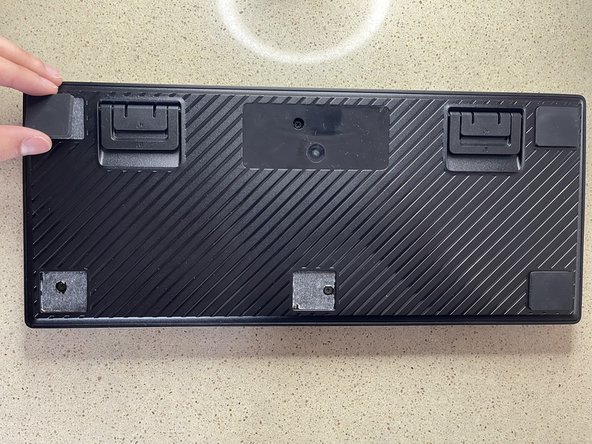
Gira la tastiera così che tu possa guadare ai tasti.
-
Per trovare i punti di saldatura sulla scheda, conta il numero di righe e tasti dal lato destro o sinistro del tasto/switch rotto.
-
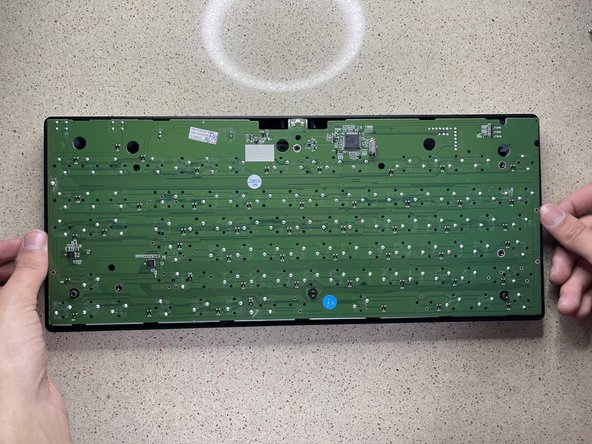
Gira la scheda cosi che tu possa vedere nuovamente i punti di saldatura.
-
Utilizzando il numero di righe e tasti da destra e sinistra, conta i punti di saldatura. Ciò ti permetterà di trovare il punto di saldatura che avrai bisogno di rimuovere.
-
-
Attrezzo utilizzato in questo passaggio:Desoldering Pump$3.99
-
Scalda il tuo saldatore fino a 350 gradi celsius.
-
I due pin che devi dissaldare saranno in diagonale tra di loro.
-
A questo punto, tu vorrai dissaldare entrambi i pin che tengono lo switch. Quando la saldatura inizia a sciogliersi, dovresti usare una pompa dissaldante per rimuovere la saldatura che si è sciolta.
-
-
-
Prendi la tastiera e girala nuovamente cosi che tu possa vedere i punti di saldatura.
-
Dopo aver trovato il nuovo switch sul retro della scheda, premi il saldatore sul pin, e porta lentamente lo stagno nella posizione del saltatore per creare un punto di saldatura. Fai questo per entrambi i pin.
-
-
-
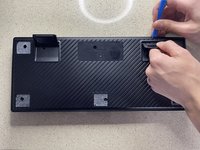
Prendi la scocca posteriore e posizionala sul retro e premi fermamente lungo i bordi fino a che clicca in posizione.
-
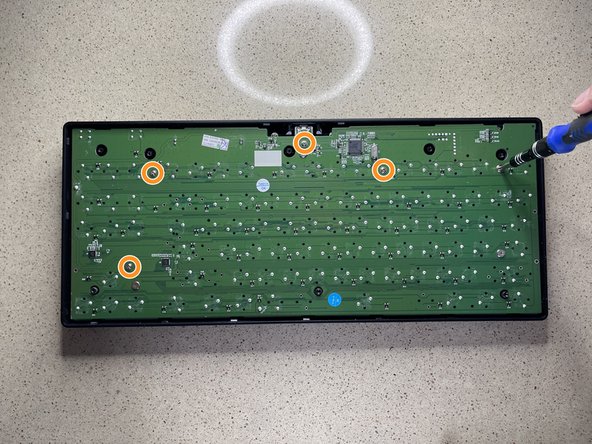
Avvita le cinque viti da 12.7 mm con un cacciavite Phillips(+) #1.
-
Avvita le tre viti da 7.6 mm con un cacciavite Phillips(+) #1 per bloccare la scocca inferiore alla frontale.
-


Congratulazione, adesso hai imparato come smontare e rimontare una tastiera Logitech G Pro e come sostituire gli Switch Romer G in questa tastiera.
Congratulazione, adesso hai imparato come smontare e rimontare una tastiera Logitech G Pro e come sostituire gli Switch Romer G in questa tastiera.
Annulla: non ho completato questa guida.
Altre 9 persone hanno completato questa guida.
Un ringraziamento speciale a questi traduttori:
100%


Questi traduttori ci stanno aiutando ad aggiustare il mondo! Vuoi partecipare?
Inizia a tradurre ›

Team

UMass Dartmouth, Team S1-G18, Sinclaire Spring 2021 Membro di UMass Dartmouth, Team S1-G18, Sinclaire Spring 2021
UMASSD-SINCLAIRE-S21S1G18
1 Membro
5 Guide realizzate
12 Commenti
I dropped a full glass of milk on it. Took 2 hours to completely disassemble, clean, and reassemble it. It looks just like when I had it. Thanks !
A few additional points:
* If you also need to remove the lower cover from the board, the operation has a few tricky bits:
** The full-size version of the keyboard has two plastic hooks holding the cover to the board and there is no obvious way to release them. This means that even after you remove all the screws, the cover will not release. Be careful and confirm that it is just catching in the areas between the three sets of keys. They will probably break and I couldn't figure out a way to avoid it but it isn't critical and won't affect the reassembled keyboard. Just be aware of this and be aware of this.
** The power switch and the windows-key-disable switch are extremely delicate and easy to break. The switch itself is tiny and has a miniscule sliding arm sticking out that fits into the much-larger case switch cover.
to be continued because of dumb character limit. (I'm just trying to help here!)
continued...
* If you look carefully at the pictures of the solder points, you'll notice that there are two different orientations. If you, like me, want to cannibalise an unused key (such as one of the G1-6 keys or the three near-useless Print Screen, Scroll Lock, and Pause buttons, care a careful look at the broken key to see which orientation you need.
* The keycaps themselves are not that well-designed and become loose after repeated removal, no matter how careful you are. This means that if you like to vacuum your keyboard or shake out the lint, you may be in for a bit of annoyance.
* The shift and enter keys do not have adequate lateral support and you may find that, over time, they become misaligned with their adjacent keys. I think the takeaway message is to avoid Romer keys; they are just not as well-built or designed as Cherry.
Romer G's are absolutely terrible. I'm not talking about feel or function here, they feel great as long as they're working, but they break EXTREMELY easily in a way that is almost unrepairable - the little plastic "feet" that keep a keycap attached to the switch break off and get stuck in the switch, so now you have to replace both the switch and the keycap, good luck with that. After I cleaned my keyboard for the first time (removing all the keycaps from the switches), I found out I had broken like 5-10 of them, including the spacebar, and some were broken from before. The broken keys started double-clicking all the time, which is especially annoying with the spacebar, so now ky board is pretty much unusable. There's 100$ down the drain. Learn to make switches, Logitech!
Hey Nikoi, you might not read this for a while but I hope this helps. This keyboard chatter blocker program stops the double tapping entirely! https://github.com/mcmonkeyprojects/Keyb...
Joe Goh -