Introduzione
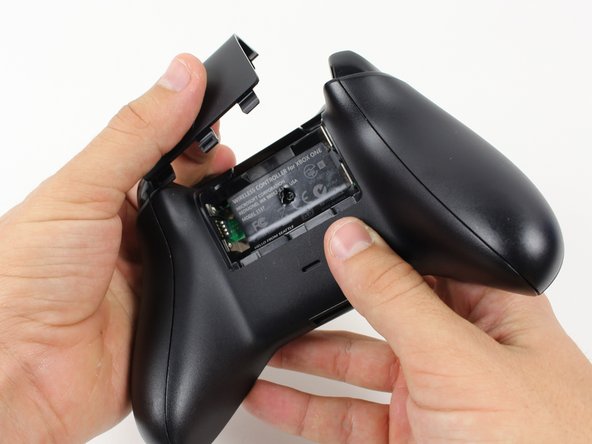
Ci sono diverse viti poste sul retro del controller che bisogna rimuovere per poter rimuovere la copertura frontale.
Cosa ti serve
-
-
Agguanta il controller saldamente per rimuovere la copertura posteriore dell'impugnatura, fai forza con lo spudger nella fessura tra la parte frontale e posteriore della copertura.
-
Stacca la copertura posteriore dell'impugnatura muovendo avanti ed indietro lo spudger. Ripeti questa operazione lungo tutta la lunghezza della fessura, tutt'intorno all'impugnatura.
-
-
-
-
Usa un cacciavite e fai un foro al centro dell'etichetta.
-
Rimuovi le cinque viti da 10 mm poste sul retro del controller usando il cacciavite Torx Security T8.
-
Per riassemblare il controller, segui le istruzioni precedenti in ordine inverso.
Per riassemblare il controller, segui le istruzioni precedenti in ordine inverso.
Annulla: non ho completato questa guida.
Altre 87 persone hanno completato questa guida.
Un ringraziamento speciale a questi traduttori:
100%
Questi traduttori ci stanno aiutando ad aggiustare il mondo! Vuoi partecipare?
Inizia a tradurre ›
11 Commenti
It was a good tutorial, but i have two plastic rings that stay after my instervention... Anyone knows where are-they ?
It was a good tutorial, but i have two plastic rings that stay after my instervention... Anyone knows where are-they ?
Note before starting. You need a T8 security bit (with a hole in the middle), not a standard T8 bit.
I took mine a part because it was looking dirty, gave it a good clean, putting it back together was easy but it wont work with the batteries anymore just the power core, there is nothing broken or cracked, any ideas?
Maybe you forced the battery contact on the wrong side of the case?


