Introduzione
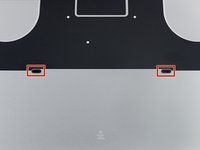
Senti qualcosa? Non senti niente? Sostituisci l'altoparlante DEstro del MacBook Pro 15" Retina Display versione metà 2015.
Nota che l'altoparlante destro è sulla destra quando usi normalmente il computer ma è sulla sinistra mentre tu lo stai riparando.
Cosa ti serve
-
-
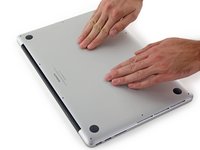
Rimuovi le seguenti viti pentalobe P5 che tengono unita la parte inferiore del case al resto del MacBook Pro:
-
Otto da 3,1 mm
-
Due da 2,3 mm
-
-
-
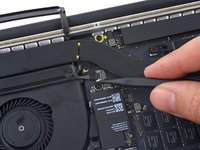
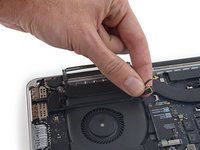
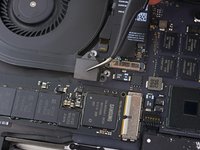
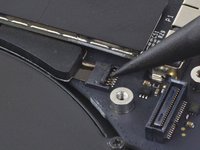
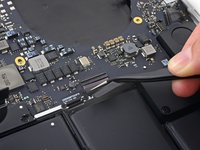
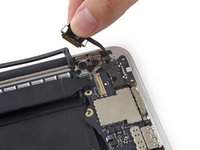
Usa uno spudger o delle pinzette per staccare i tre connettori dei cavi dell'antenna AirPort dalle loro sedi sulla scheda AirPort e ripiegali da un lato in modo che non diano fastidio.
-
-
-
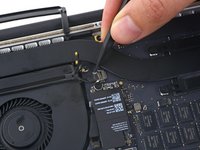
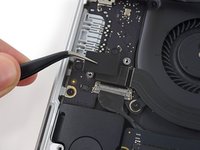
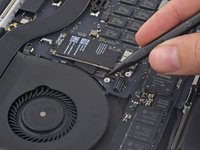
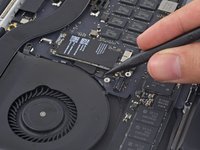
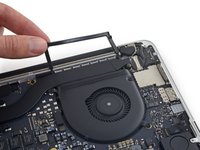
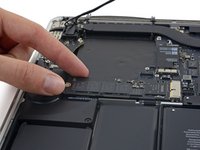
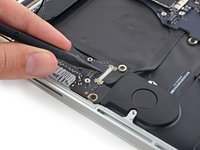
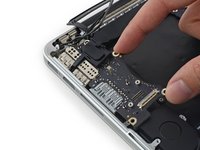
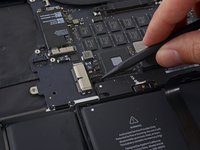
Rimuovi le due viti Torx T5 da 2,2 mm che fissano la copertura del connettore del cavo della scheda I/O.
-
-
-
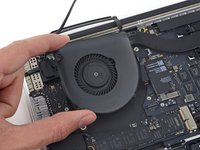
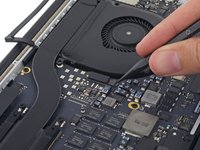
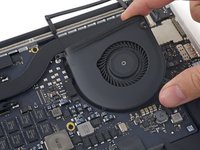
Usa un cacciavite Torx T5 per rimuovere le seguenti tre viti che fissano la ventola di destra alla scheda logica:
-
Una vite da 5,0 mm con una parte cilindrica lunga 2,0 mm
-
Una vite da 4,0 mm a testa larga
-
Una vite da 4,4 mm
-
-
-
-
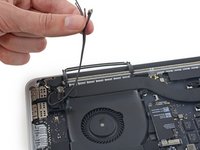
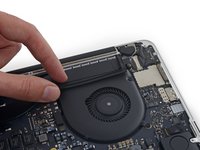
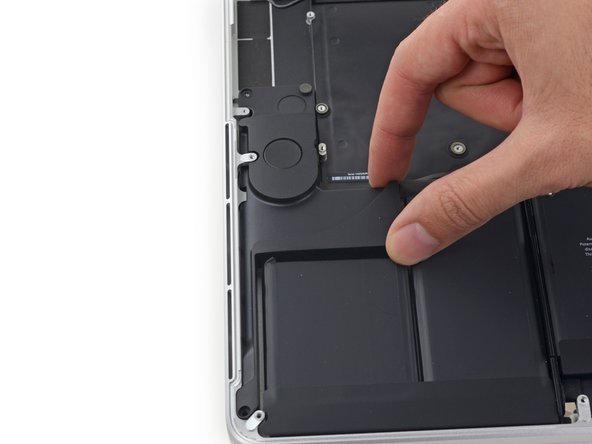
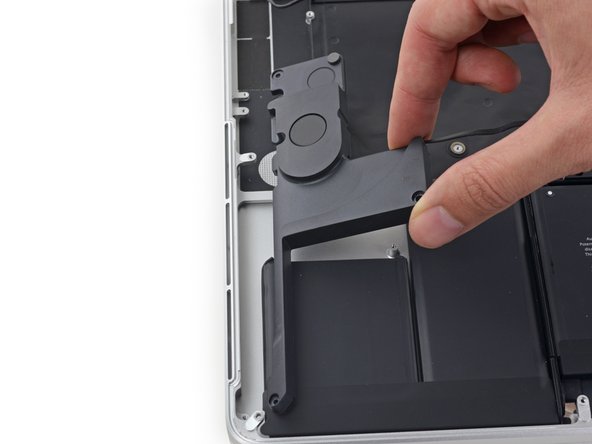
Stacca la copertura in gomma di sinistra dalla ventola e richiedere in modo che non dia fastidio.
-
-
-
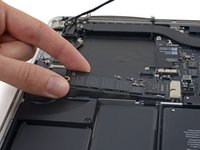
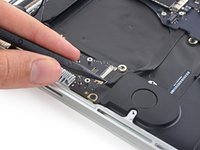
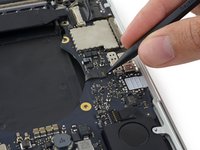
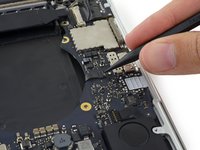
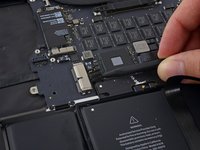
Rimuovi le due viti Torx T5 da 2,2 mm che fissano la copertura del connettore del cavo del touchpad sulla scheda logica.
-
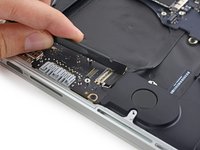
Rimuovi la copertura.
-
-
-
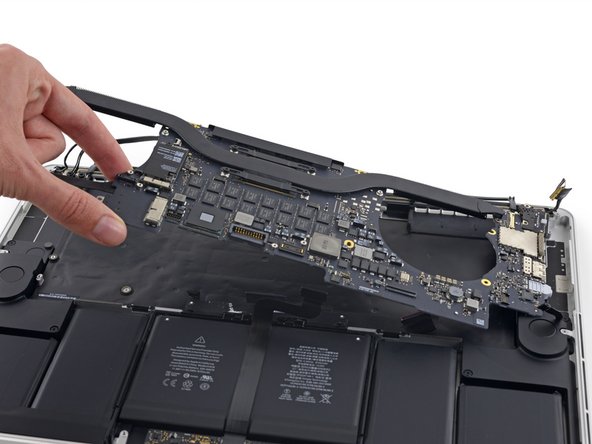
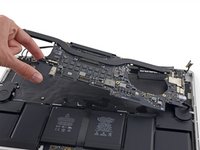
Rimuovi le seguenti sei viti che fissano il gruppo della scheda logica al case superiore.
-
Una vite Torx T5 da 3,8 mm
-
Due viti Torx T5 da 5,7 mm
-
Una vite Torx T5 da 5,6 mm (color argento e con una testa più alta rispetto alle altre)
-
Una vite Torx T5 da 2,6 mm
-
Una vite Torx T5 da 3,2 mm
-
-
-
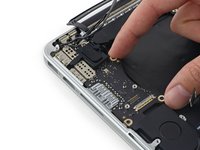
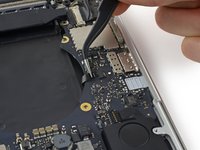
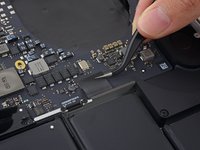
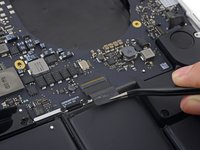
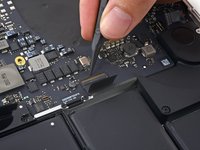
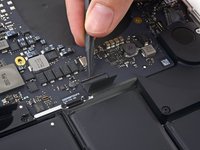
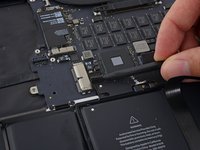
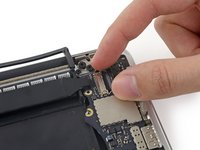
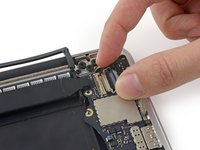
I passi seguenti illustrano in dettaglio la disconnessione di questi sei connettori. Accertati di leggere ogni passo, perché questi connettori sono di tipi diversi e si staccano in modo differente tra loro.
-
Cavo microfono
-
Cavo altoparlante sinistro
-
Cavo dati tastiera
-
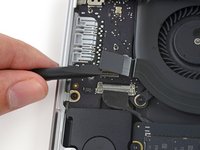
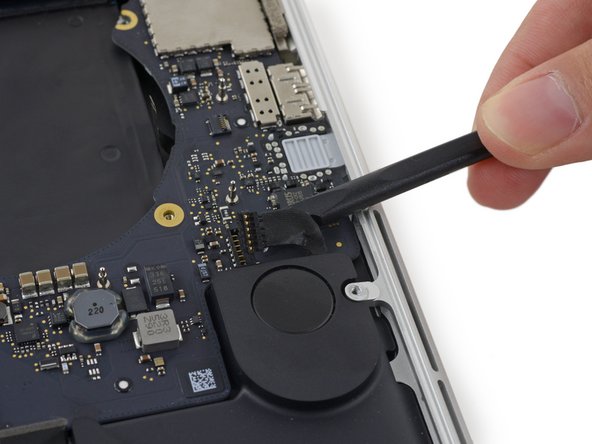
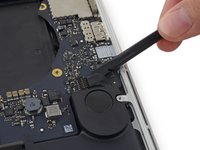
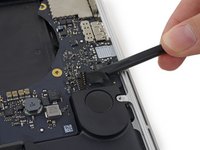
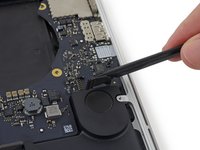
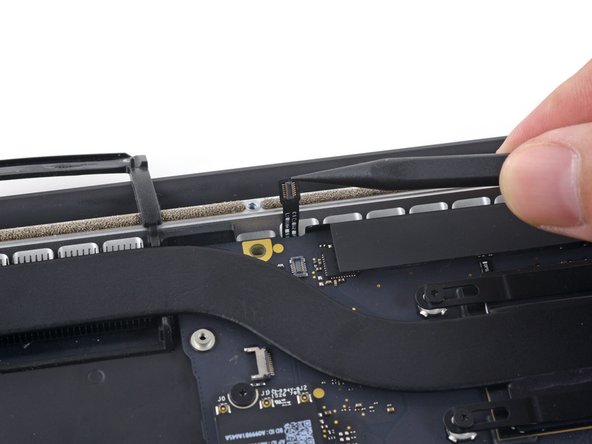
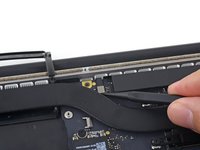
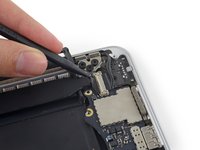
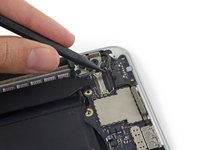
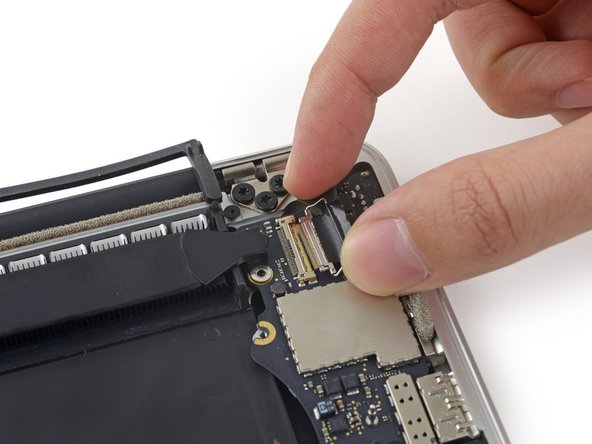
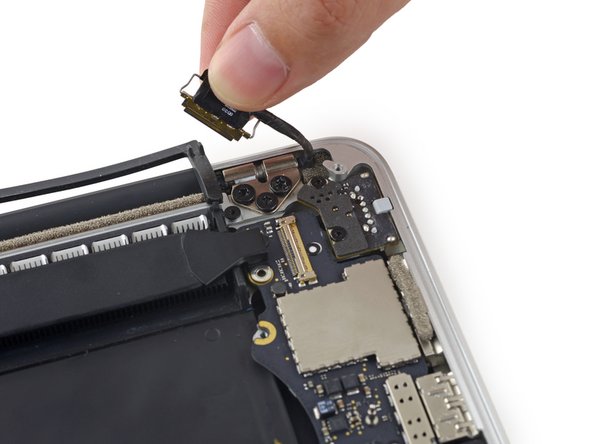
Cavo altoparlante destro
-
Cavo retroilluminazione tastiera
-
In fase di riassemblaggio, assicurati di aver ricollegato tutti questi connettori e che siano completamente in posizione nelle loro sedi.
-
-
-
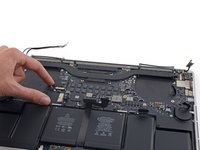
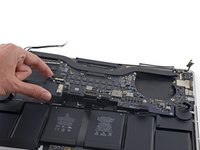
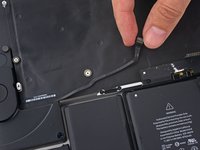
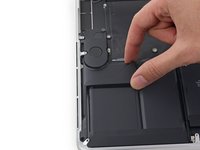
Rimuovi le seguenti viti che fissano l'altoparlante destro al case superiore:
-
Una vite Torx T5 da 2,7 mm
-
Una vite Torx T5 da 6,9 mm (con bordo da 4,5 mm)
-
Una vite Torx T5 da 5,6 mm
-


Per rimontare il tuo dispositivo, segui queste istruzioni in ordine inverso.
Per rimontare il tuo dispositivo, segui queste istruzioni in ordine inverso.
Annulla: non ho completato questa guida.
Altre 120 persone hanno completato questa guida.
Un ringraziamento speciale a questi traduttori:
100%


Questi traduttori ci stanno aiutando ad aggiustare il mondo! Vuoi partecipare?
Inizia a tradurre ›

38 Commenti
My Mac book pro 15” Mid 2015 got the right side speaker issue. I have ordered the speaker from iFixit and I am able to replace the speaker by following the steps given above. Thanks to iFixit.
Is there any way replace right speaker without remove the mainboard? Can we cut off the cable socket of fail speaker to get speaker out without remove the mainboard, and then when reassembling, we put the cable wire lie on the mainboard?
Thank you!
Tai Le.
I know this is 2 years too late probably, but you can by removing just the IO board and a few screws from the right side of the motherboard. You should be able to flex it enough without damaging it to gently pull the speaker cable out from under the board.
Zach -
thanks zach. was super easy this way.
Chris J -
Excellent. Successfully replaced RH speaker in my 2015 retina MBP. Took about 3 hours.
Tricky bit: Before screwing main board back into case I forgot to first make sure the left speaker wire, keyboard light cable, etc were all poking above the board (rather than squidged underneath), so had to retrace some steps…. i.e., make sure that none of the connectors are stuck under the board.
My tips:
1. use correct screwdrivers which are also magnetic (to hold screws), and also to use a plastic spudger where shown in instructions.
2. Get a couple little bowls (like might hold sauce) and place screws for case in one, and some other bits in another.
3. Use couple of upturned post-it notes and stick the little screws on the tacky strip while noting with pen underneath what size, and what for.
4. For some bits (cable end cover plates, logic board, etc) rather than try to keep track of all these different screws I immediately loosely placed them back in the chassis mounting holes for safekeeping, after removing each part.