Salta al contenuto principale

Sony Xperia Z3 LCD Display Replacement

Guida Archiviata
Questa guida è mantenuta solo per scopi storici. Usa la versione aggiornata della guida per eseguire la riparazione.

Cosa ti serve

  1. Sony Xperia Z3 LCD Display Replacement, Removing the back cover: passo 1, immagine 1 di 3 Sony Xperia Z3 LCD Display Replacement, Removing the back cover: passo 1, immagine 2 di 3 Sony Xperia Z3 LCD Display Replacement, Removing the back cover: passo 1, immagine 3 di 3
    • You need to heat up the back side of the phone with a hairdryer or with a special tool, like I did, all the way up to 70*C, first.

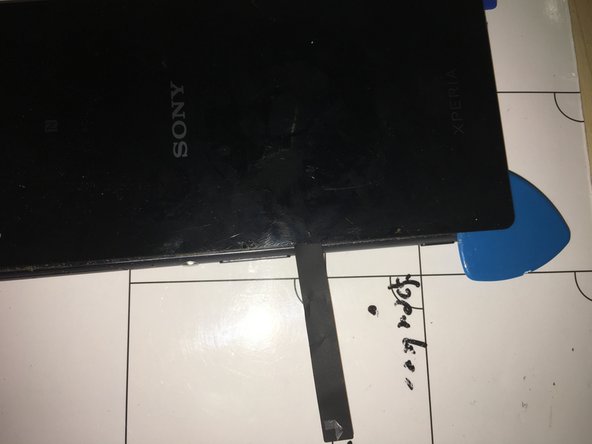
    • Use a sprudger or a guitar pick and work your way around the perimeter of the phone to separate the back cover from the rest. Leave the picks clamped so that it doesn't close.

  2. Sony Xperia Z3 LCD Display Replacement: passo 2, immagine 1 di 1
    • With a pair of tweezers, you should be able to pull out two black tabs. As soon as you can grab them, pull strongly. Then, similar to the iPhone 6, the glue dissolves and you should be able to lift the cover up and away.

  3. Sony Xperia Z3 LCD Display Replacement, Removing the battery: passo 3, immagine 1 di 3 Sony Xperia Z3 LCD Display Replacement, Removing the battery: passo 3, immagine 2 di 3 Sony Xperia Z3 LCD Display Replacement, Removing the battery: passo 3, immagine 3 di 3
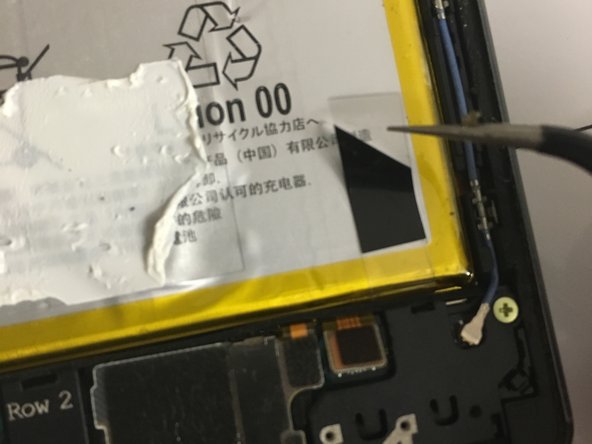
    • Disconnect the battery as shown in the picture and remove it from the phone.

    • Also, remove the adhesive strip in the lower right side.

  4. Sony Xperia Z3 LCD Display Replacement, Removing the speaker: passo 4, immagine 1 di 3 Sony Xperia Z3 LCD Display Replacement, Removing the speaker: passo 4, immagine 2 di 3 Sony Xperia Z3 LCD Display Replacement, Removing the speaker: passo 4, immagine 3 di 3
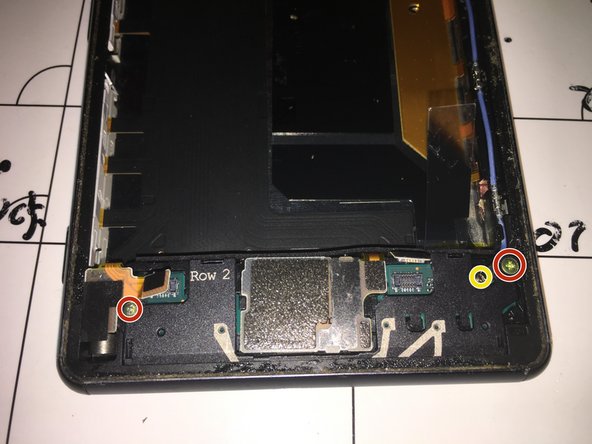
    • Use a Philips screwdriver to remove the 2 screws and the antenna.

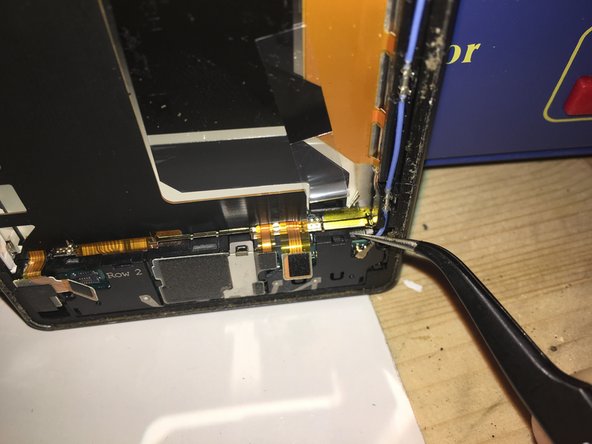
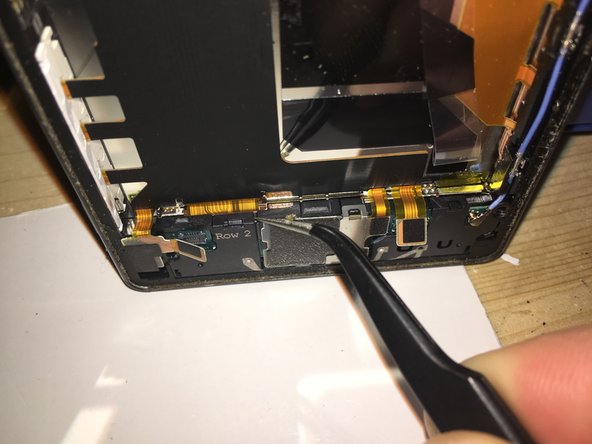
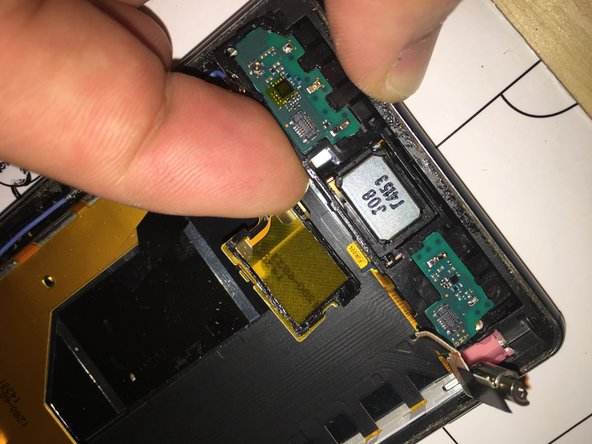
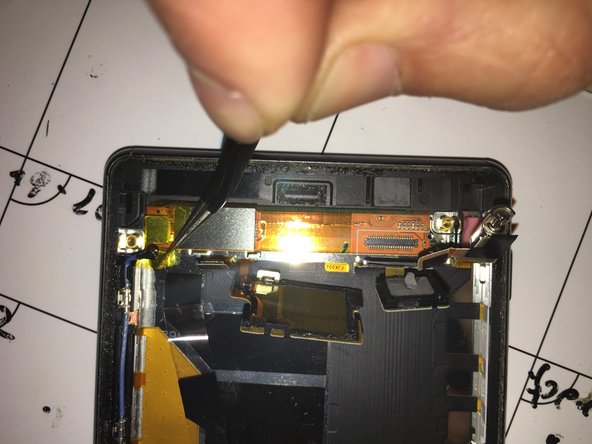
    • Use tweezers to open up the clips.

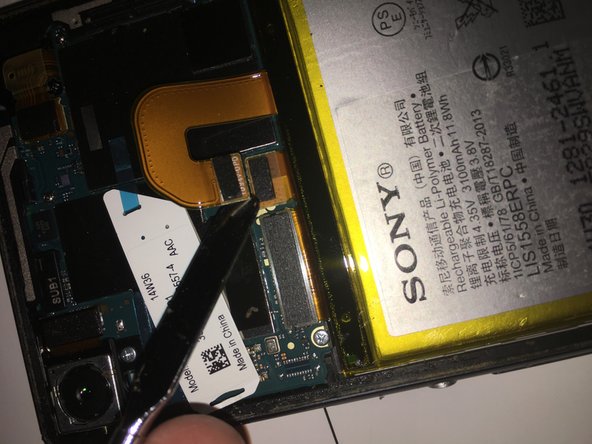
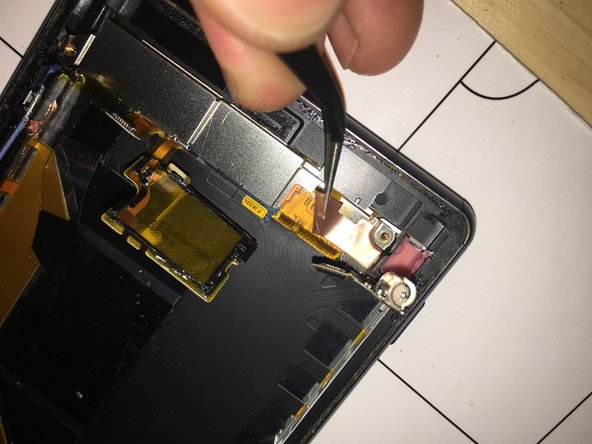
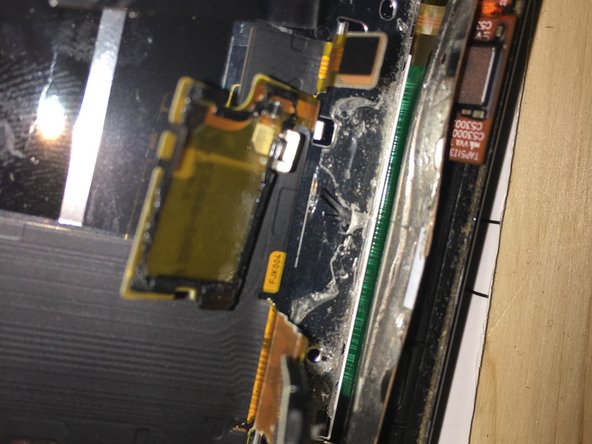
    • Disconnect the 2 ribbon cables.

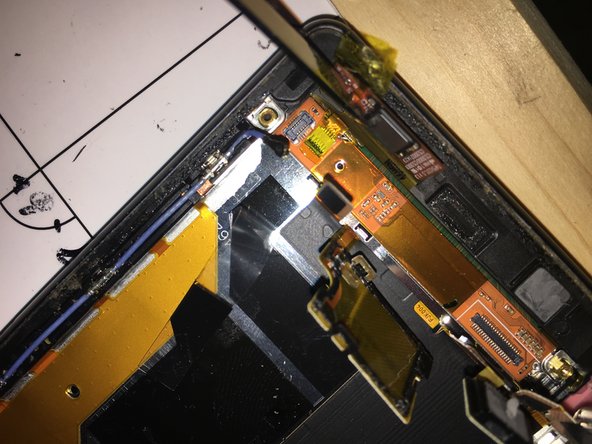
    • Then, pull out the plastic cover upwards and forward. Make sure you don't break it.

  5. Sony Xperia Z3 LCD Display Replacement, Removing the speaker: passo 5, immagine 1 di 3 Sony Xperia Z3 LCD Display Replacement, Removing the speaker: passo 5, immagine 2 di 3 Sony Xperia Z3 LCD Display Replacement, Removing the speaker: passo 5, immagine 3 di 3
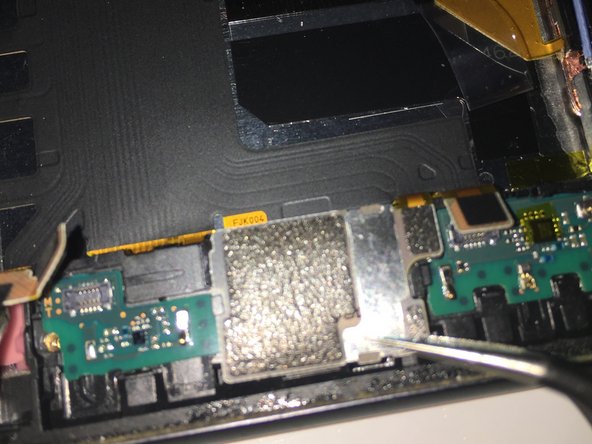
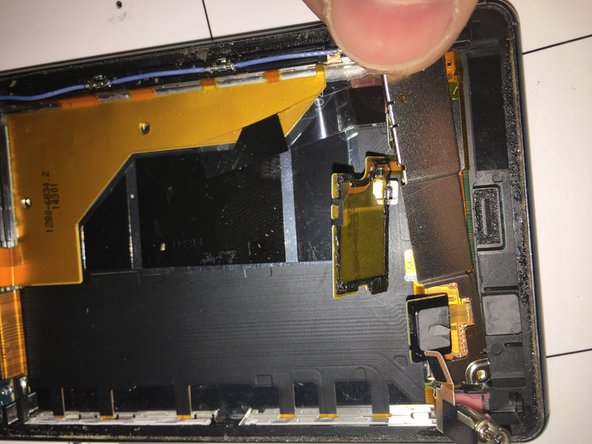
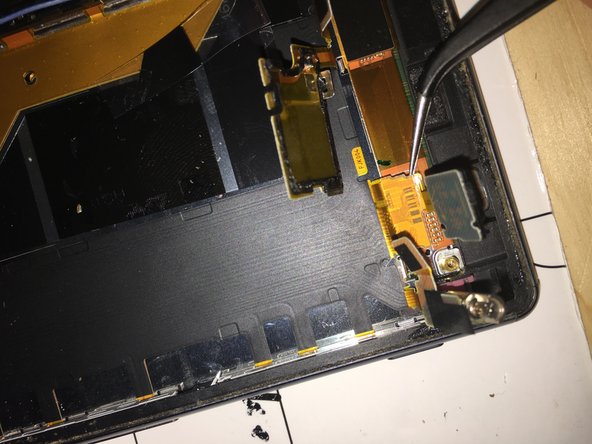
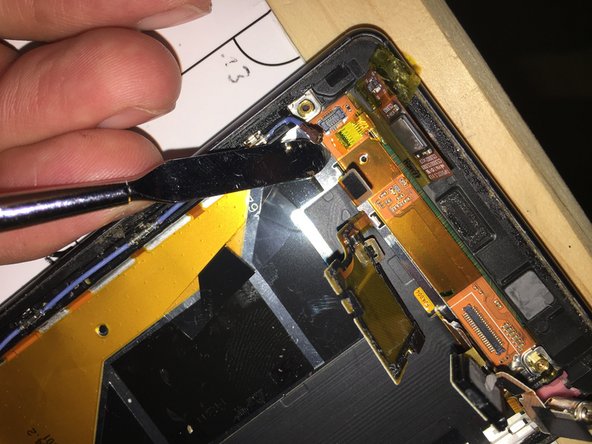
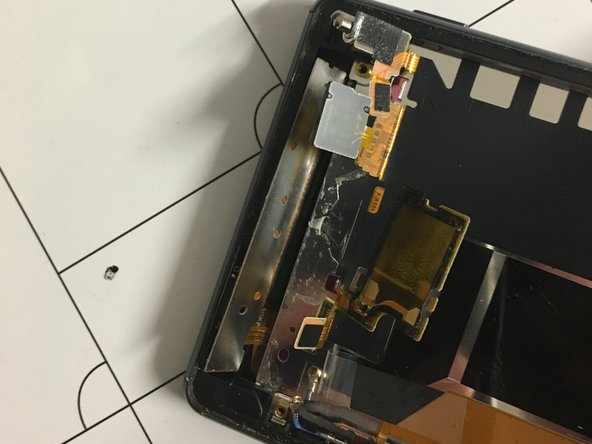
    • Carefully take out the cover of the microphone. Be very careful, there are ribbon cables underneath.

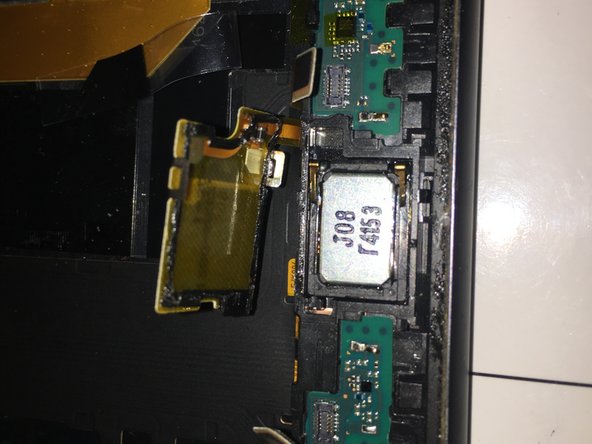
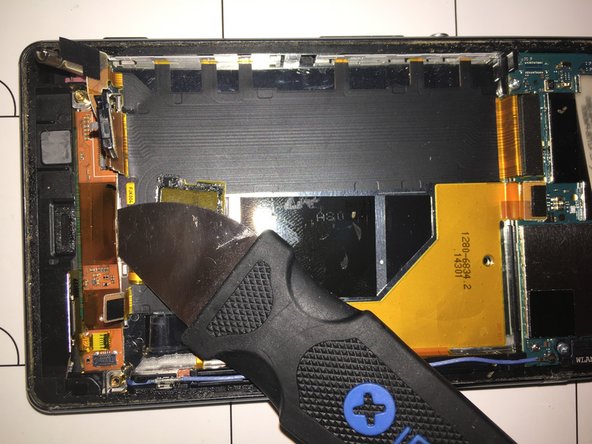
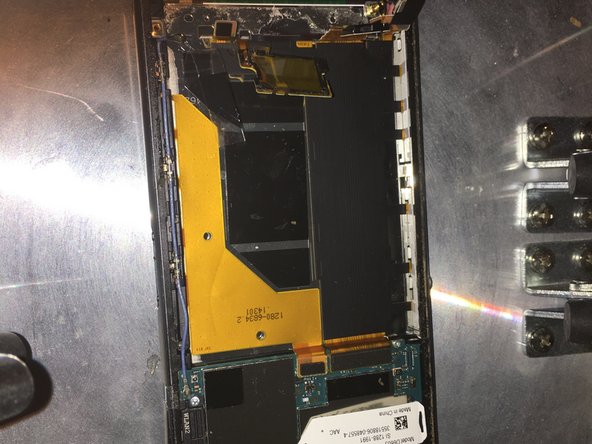
    • Remove the entire assembly now.

  6. Sony Xperia Z3 LCD Display Replacement: passo 6, immagine 1 di 2 Sony Xperia Z3 LCD Display Replacement: passo 6, immagine 2 di 2
    • Remove the copper foil, bend the microphone backwards and remove the alluminium shield.

  7. Sony Xperia Z3 LCD Display Replacement: passo 7, immagine 1 di 3 Sony Xperia Z3 LCD Display Replacement: passo 7, immagine 2 di 3 Sony Xperia Z3 LCD Display Replacement: passo 7, immagine 3 di 3
    • Disconnect the next ribbon. To do that remove the yellow foil and take out the silver plate.

  8. Sony Xperia Z3 LCD Display Replacement: passo 8, immagine 1 di 3 Sony Xperia Z3 LCD Display Replacement: passo 8, immagine 2 di 3 Sony Xperia Z3 LCD Display Replacement: passo 8, immagine 3 di 3
    • Using a flat tool you can now remove the entire board.

  9. Sony Xperia Z3 LCD Display Replacement, Removing the display: passo 9, immagine 1 di 2 Sony Xperia Z3 LCD Display Replacement, Removing the display: passo 9, immagine 2 di 2
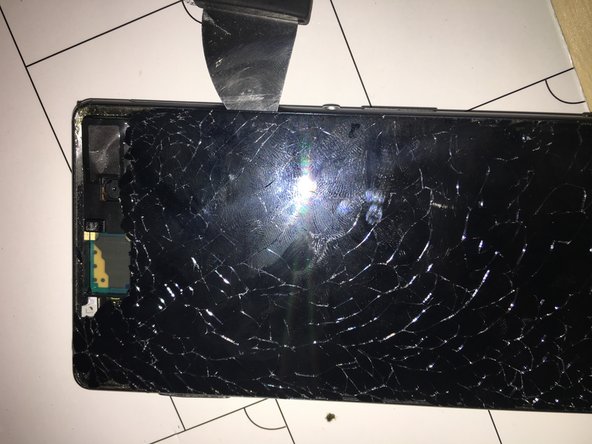
    • Using the same technique as when removing the back cover, heat up the display with a hairdryer or with a similar tool, then carefully remove it.

    • I recommend that you use protection, as the glass in the panel may break.

  10. Sony Xperia Z3 LCD Display Replacement: passo 10, immagine 1 di 2 Sony Xperia Z3 LCD Display Replacement: passo 10, immagine 2 di 2
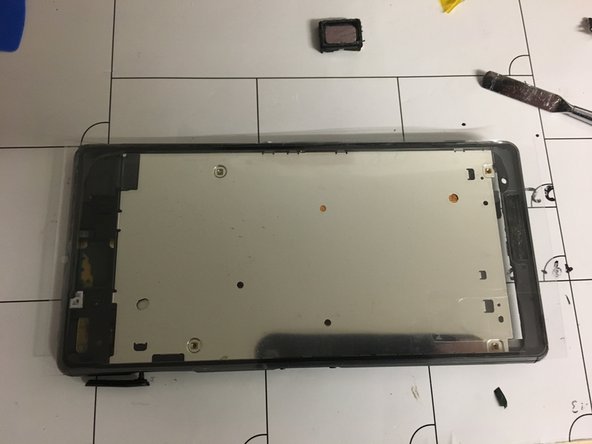
    • Carefully pull off the display and pull the cables out of the slot. If you need the mesh, remove it from the glass and stick it to the new one. Same goes for the speaker.

    • Now clean the edges of all adhesive residues, place the new adhesive strips and thread the display connector through the slots. Press firmly and you're finished.

Conclusione

Can't guarantee the success of the repair. You are opening up your device on your own risk. To reassemble your device, just follow the steps in reverse order.

Altre 5 persone hanno completato questa guida.

Un ringraziamento speciale a questi traduttori:

de en

100%

Questi traduttori ci stanno aiutando ad aggiustare il mondo! Vuoi partecipare?
Inizia a tradurre ›

Paku83

Membro da: 10/07/16

1.458 Reputazione

3 Guide realizzate

0 Commenti

Aggiungi Commento

Visualizza Statistiche:

Ultime 24 Ore: 0

Ultimi 7 Giorni: 1

Ultimi 30 Giorni: 1

Tutti i Tempi: 6,974