Questa versione può contenere modifiche errate. Passa all'ultima istantanea verificata.
Cosa ti serve
-
Questo passaggio è privo di traduzione. Aiuta a tradurlo
-
Heat to soften back cover sticker.
-
Place suction cup and pull open a gap.
-
-
Questo passaggio è privo di traduzione. Aiuta a tradurlo
-
Insert into guitar pick, slide and cut the sticker. Finally, remove the back cover.
-
-
-
Questo passaggio è privo di traduzione. Aiuta a tradurlo
-
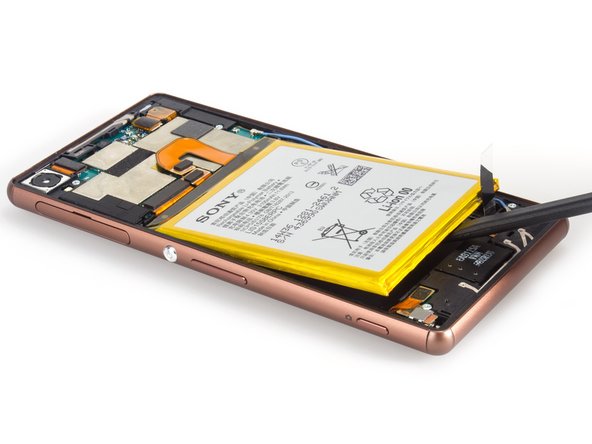
Twist off two screws here.
-
Release all the connectors connecting with loudspeaker assembly.
-
Remove vibrator securing bracket.
-
-
Questo passaggio è privo di traduzione. Aiuta a tradurlo
-
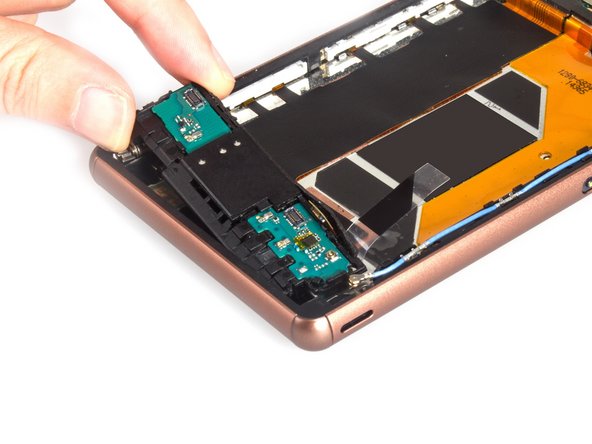
Remove loudspeaker assembly cover and assembly itself.
-
-
Questo passaggio è privo di traduzione. Aiuta a tradurlo
-
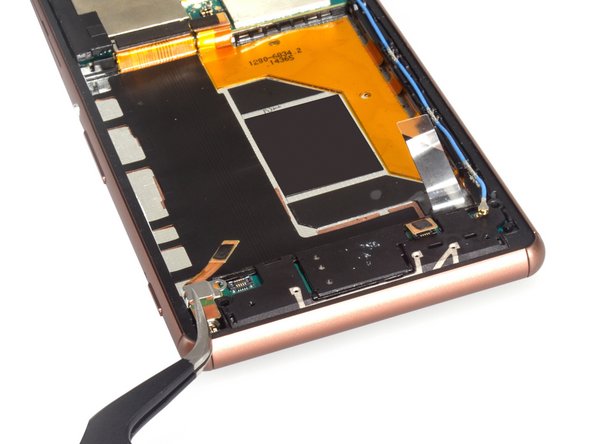
Pry up the MIC. It's a part of the main flex.
-
Release the connector with LCD screen flex and the connector with motherboard.
-
-
Questo passaggio è privo di traduzione. Aiuta a tradurlo
-
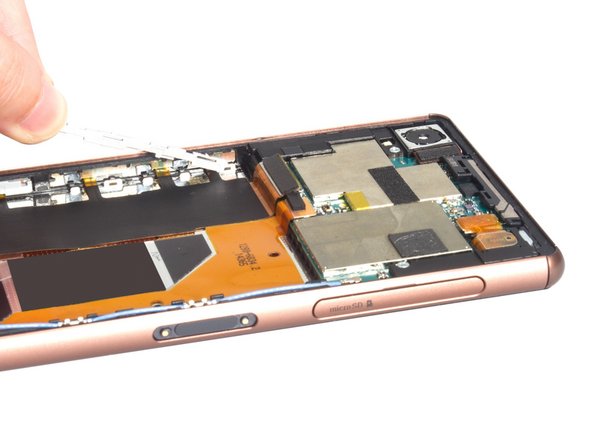
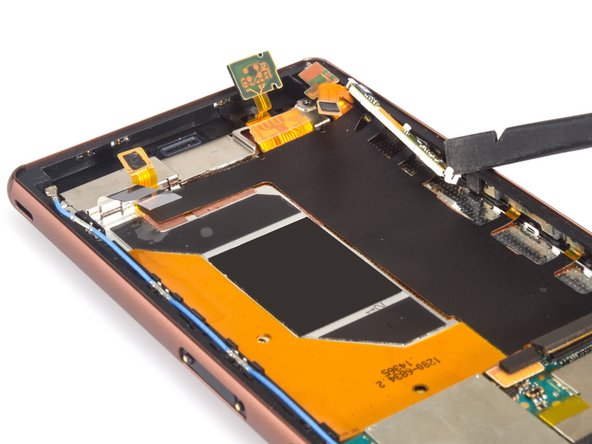
Push the upper power button & volume button flex branch bracket as the direction marked, and then remove it easily.
-
Pry up the lower shutter button flex branch bracket carefully. It's different from the upper one, it's come with the flex together but the upper one not.
-
-
Questo passaggio è privo di traduzione. Aiuta a tradurlo
-
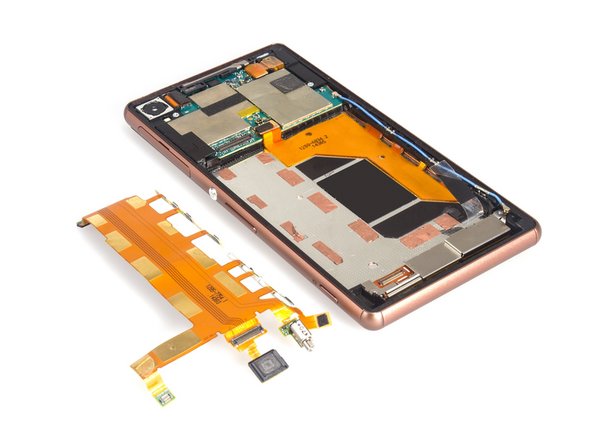
Get the flex from the sticker underneath carefully.
-
And then, take the power button & volume button flex branch out from the slot.
-
Finally, remove the whole main flex.
-


Annulla: non ho completato questa guida.
Altre 16 persone hanno completato questa guida.
4 Commenti
Hello
I changed my power, but I felt the power button action do you think the problem of what can be
Thanks
very good thnx
Is it ok to remove the small copper stickers under the flex?