Questa guida ha delle modifiche più recenti. Passa all'ultima versione non verificata.
Cosa ti serve


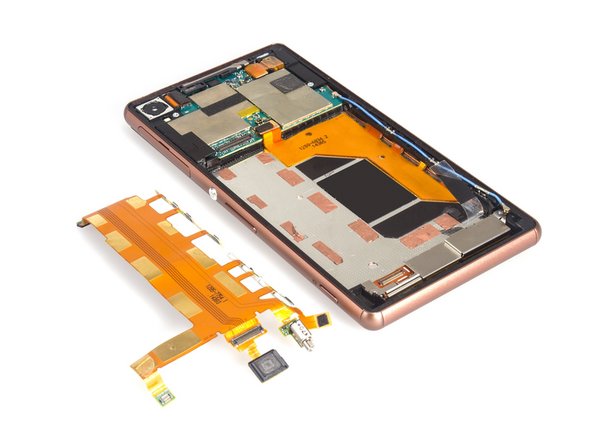
Quasi finito!
To reassemble your device, follow these instructions in reverse order.
Conclusione
To reassemble your device, follow these instructions in reverse order.
Annulla: non ho completato questa guida.
Altre 16 persone hanno completato questa guida.
4 Commenti
Hello
I changed my power, but I felt the power button action do you think the problem of what can be
Thanks
very good thnx
Is it ok to remove the small copper stickers under the flex?