Salta al contenuto principale

Sony Xperia Z2 Wi-Fi Antenna Replacement

Cosa ti serve

Panoramica Video

  1. Sony Xperia Z2 Wi-Fi Antenna Replacement, Rear / Battery Cover: passo 1, immagine 1 di 3 Sony Xperia Z2 Wi-Fi Antenna Replacement, Rear / Battery Cover: passo 1, immagine 2 di 3 Sony Xperia Z2 Wi-Fi Antenna Replacement, Rear / Battery Cover: passo 1, immagine 3 di 3
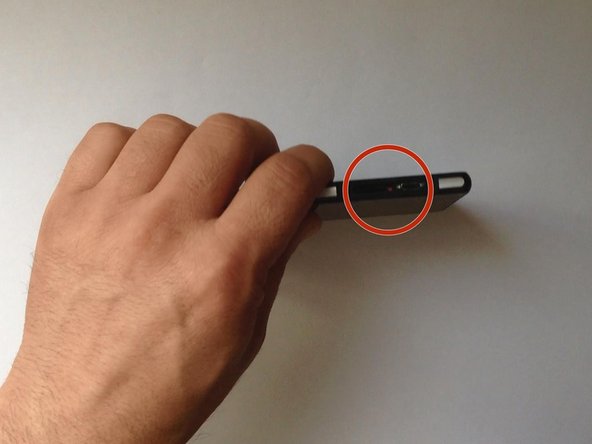
    • Switch off the phone.

    • If you can't switch it off, you can use the OFF button near to the SIM card Tray.

    • Warm the Back Cover. You can use a hairdryer.
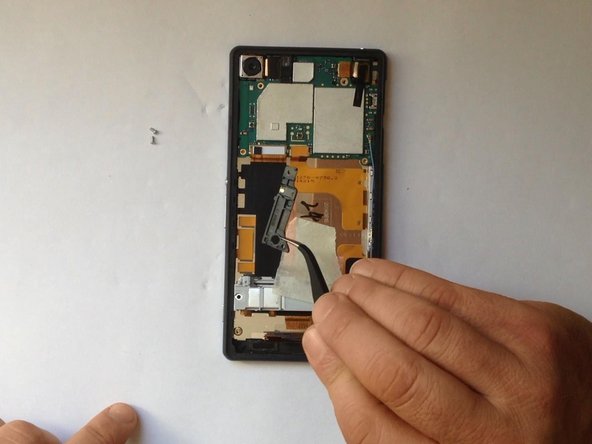
    • Be careful, the Back Cover is plastic.

  2. Sony Xperia Z2 Wi-Fi Antenna Replacement: passo 2, immagine 1 di 3 Sony Xperia Z2 Wi-Fi Antenna Replacement: passo 2, immagine 2 di 3 Sony Xperia Z2 Wi-Fi Antenna Replacement: passo 2, immagine 3 di 3
    • Use a small suction cup and plastic tools for separating the Rear panel.

    • There is Adhesive tape on the edges of the phone and some between the Battery and the Back Cover, as well. I found a small tab to pull just inside the top of the cover that removed the adhesive and released the back panel from the battery. Its that same style adhesive strip as used in the Iphone 5/5c/5s.

  3. Sony Xperia Z2 Wi-Fi Antenna Replacement: passo 3, immagine 1 di 2 Sony Xperia Z2 Wi-Fi Antenna Replacement: passo 3, immagine 2 di 2
    • Before installing the new cover, you must clean the phone from the old adhesive tape and install a new one (if your spare part has come without double sided adhesive tape).

  4. Sony Xperia Z2 Wi-Fi Antenna Replacement, Battery: passo 4, immagine 1 di 3 Sony Xperia Z2 Wi-Fi Antenna Replacement, Battery: passo 4, immagine 2 di 3 Sony Xperia Z2 Wi-Fi Antenna Replacement, Battery: passo 4, immagine 3 di 3
  5. Sony Xperia Z2 Wi-Fi Antenna Replacement, Wi-Fi Antenna: passo 5, immagine 1 di 3 Sony Xperia Z2 Wi-Fi Antenna Replacement, Wi-Fi Antenna: passo 5, immagine 2 di 3 Sony Xperia Z2 Wi-Fi Antenna Replacement, Wi-Fi Antenna: passo 5, immagine 3 di 3
    • Unscrew the screw and remove the Wi-Fi Antenna.

Conclusione

To reassemble your device, follow these instructions in reverse order.

Altre 11 persone hanno completato questa guida.

ZFix

Membro da: 12/09/13

191.182 Reputazione

330 Guide realizzate

Team

Master Techs Membro di Master Techs

Community

322 Membri

2.519 Guide realizzate

3 Commenti

Continu your learning

jafar khalili - Replica

hi got my Xperia z replace the broken screen and I was told that the antenna is broke, wait over week to get fixed and still the antenna is so weak I couldn't load my Face Book

kalipatamar - Replica

This guide seems to have been written just to promote the author’s own website. The advice is very poor, misleading and unhelpful.

(1) Removing the back panel will destroy it. All intending any repairs should have a replacement panel available before beginning.

(2) Replacing battery is as described.

(3) Author does not identify the wifi antenna correctly, nor supply advice on replacing it. Actually the wifi antenna is located at the lower right corner of the Xperia Z2 not upper left as shown. A connector wire runs along the edge in a groove and leads up to a connection on the motherboard. To replace wifi antenna unclip the connector, unscrew the mini circuit board, then reverse the steps with new board/connector.

MooMooUK - Replica

Aggiungi Commento

Visualizza Statistiche:

Ultime 24 Ore: 1

Ultimi 7 Giorni: 7

Ultimi 30 Giorni: 37

Tutti i Tempi: 21,888