Introduzione
By replacing your Volume Knob, you will certainly turn up/down the volume of your music much smoother. Since this is the most usable button of the device, it will defiantly have a lower performance on the long run.
Cosa ti serve
-
-
Place the device on a flat surface, upside down, so the bottom of the screen would be facing upwards.
-
Remove the ten 3.5mm Phillips #0 screws from the back plate.
-
-
-
-
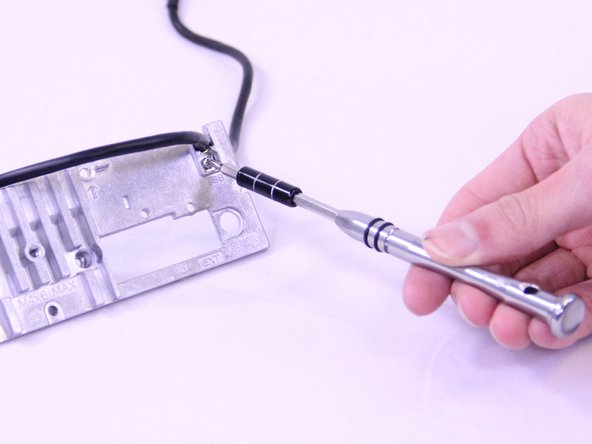
Disconnect the display power cable from the motherboard.
-
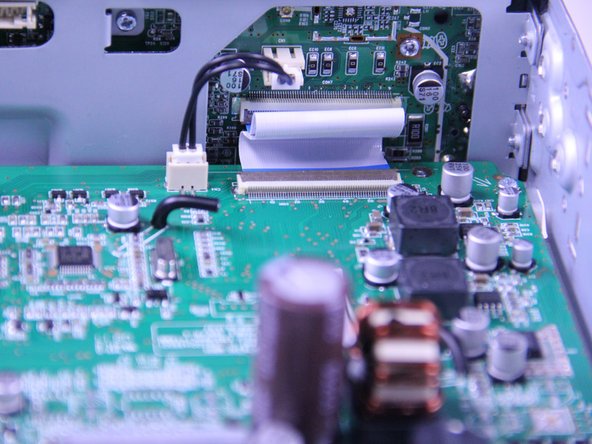
Use a spudger to flip up the retaining flap on the display ribbon cable ZIF socket.
-
-
-
Remove the four 3.5mm Phillips #0 screws from the display board.
-
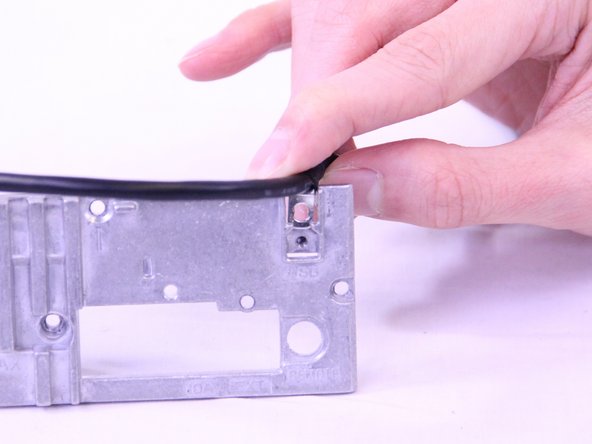
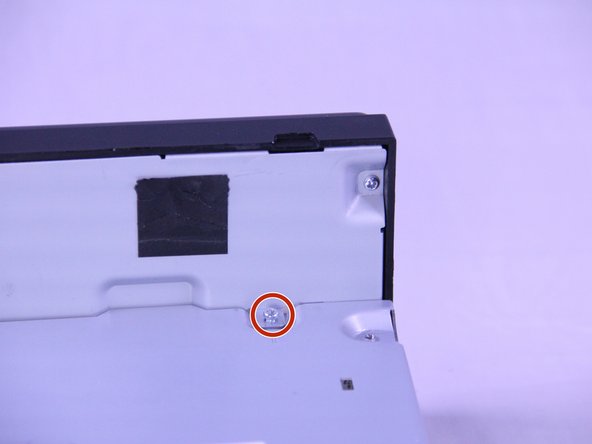
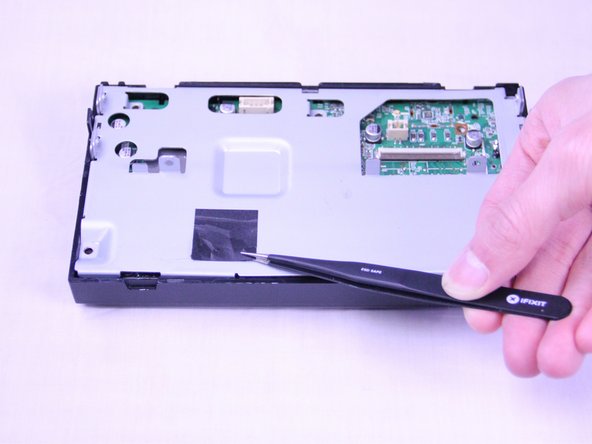
Remove the black tape using a precise tweezer.
-
Remove the 3.5mm Phillips #0 screw from underneath the tape.
-
-
-
Remove the silver knob cover by pulling upwards on it.
-
Remove the plastic face plate.
-
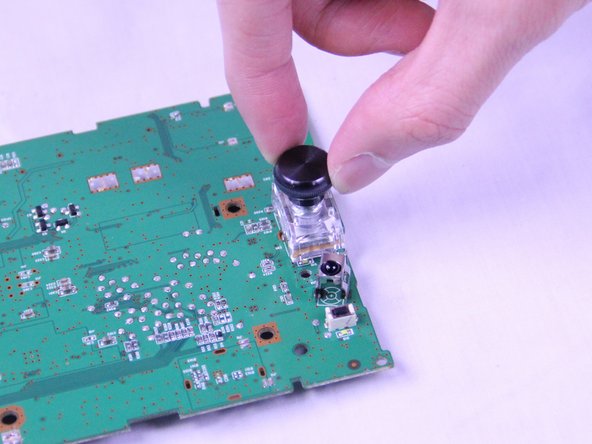
Pull off the black knob.
-


To reassemble your device, follow these instructions in reverse order.
To reassemble your device, follow these instructions in reverse order.
Annulla: non ho completato questa guida.
Un'altra persona ha completato questa guida.
Team

USF Tampa, Team S1-G5, Cagle Spring 2018 Membro di USF Tampa, Team S1-G5, Cagle Spring 2018
USFT-CAGLE-S18S1G5
2 Membri
5 Guide realizzate