Salta al contenuto principale

Sony WH-CH720N Charging Port Replacement

Cosa ti serve

  1. Sony WH-CH720N Charging Port Replacement, Earmuff: passo 1, immagine 1 di 1
    • Place the headphones down on a table, and orient them in this way.

  2. Sony WH-CH720N Charging Port Replacement: passo 2, immagine 1 di 3 Sony WH-CH720N Charging Port Replacement: passo 2, immagine 2 di 3 Sony WH-CH720N Charging Port Replacement: passo 2, immagine 3 di 3
    • Remove the earmuff.

    • Check introductions to ensure you remove the correct side earmuff for each repair guide!

  3. Sony WH-CH720N Charging Port Replacement, Charging Port: passo 3, immagine 1 di 2 Sony WH-CH720N Charging Port Replacement, Charging Port: passo 3, immagine 2 di 2
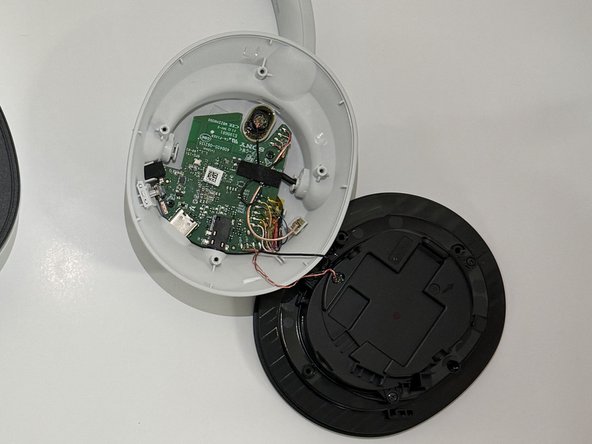
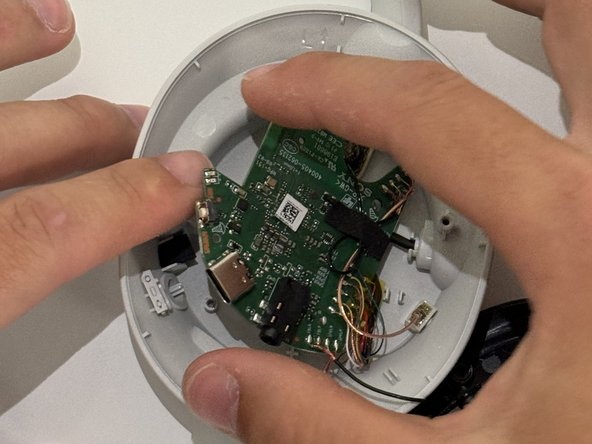
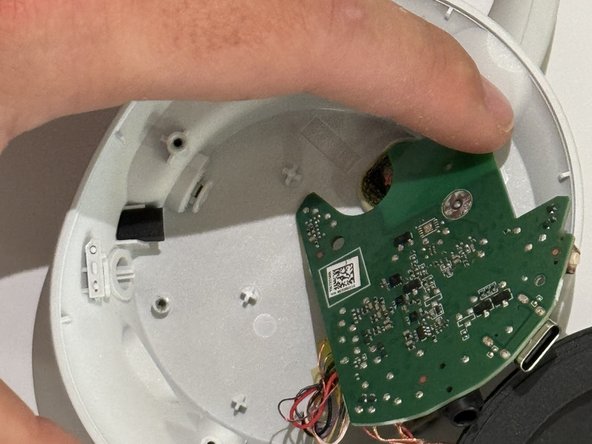
    • Use a Philips #00 screwdriver to remove the four 5 mm screws from the left driver housing.

  4. Sony WH-CH720N Charging Port Replacement: passo 4, immagine 1 di 3 Sony WH-CH720N Charging Port Replacement: passo 4, immagine 2 di 3 Sony WH-CH720N Charging Port Replacement: passo 4, immagine 3 di 3
    • Using the same bit, remove the two 3 mm screws from the circuit board.

    • Gently remove the circuit board.

  5. Sony WH-CH720N Charging Port Replacement: passo 5, immagine 1 di 1
    • Desolder the four joints holding the USB-C charging port there.

    • Pull the charging port off.

    • Solder the new charging port onto the board.

Conclusione

To reassemble your device, follow these instructions in reverse order.

Un'altra persona ha completato questa guida.

0 Commenti

Aggiungi Commento

Visualizza Statistiche:

Ultime 24 Ore: 1

Ultimi 7 Giorni: 5

Ultimi 30 Giorni: 23

Tutti i Tempi: 63