Salta al contenuto principale

Sony Vaio VPCW21FX Disc Drive Replacement

Guida Archiviata
Questa guida è mantenuta solo per scopi storici. Usa la versione aggiornata della guida per eseguire la riparazione.

Cosa ti serve

  1. Sony Vaio VPCW21FX Disc Drive Replacement, Battery: passo 1, immagine 1 di 1
    • Make sure your device is powered off and unplugged to avoid electric shock.

    • Place your device upside down with the bottom panel facing upwards.

    • Orient the device so the battery is away from you as shown

  2. Sony Vaio VPCW21FX Disc Drive Replacement: passo 2, immagine 1 di 2 Sony Vaio VPCW21FX Disc Drive Replacement: passo 2, immagine 2 di 2
    • Unlock the battery by sliding the lock switch to the right.

    • Locate the release latch. Slide the latch to the left to remove the battery from your laptop.

    • Be sure to lift up on the battery while you slide the latch to the left.

  3. Sony Vaio VPCW21FX Disc Drive Replacement: passo 3, immagine 1 di 2 Sony Vaio VPCW21FX Disc Drive Replacement: passo 3, immagine 2 di 2
    • Remove the battery from your laptop.

  4. Sony Vaio VPCW21FX Disc Drive Replacement, Disc Drive: passo 4, immagine 1 di 2 Sony Vaio VPCW21FX Disc Drive Replacement, Disc Drive: passo 4, immagine 2 di 2
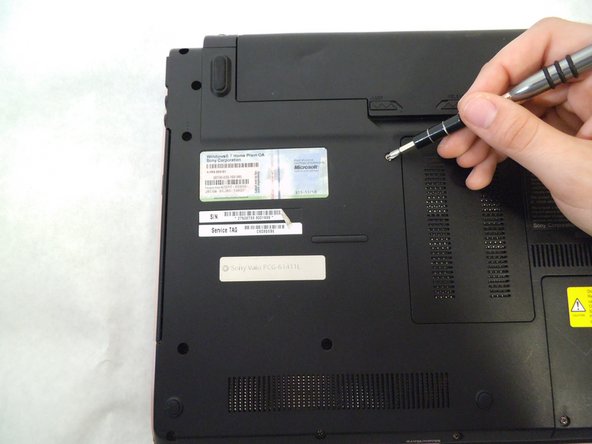
    • Remove the four 5.2mm screws that are holding in the Disc Drive.

  5. Sony Vaio VPCW21FX Disc Drive Replacement: passo 5, immagine 1 di 3 Sony Vaio VPCW21FX Disc Drive Replacement: passo 5, immagine 2 di 3 Sony Vaio VPCW21FX Disc Drive Replacement: passo 5, immagine 3 di 3
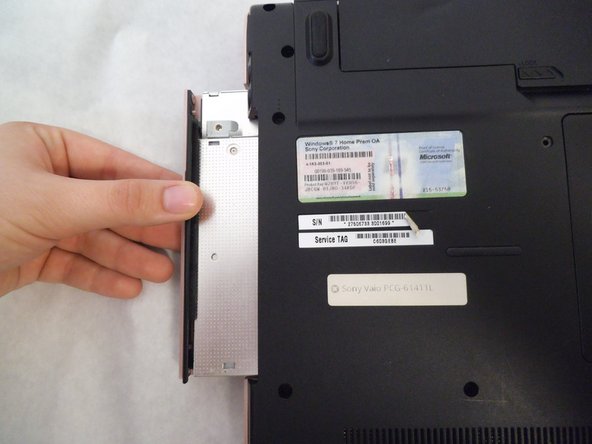
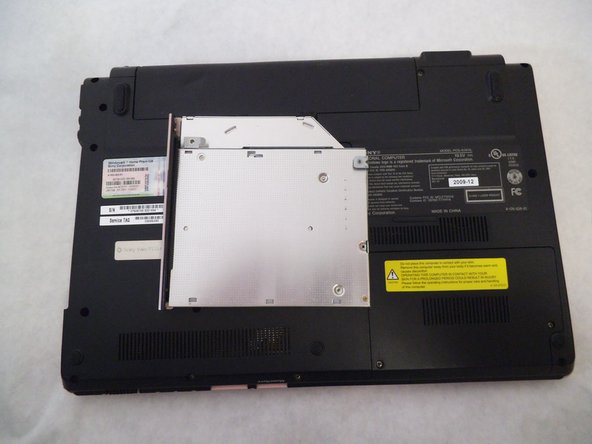
    • Grab the center of the drive and pull away from the computer. It should slide right out.

    • The plastic face plate may come off, this is okay, just push it back into place on the drive

Conclusione

To reassemble your device, follow these instructions in reverse order.

0 Commenti

Aggiungi Commento

Visualizza Statistiche:

Ultime 24 Ore: 0

Ultimi 7 Giorni: 0

Ultimi 30 Giorni: 0

Tutti i Tempi: 196