Introduzione
With this step by step guide you will learn how to replace a laptop battery for the Sony Vaio PCG-981L.


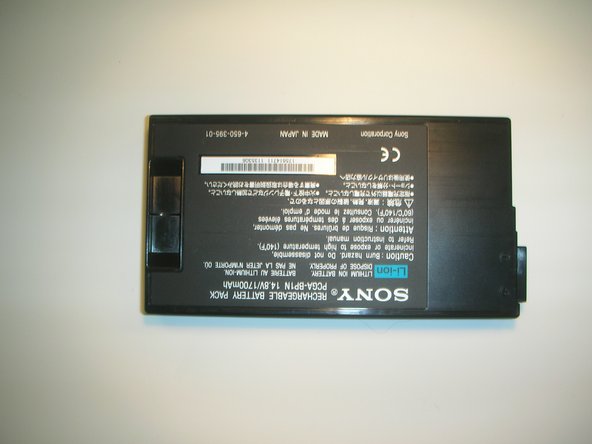
Quasi finito!
Enjoy your new battery.
Conclusione
Enjoy your new battery.
Team

Cal Poly, Team 18-68, Johann Spring 2010 Membro di Cal Poly, Team 18-68, Johann Spring 2010
CPSU-JOHANN-S10S18G68
4 Membri
9 Guide realizzate