Questa versione può contenere modifiche errate. Passa all'ultima istantanea verificata.
Cosa ti serve
-
Questo passaggio è privo di traduzione. Aiuta a tradurlo
-
Lay the closed laptop on its screen so the bottom is facing towards you.
-
-
Questo passaggio è privo di traduzione. Aiuta a tradurlo
-
Push both latches towards the center of the battery.
-
-
Questo passaggio è privo di traduzione. Aiuta a tradurlo
-
Revome the battery by pushing it away from the laptop.
-
Set the battery away from the laptop.
-
-
Questo passaggio è privo di traduzione. Aiuta a tradurlo
-
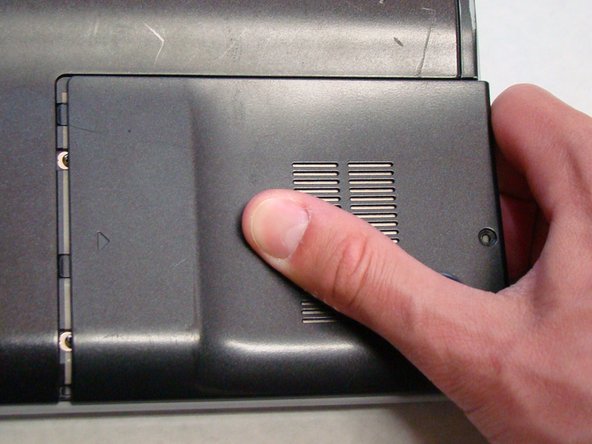
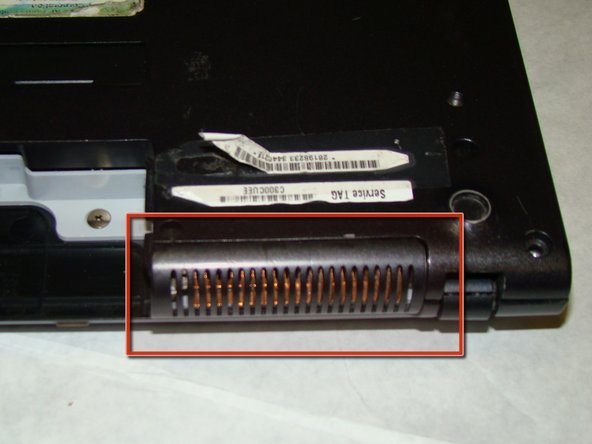
With the bottom of the laptop facing up, locate the RAM cover.
-
The RAM is covered by the panel with four columns of vents.
-
Locate the screw (Length: 4.8 mm) holding down the panel, which is near the edge of the laptop. Unscrew it with your phillips #0 screwdriver.
-
-
Questo passaggio è privo di traduzione. Aiuta a tradurlo
-
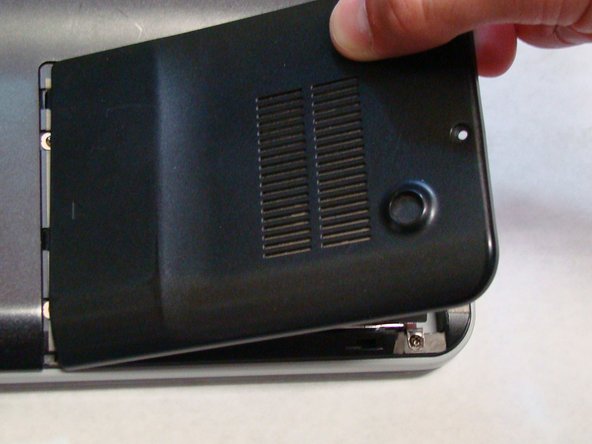
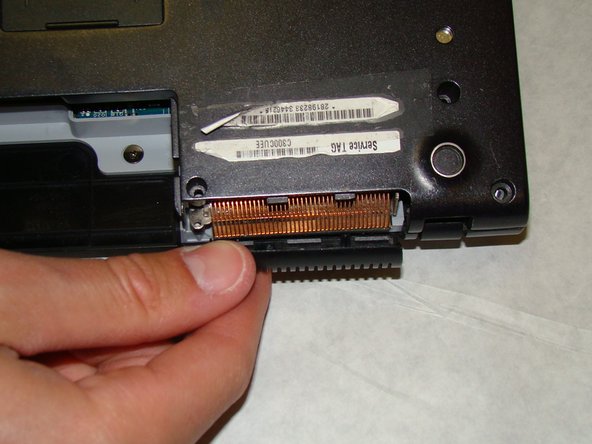
Use your fingers to slide the cover away from the laptop. (It will only slide a few millimeters)
-
Once the panel is out of its locked position, it can be lifted out without any resistance.
-
-
-
Questo passaggio è privo di traduzione. Aiuta a tradurlo
-
Locate and remove the screw (Length: 7.7mm) for the hard drive cover.
-
Slide the cover until it is free from the laptop case.
-
Lift the cover to remove.
-
-
Questo passaggio è privo di traduzione. Aiuta a tradurlo
-
Locate and remove the four screws (Length: 7.7mm) holding the Hard Drive tray in place.
-
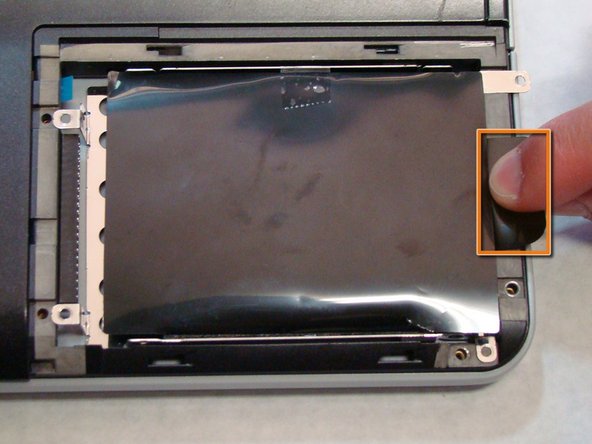
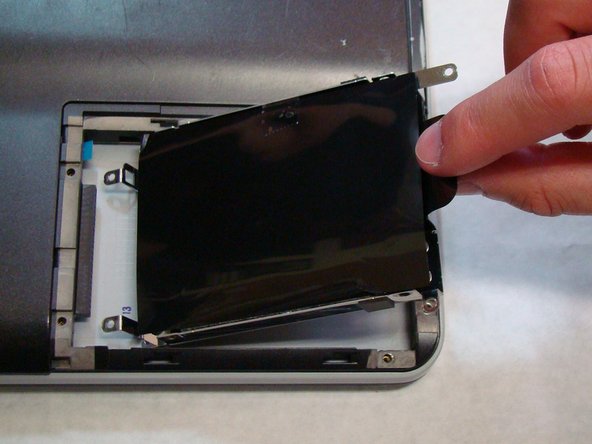
Using the tab on the tray, slide the Hard Drive away from the main body of the laptop.
-
The Hard Drive should now be disconnected.
-
Lift the drive out with the tab on the tray.
-
-
Questo passaggio è privo di traduzione. Aiuta a tradurlo
-
Locate the screws highlighted here. There are 16 total.
-
Using a Phillips #0 screwdriver, remove the screws (Length: 6.8mm) and place them on a tray for later use.
-
-
Questo passaggio è privo di traduzione. Aiuta a tradurlo
-
You do not need to actually remove the part at this time. It is held in place by the rest of the back cover and will fall off when back cover is removed in the next step.
-
-
Questo passaggio è privo di traduzione. Aiuta a tradurlo
-
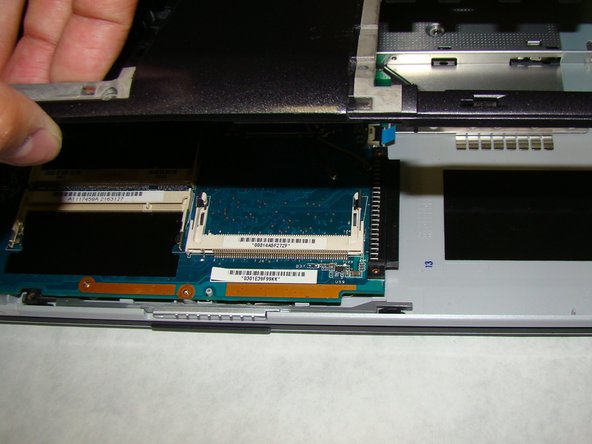
After removing the screws, use your fingers to lift the back cover off the laptop.
-
-
Questo passaggio è privo di traduzione. Aiuta a tradurlo
-
Remove the back cover and place it somewhere safe so you can locate it later.
-
-
Questo passaggio è privo di traduzione. Aiuta a tradurlo
-
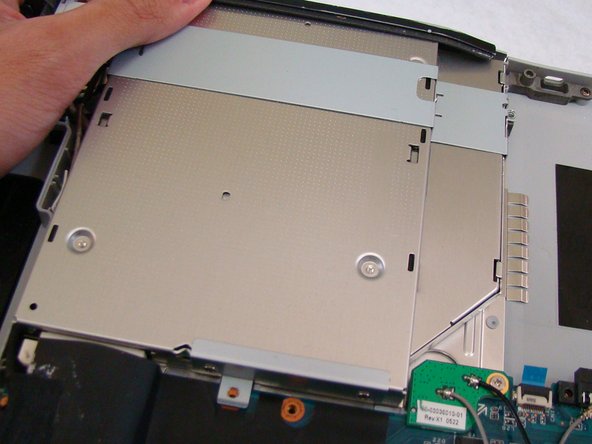
Locate and remove the screws (Length: 5.8mm) affixing the drive to the laptop frame.
-
Gently slide the drive away from the body of the laptop until it is disconnected.
-
Lift the drive out.
-
-
Questo passaggio è privo di traduzione. Aiuta a tradurlo
-
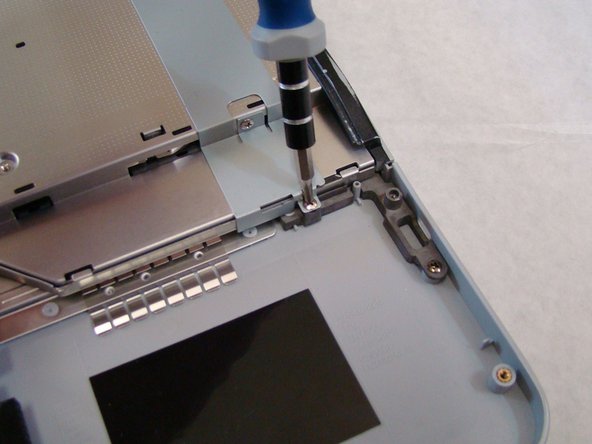
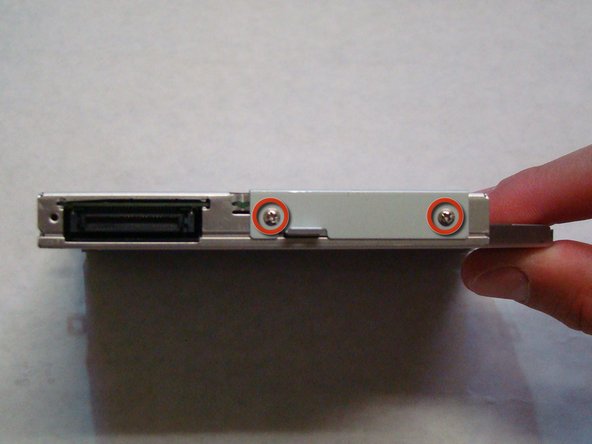
Once the drive is removed from the main body of the laptop, you will need to remove the two connecting brackets.
-
Locate the screws for the brackets. There should be one on each side of the drive and two on the end that connects to the computer.
-
Unscrew and remove the brackets.
-
-
Questo passaggio è privo di traduzione. Aiuta a tradurlo
-
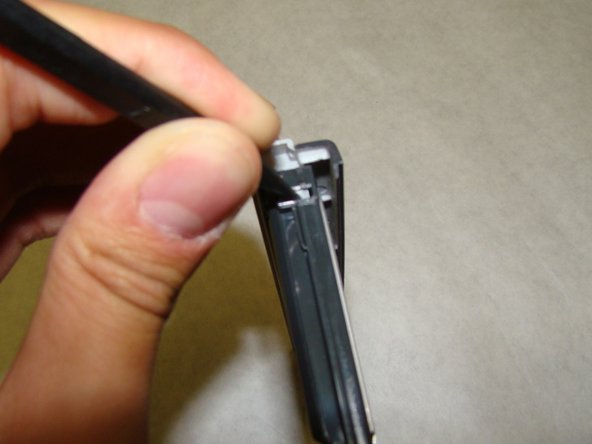
The last step is to remove the tray cover (the part that is exposed when the tray is closed).
-
Open the drive by poking a straightened paper clip in the small hole on the front of the tray cover.
-
-
Questo passaggio è privo di traduzione. Aiuta a tradurlo
-
Locate the two tabs on the inside of the cover that hold it in place.
-
Use a spudger or similar tool to unclip each tab. The cover should come right off.
-


Annulla: non ho completato questa guida.
Altre 3 persone hanno completato questa guida.
Team

Cal Poly, Team 24-32, Regan Spring 2010 Membro di Cal Poly, Team 24-32, Regan Spring 2010
CPSU-REGAN-S10S24G32
4 Membri
16 Guide realizzate
2 Commenti
sve 151a11w sony disk error plz help me sir