Introduzione
RAM acts as the temporary memory for your device. RAM can become damaged, or more RAM may be needed to accomplish arduous tasks. This guide will demonstrate how to remove and replace your RAM.
Cosa ti serve
-
-
Turn the device over onto its back, where the battery is at the top of the device. Slide the "lock" switch to the right.
 Chiedi a FixBot
-
-
-
Slide the "release" switch to the left and gently lift the battery up to remove it.
-
Completely remove the battery from the device.
-
-
-
-
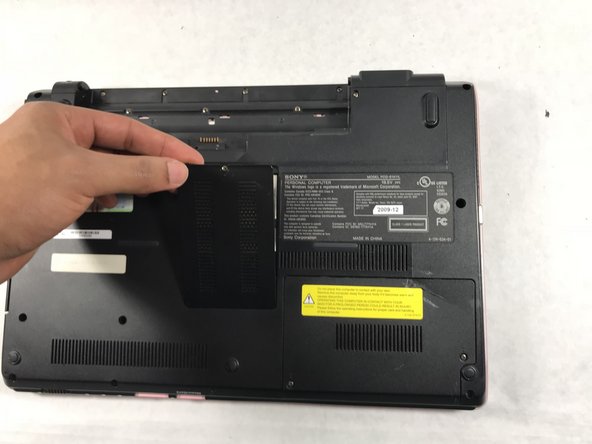
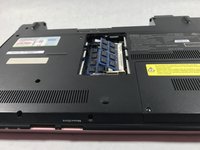
The RAM cards reside in the rectangle shaped plate in the center of the back panel of the device.
-
-
-
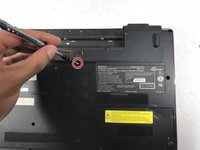
Unscrew the single PH1 6mm screw at the top of the panel. The screw remains in the panel.
-
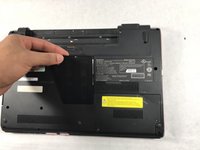
Remove the panel by lifting it towards yourself.
-
-
-
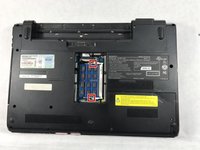
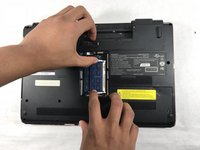
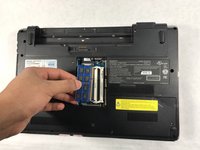
To remove the individual RAM card panels, snap back the metal latches on each side of the cards.
-
-
-
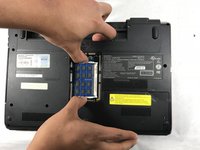
After pinching the metal latches, the RAM card should pop out slightly upward.
-
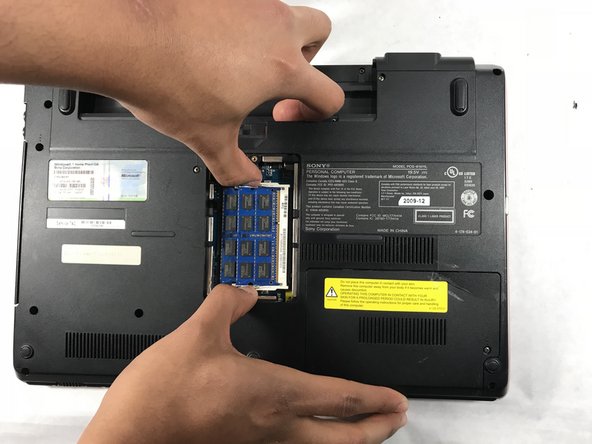
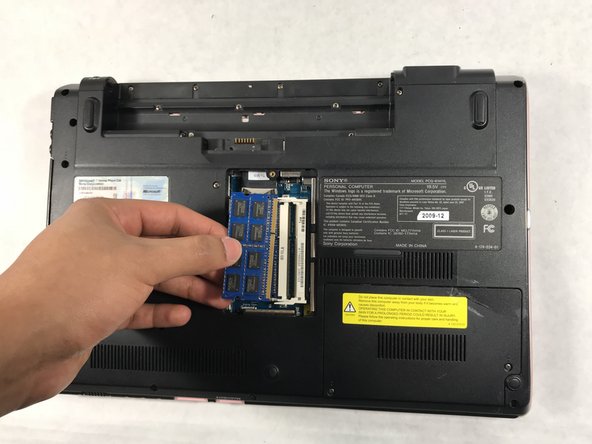
Remove the cards by pulling them out to the left.
-
Repeat for the second panel of RAM cards.
-





To reassemble your device, follow these instructions in reverse order.

Team

UMass Dartmouth, Team S2-G1, Simcock Spring 2018 Membro di UMass Dartmouth, Team S2-G1, Simcock Spring 2018
UMASSD-SIMCOCK-S18S2G1
3 Membri
5 guide realizzate
