Introduzione
If your computer is only displaying a black screen, or if it is struggling to run multiple programs, you may need to replace your RAM. This guide will walk you through how to remove your RAM cards -- the same process for either card -- requiring only a PH0 screwdriver.
Cosa ti serve
-
-
-
Use a #0PH screwdriver to unscrew the three 4.80mm screws.
-
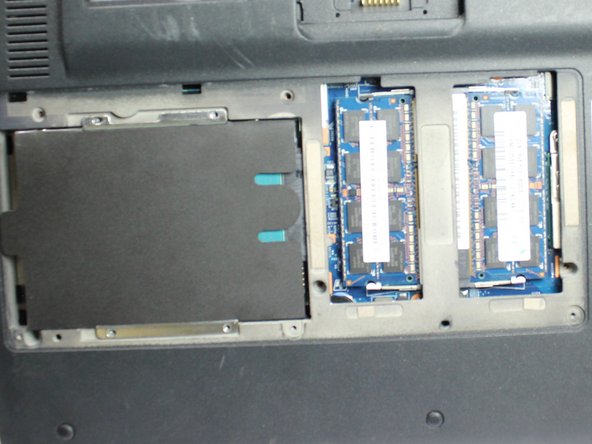
Remove the panel.
-


To reassemble your device, follow these instructions in reverse order.
To reassemble your device, follow these instructions in reverse order.
Annulla: non ho completato questa guida.
Un'altra persona ha completato questa guida.
Team

Appalachian State University, Team S1-G1, Menagarishvili Spring 2019 Membro di Appalachian State University, Team S1-G1, Menagarishvili Spring 2019
APSU-MENAGARISHVILI-S19S1G1
3 Membri
10 Guide realizzate