Questa versione può contenere modifiche errate. Passa all'ultima istantanea verificata.
Cosa ti serve
-
Questo passaggio è privo di traduzione. Aiuta a tradurlo
-
Remove the following ten screws from the bottom case of the laptop:
-
Two 6.5mm Phillips #00 Phillips screws.
-
Four 8.95mm Phillips #00 screws.
-
Four 6.25mm Phillips #00 screws.
-
-
Questo passaggio è privo di traduzione. Aiuta a tradurlo
-
Use a plastic opening tool to separate the bottom cover from the laptop.
-
Lift the lower cover and pull away from the laptop.
-
-
Questo passaggio è privo di traduzione. Aiuta a tradurlo
-
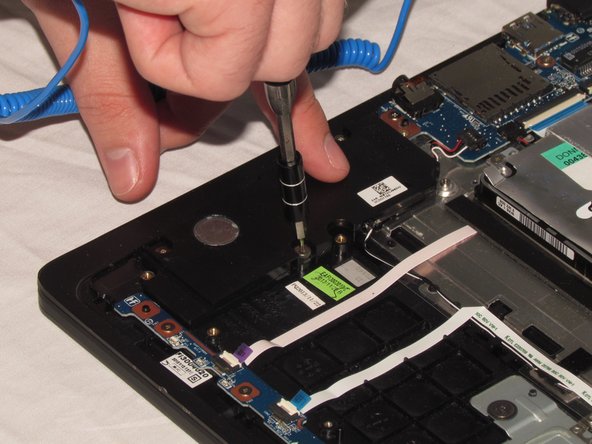
Remove the eight Phillips #00 screws from the battery:
-
Six 4.65mm screws.
-
Two 4.65mm screws.
-
-
-
Questo passaggio è privo di traduzione. Aiuta a tradurlo
-
Lift the battery up and pull it out of the laptop.
-
-
Questo passaggio è privo di traduzione. Aiuta a tradurlo
-
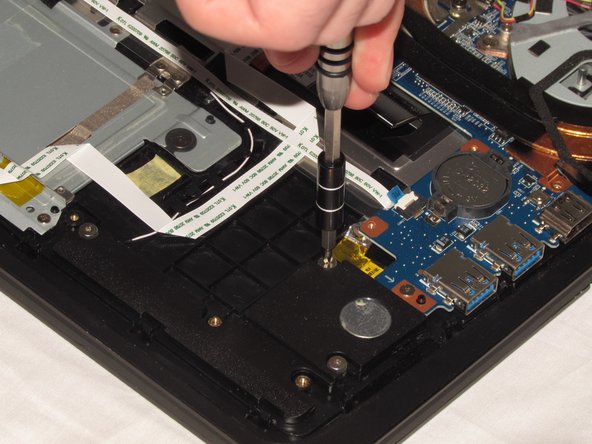
Remove six 5.75mm Phillips #00 screws from the speakers.
-
-
Questo passaggio è privo di traduzione. Aiuta a tradurlo
-
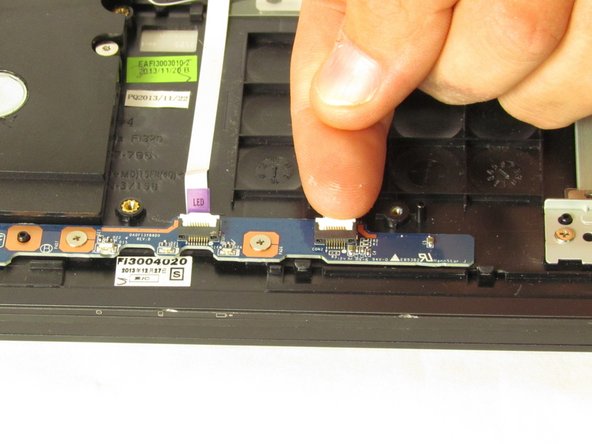
Use a spudger to flip up the black latch on the four ZIF connectors.
-
Remove the four ribbon cables from the ZIF connectors.
-
Disconnect the speaker from the board.
-
-
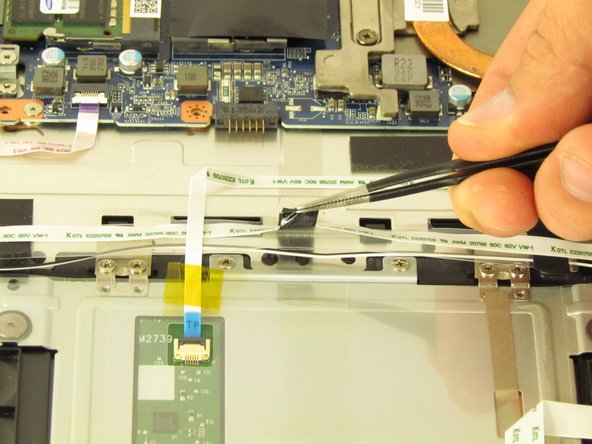
Questo passaggio è privo di traduzione. Aiuta a tradurlo
-
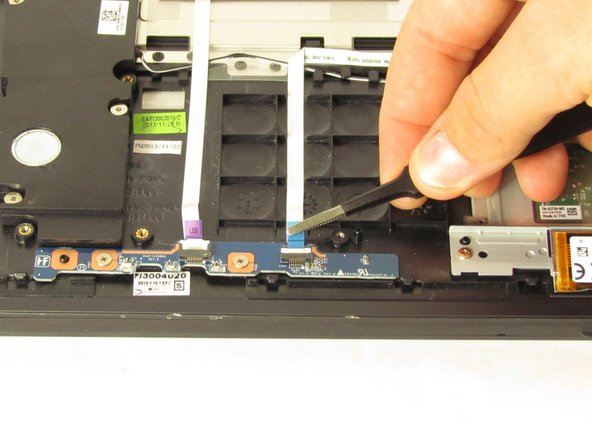
Using tweezers, carefully unwind the speakers' wires from the plastic brackets holding them.
-
Where the wire is stuck under tape, gently pull the tape up until the wire is free.
-
-
Questo passaggio è privo di traduzione. Aiuta a tradurlo
-
Remove the speakers by picking the left and right pieces up and lifting them up and out of the computer.
-


Annulla: non ho completato questa guida.
Un'altra persona ha completato questa guida.
Team

USF Tampa, Team S2-G4, Nance Spring 2018 Membro di USF Tampa, Team S2-G4, Nance Spring 2018
USFT-NANCE-S18S2G4
4 Membri
12 Guide realizzate