Salta al contenuto principale

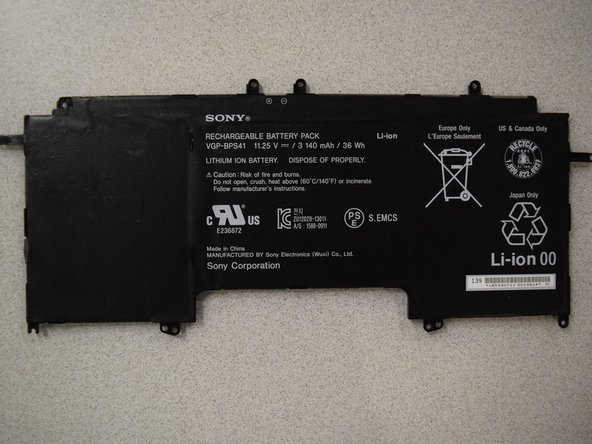
Sony Vaio Fit 13A SVF13NA1EL Battery Replacement

Cosa ti serve

  1. Sony Vaio Fit 13A SVF13NA1EL Battery Replacement, Battery: passo 1, immagine 1 di 1
    • Begin by turning the laptop top-down on a flat surface.

    • Use a JIS #1 screwdriver to remove the 4 screws circled in red

    • Use a JIS #0 screwdriver to remove the 8 screws circled in orange

    • Many of these screws are located underneath the rubber pads on the device.

    • Keep track of the locations of the screws removed for ease of reassembly.

  2. Sony Vaio Fit 13A SVF13NA1EL Battery Replacement: passo 2, immagine 1 di 1
    • Use a spudger to carefully remove the back cover of the laptop.

    • Be careful when lifting around the ports and headphone jack to avoid causing damage to these components.

  3. Sony Vaio Fit 13A SVF13NA1EL Battery Replacement: passo 3, immagine 1 di 2 Sony Vaio Fit 13A SVF13NA1EL Battery Replacement: passo 3, immagine 2 di 2
    • Lift up back cover to access internal components of the laptop.

  4. Sony Vaio Fit 13A SVF13NA1EL Battery Replacement: passo 4, immagine 1 di 1
    • Remove the screws in the circled areas using the J0 Screwdriver to release the battery.

  5. Sony Vaio Fit 13A SVF13NA1EL Battery Replacement: passo 5, immagine 1 di 2 Sony Vaio Fit 13A SVF13NA1EL Battery Replacement: passo 5, immagine 2 di 2
    • Lift the battery from the laptop to remove.

    • Replace if necessary.

Conclusione

To reassemble your device, follow these instructions in reverse order.

Altre 2 persone hanno completato questa guida.

0 Commenti

Aggiungi Commento

Visualizza Statistiche:

Ultime 24 Ore: 4

Ultimi 7 Giorni: 14

Ultimi 30 Giorni: 48

Tutti i Tempi: 3,829