Salta al contenuto principale

Sony Vaio Fit 13A Battery Replacement

Cosa ti serve

  1. Sony Vaio Fit 13A Battery Replacement, Back Cover: passo 1, immagine 1 di 2 Sony Vaio Fit 13A Battery Replacement, Back Cover: passo 1, immagine 2 di 2
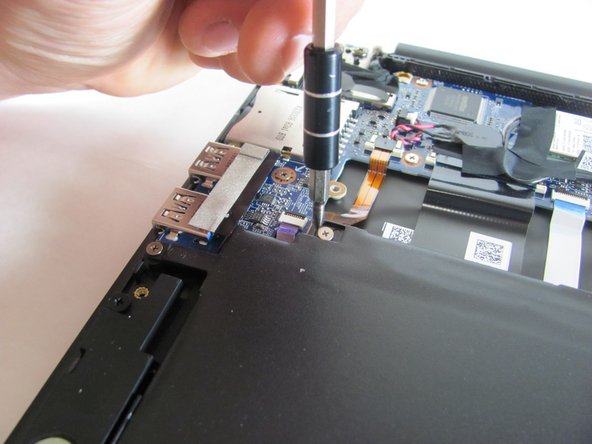
    • Starting with the laptop top-down, locate and remove the twelve 1mm Phillips #0 screws securing the back cover to the main body of the computer.

  2. Sony Vaio Fit 13A Battery Replacement: passo 2, immagine 1 di 2 Sony Vaio Fit 13A Battery Replacement: passo 2, immagine 2 di 2
    • Use the Plastic Opening Tools or Metal Spudger to carefully loosen back cover from the body of the computer.

    • Be sure to avoid headphone jack when removing back cover by lifting cover away from computer and up.

  3. Sony Vaio Fit 13A Battery Replacement: passo 3, immagine 1 di 1
    • Lift off back cover to access inner components of computer.

  4. Sony Vaio Fit 13A Battery Replacement, Battery: passo 4, immagine 1 di 2 Sony Vaio Fit 13A Battery Replacement, Battery: passo 4, immagine 2 di 2
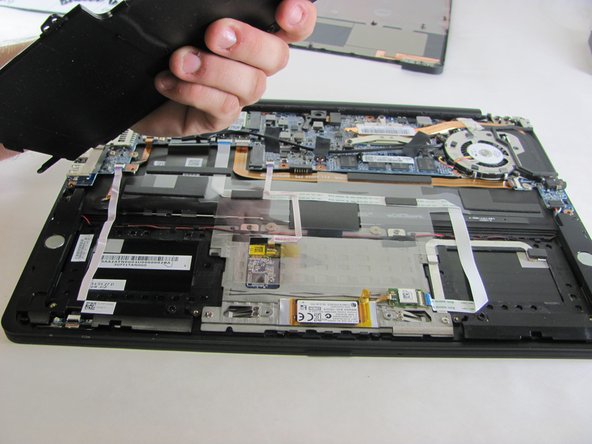
    • Locate and remove the ten 1mm Phillips #0 screws that are securing the battery in place.

  5. Sony Vaio Fit 13A Battery Replacement: passo 5, immagine 1 di 2 Sony Vaio Fit 13A Battery Replacement: passo 5, immagine 2 di 2
    • Remove the battery with the Plastic Opening Tool by placing the tool between the battery and the computer and cautiously prying it out.

Conclusione

To reassemble your device, follow these instructions in reverse order.

Altre 3 persone hanno completato questa guida.

Alex Prange

Membro da: 01/08/15

527 Reputazione

3 Guide realizzate

Team

Cal Poly, Team 21-19, Maness Winter 2015 Membro di Cal Poly, Team 21-19, Maness Winter 2015

CPSU-MANESS-W15S21G19

4 Membri

12 Guide realizzate

0 Commenti

Aggiungi Commento

Visualizza Statistiche:

Ultime 24 Ore: 1

Ultimi 7 Giorni: 6

Ultimi 30 Giorni: 21

Tutti i Tempi: 7,775