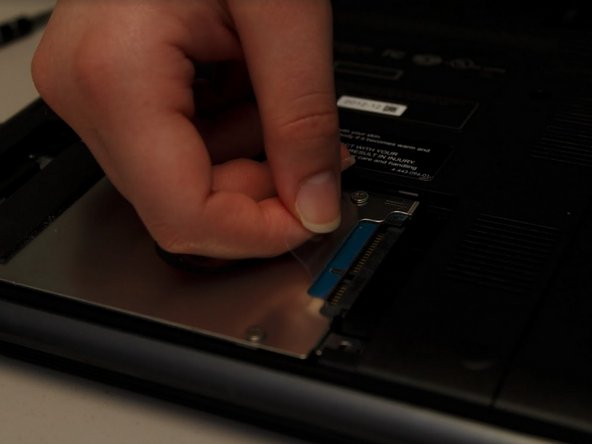
Salta al contenuto principale

Sony VAIO SVE14AJ16L Hard Drive Replacement

Cosa ti serve

  1. Sony VAIO SVE14AJ16L Hard Drive Replacement, Hard Drive: passo 1, immagine 1 di 1
    • Turn off your laptop before starting.

    • Turn the closed laptop upside down so that the bottom is facing you.

  2. Sony VAIO SVE14AJ16L Hard Drive Replacement: passo 2, immagine 1 di 2 Sony VAIO SVE14AJ16L Hard Drive Replacement: passo 2, immagine 2 di 2
    • Remove the two screws on the hard drive cover with a Phillips #0 screwdriver.

    • Remove the hard drive cover.

  3. Sony VAIO SVE14AJ16L Hard Drive Replacement: passo 3, immagine 1 di 3 Sony VAIO SVE14AJ16L Hard Drive Replacement: passo 3, immagine 2 di 3 Sony VAIO SVE14AJ16L Hard Drive Replacement: passo 3, immagine 3 di 3
    • Remove the two screws holding the hard drive in place with a Phillips #0 screwdriver.

    • Using the plastic tab, slide the hard drive out away from the main portion of the laptop.

    • Lift the hard drive out of the laptop using the tab.

  4. Sony VAIO SVE14AJ16L Hard Drive Replacement: passo 4, immagine 1 di 3 Sony VAIO SVE14AJ16L Hard Drive Replacement: passo 4, immagine 2 di 3 Sony VAIO SVE14AJ16L Hard Drive Replacement: passo 4, immagine 3 di 3
    • Remove the four screws holding the hard drive bracket to the hard drive using a Phillips #0 screwdriver.

Conclusione

To reassemble your device, follow these instructions in reverse order.

Un'altra persona ha completato questa guida.

0 Commenti

Aggiungi Commento

Visualizza Statistiche:

Ultime 24 Ore: 0

Ultimi 7 Giorni: 2

Ultimi 30 Giorni: 23

Tutti i Tempi: 831