Questa versione può contenere modifiche errate. Passa all'ultima istantanea verificata.
Cosa ti serve
-
Questo passaggio è privo di traduzione. Aiuta a tradurlo
-
Position the laptop screen-side down as shown.
-
In this position the battery housing will be located on the right hand side.
-
-
Questo passaggio è privo di traduzione. Aiuta a tradurlo
-
Lift the panel up and then out to gain access to the battery.
-
-
-
Questo passaggio è privo di traduzione. Aiuta a tradurlo
-
Use the indentations to pull the old battery out.
-
-
Questo passaggio è privo di traduzione. Aiuta a tradurlo
-
The battery is now removed and it is safe to move on to uninstalling other components.
-
-
Questo passaggio è privo di traduzione. Aiuta a tradurlo
-
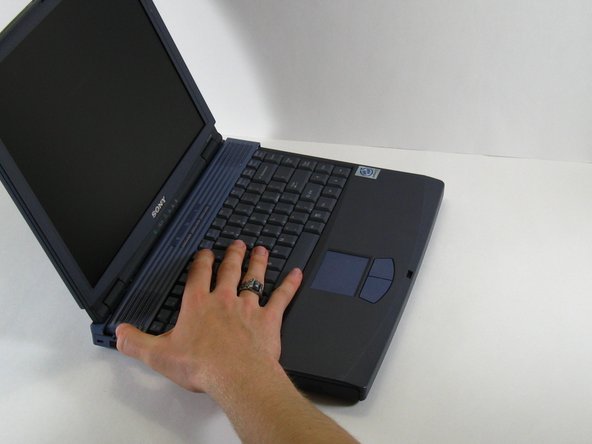
There are two screws on the left hand side of the laptop near the IR receiver. remove them using a #00 Philips head screwdriver.
-
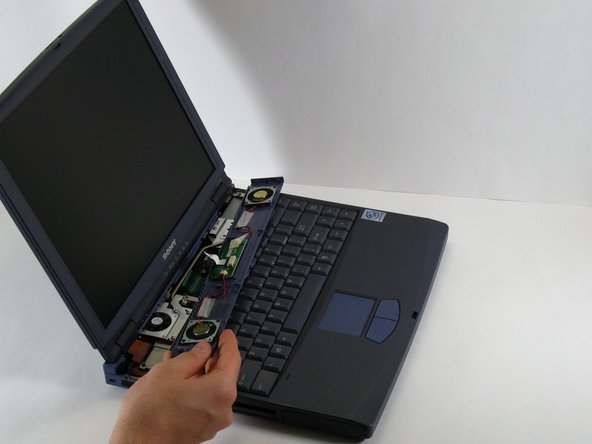
Slide the speaker panel towards the left, then carefully flip it over onto the keyboard.
-
Make sure not to pull the speaker panel away from the computer just yet - it is still connected!
-
-
Questo passaggio è privo di traduzione. Aiuta a tradurlo
-
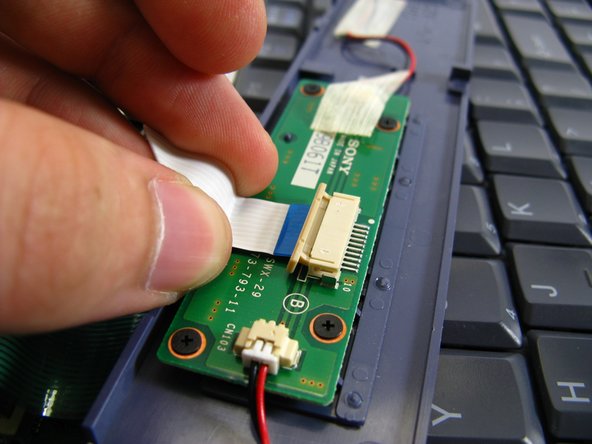
Push the beige tab in the direction of the ribbon. it should only move a small amount
-
Remove the ribbon by gently pulling on it, there should be little or no resistance.
-
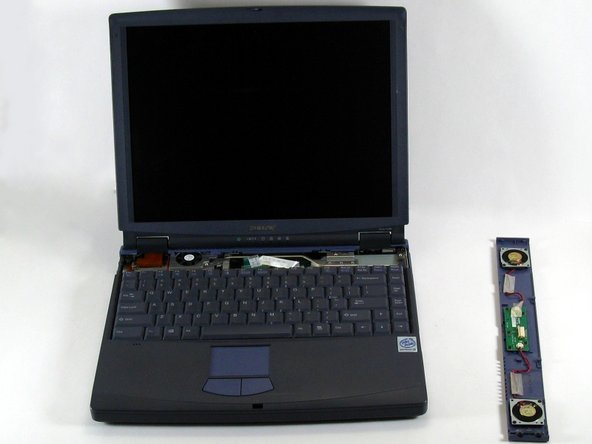
Now the speaker panel can be set aside.
-


Team

UMass Dartmouth, Team 3-5, Calaway Spring 2014 Membro di UMass Dartmouth, Team 3-5, Calaway Spring 2014
UMASSD-CALAWAY-S14S3G5
2 Membri
4 Guide realizzate