Questa versione può contenere modifiche errate. Passa all'ultima istantanea verificata.
Cosa ti serve
-
Questo passaggio è privo di traduzione. Aiuta a tradurlo
-
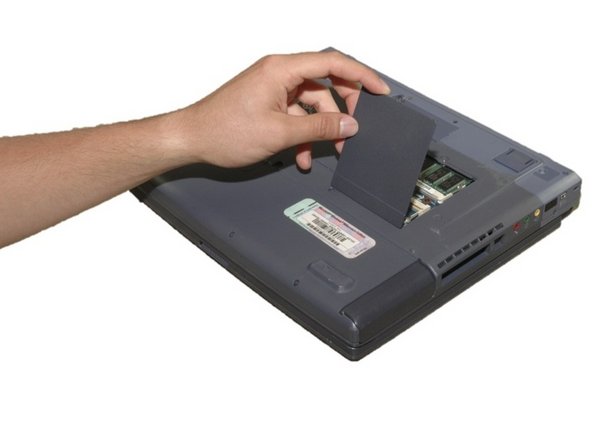
Turn the laptop upside down so that the top is sitting on a flat surface.
-
If you are looking at the bottom of the laptop the battery is located on the front right side of the laptop; the opposite side from the floppy disk drive.
-
-
Questo passaggio è privo di traduzione. Aiuta a tradurlo
-
As shown by the arrow, slide the plastic cover up and then pull out and downwards.
-
You should now be able to pull the battery out.
-
-
-
Questo passaggio è privo di traduzione. Aiuta a tradurlo
-
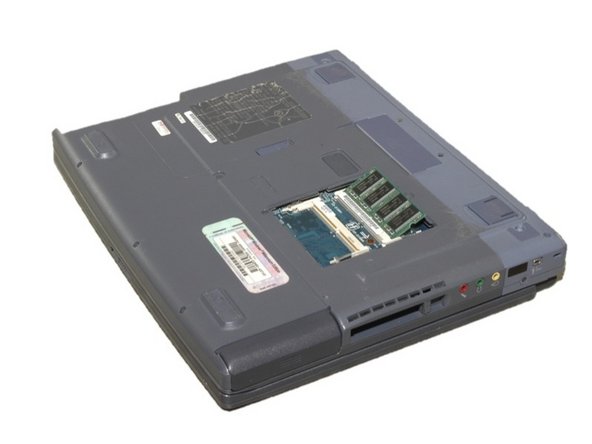
With the laptop facing you, flip the laptop upside down.
-
-
Questo passaggio è privo di traduzione. Aiuta a tradurlo
-
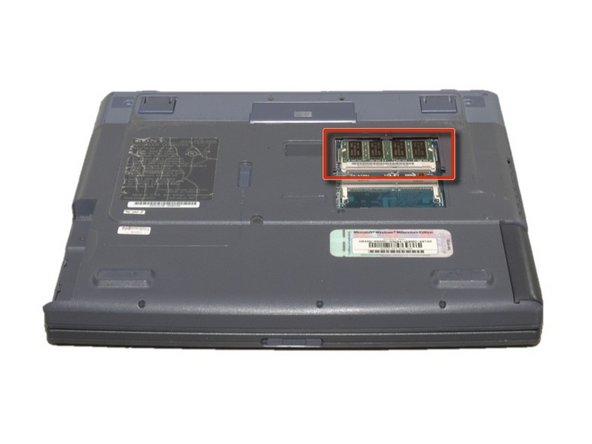
Remove the 4mm Phillips screw that holds the small panel in the center of the laptop in place.
-
Then remove the panel covering the RAM.
-
The RAM should now be visible.
-
-
Questo passaggio è privo di traduzione. Aiuta a tradurlo
-
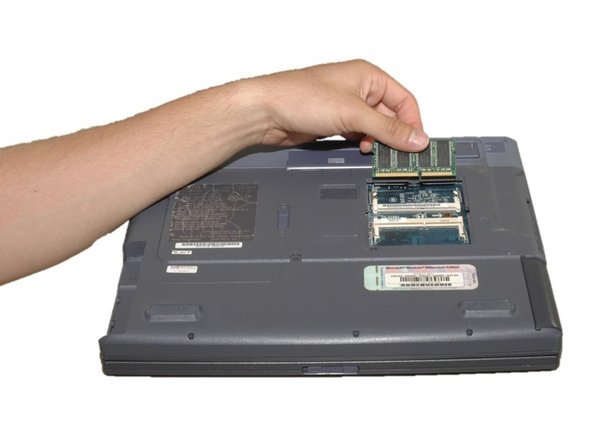
Release the plastic switches on each side of the stick of RAM.
-
Carefully slide the stick of RAM out at an angle.
-


Annulla: non ho completato questa guida.
Un'altra persona ha completato questa guida.

Team

Cal Poly, Team 12-36, Maness Spring 2011 Membro di Cal Poly, Team 12-36, Maness Spring 2011
CPSU-MANESS-S11S12G36
4 Membri
16 Guide realizzate