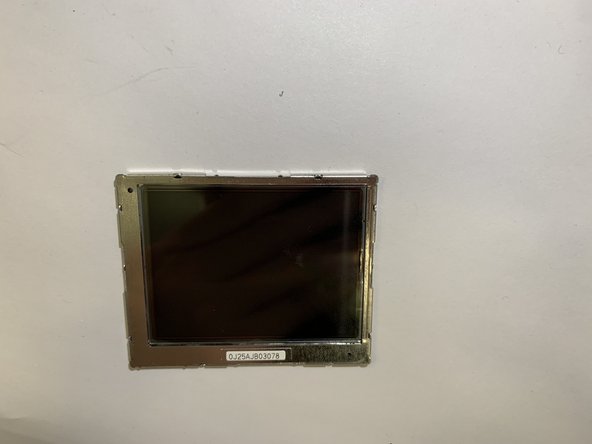
Salta al contenuto principale

Sony Mavica MVC-CD1000 LCD Screen Replacement

Cosa ti serve

  1. Sony Mavica MVC-CD1000 LCD Screen Replacement, LCD Screen: passo 1, immagine 1 di 2 Sony Mavica MVC-CD1000 LCD Screen Replacement, LCD Screen: passo 1, immagine 2 di 2
    • Gently open this panel using a plastic opening tool or your hands.

  2. Sony Mavica MVC-CD1000 LCD Screen Replacement: passo 2, immagine 1 di 3 Sony Mavica MVC-CD1000 LCD Screen Replacement: passo 2, immagine 2 di 3 Sony Mavica MVC-CD1000 LCD Screen Replacement: passo 2, immagine 3 di 3
    • Use the suction cup to remove the cover and pull it out of the device.

  3. Sony Mavica MVC-CD1000 LCD Screen Replacement: passo 3, immagine 1 di 3 Sony Mavica MVC-CD1000 LCD Screen Replacement: passo 3, immagine 2 di 3 Sony Mavica MVC-CD1000 LCD Screen Replacement: passo 3, immagine 3 di 3
    • Loosen and remove the screws using the screwdriver and locate the LCD board as shown in the photos.

  4. Sony Mavica MVC-CD1000 LCD Screen Replacement: passo 4, immagine 1 di 3 Sony Mavica MVC-CD1000 LCD Screen Replacement: passo 4, immagine 2 di 3 Sony Mavica MVC-CD1000 LCD Screen Replacement: passo 4, immagine 3 di 3
    • Remove the motherboard by pulling up the panel and remove the LCD screen from the device.

Conclusione

To reassemble your device, follow these instructions in reverse order.

0Commenti sulla guida

Aggiungi Commento

Visualizza Statistiche:

Ultime 24 Ore: 0

Ultimi 7 Giorni: 2

Ultimi 30 Giorni: 11

Tutti i Tempi: 522