Introduzione
Use this guide to help you remove the broken or defected motherboard in your Sony Handycam HDR-Cx220.
Cosa ti serve
-
-
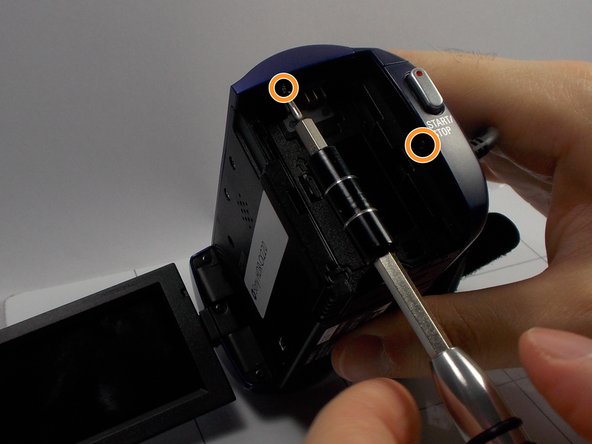
Use the Phillips #0 screwdriver to remove the two 5mm screws.
-
Use the Phillips #0 screwdriver to remove the two 5mm screws.
-
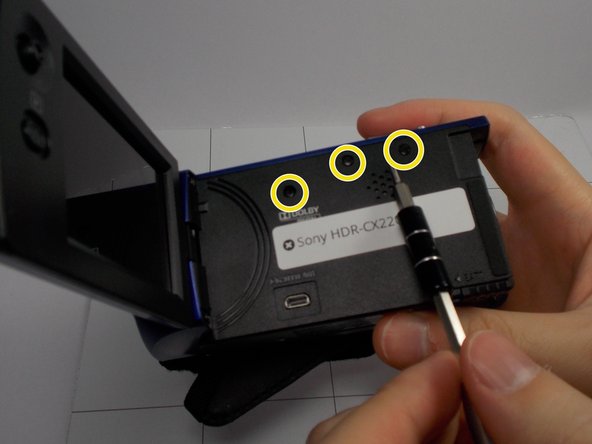
Use the Phillips #0 screwdriver to remove the three 5mm screws.
-
-
-
-
Use the Phillips #0 Screwdriver to remove the 5mm screw
-
Use the Phillips #0 Screwdriver to remove the 5mm screw
-
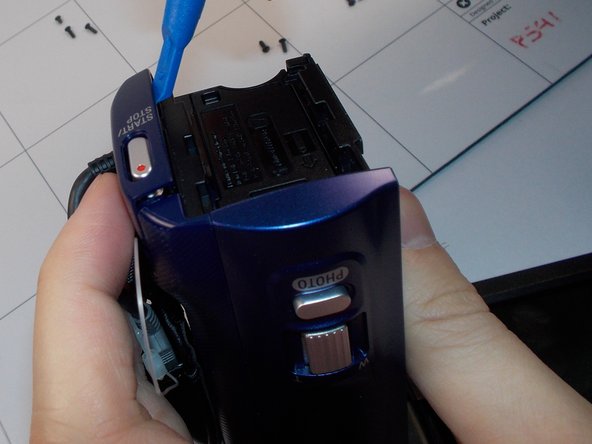
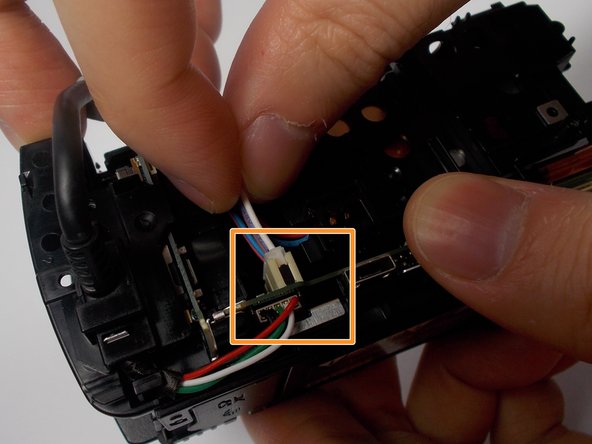
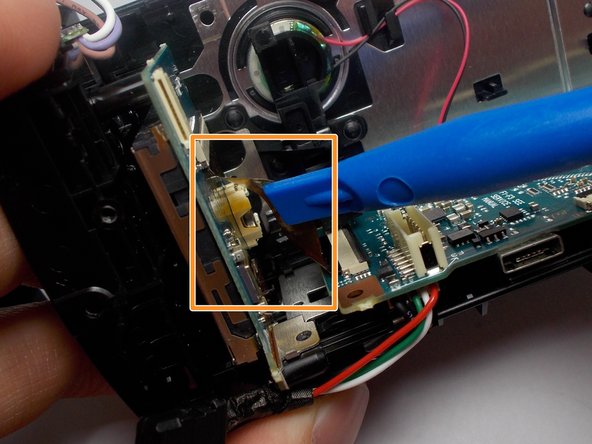
Use the Plastic Opening tools to unhook the highlighted area.
-
-
-
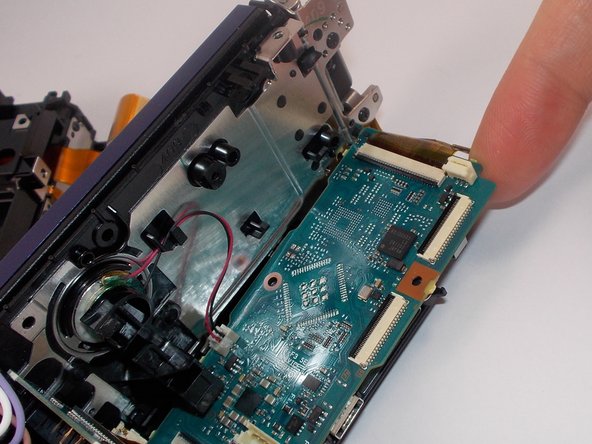
Use the Phillips #0 Screwdriver to remove the shown 5mm screws.
-
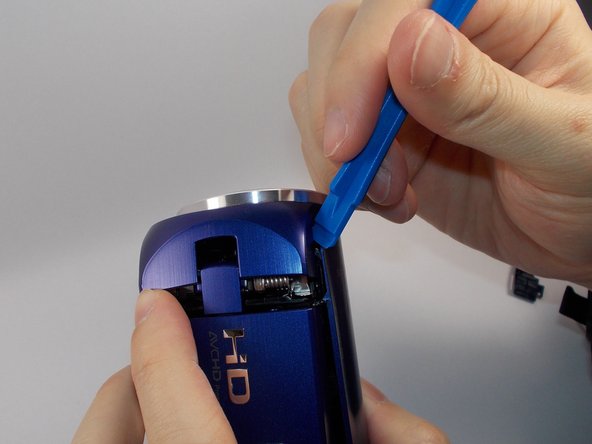
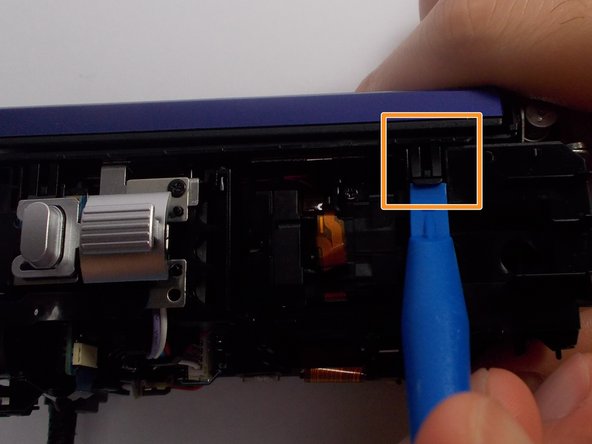
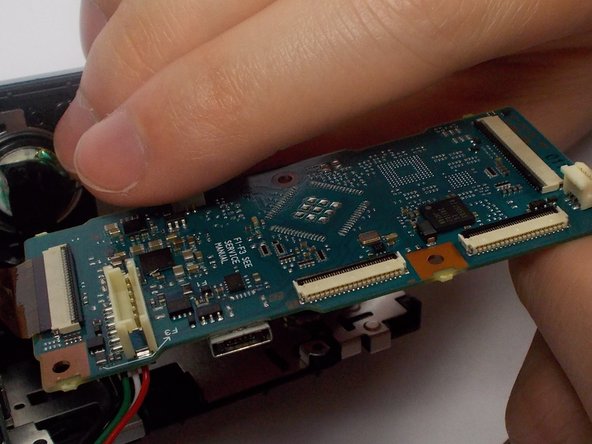
Use the plastic opening tool to release the front hook.
-
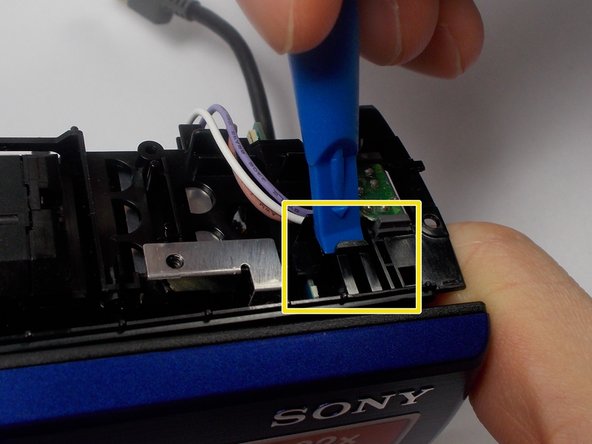
Use the plastic opening tool to release the back hook.
-


To reassemble your device, follow these instructions in reverse order.
To reassemble your device, follow these instructions in reverse order.
Annulla: non ho completato questa guida.
Un'altra persona ha completato questa guida.
Team

UMass Dartmouth, Team 8-5, Botvin Spring 2016 Membro di UMass Dartmouth, Team 8-5, Botvin Spring 2016
UMASSD-BOTVIN-S16S8G5
3 Membri
12 Guide realizzate