Salta al contenuto principale

Sony Cyber-shot DSC-TX7 LCD Screen Replacement

Cosa ti serve

  1. Sony Cyber-shot DSC-TX7 LCD Screen Replacement, Battery: passo 1, immagine 1 di 2 Sony Cyber-shot DSC-TX7 LCD Screen Replacement, Battery: passo 1, immagine 2 di 2
    • The battery compartment is located on the bottom of camera.

    • Move the slider from the 'lock' position to the 'open' position.

  2. Sony Cyber-shot DSC-TX7 LCD Screen Replacement: passo 2, immagine 1 di 3 Sony Cyber-shot DSC-TX7 LCD Screen Replacement: passo 2, immagine 2 di 3 Sony Cyber-shot DSC-TX7 LCD Screen Replacement: passo 2, immagine 3 di 3
    • Battery not shown.

    • Pull battery from compartment.

    • Insert newly charged battery into compartment, as shown in diagram (located in compartment).

    • Shut compartment door.

    • Move the slider back to the 'lock' position.

  3. Sony Cyber-shot DSC-TX7 LCD Screen Replacement, Front Cover: passo 3, immagine 1 di 1
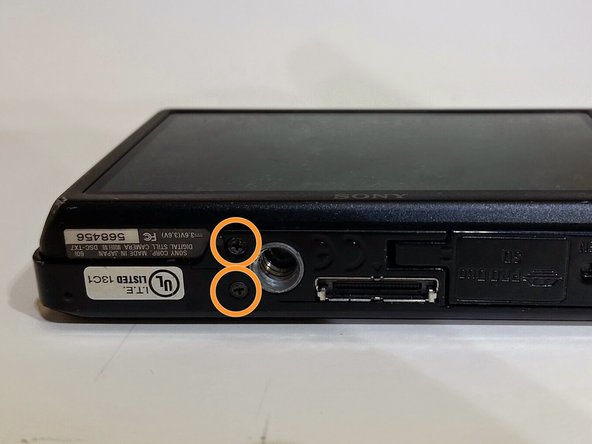
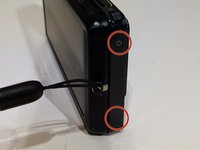
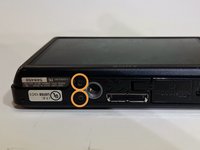
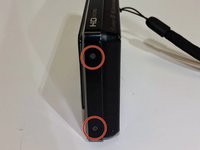
    • Use the Phillips #00 screwdriver to remove the 4mm length screws. There are 6 screws total.

  4. Sony Cyber-shot DSC-TX7 LCD Screen Replacement: passo 4, immagine 1 di 3 Sony Cyber-shot DSC-TX7 LCD Screen Replacement: passo 4, immagine 2 di 3 Sony Cyber-shot DSC-TX7 LCD Screen Replacement: passo 4, immagine 3 di 3
    • The 4 mm length screws are located on each side and on the bottom of the camera.

    • 2 screws on each side (4 total).

    • 2 screws on bottom.

  5. Sony Cyber-shot DSC-TX7 LCD Screen Replacement: passo 5, immagine 1 di 1
    • Gently pry around the front cover using the plastic opening tool.

    • Carefully separate front cover from body of camera.

  6. Sony Cyber-shot DSC-TX7 LCD Screen Replacement: passo 6, immagine 1 di 1
    • The front cover is now removed from the camera and the internal hardware is now visible.

    • They front cover will still be connected by a ribbon. Be careful not to break the ribbon.

  7. Sony Cyber-shot DSC-TX7 LCD Screen Replacement, Back Cover: passo 7, immagine 1 di 1
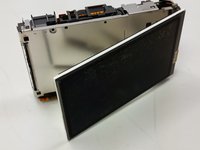
    • This is the camera with the front cover unscrewed and partially removed.

  8. Sony Cyber-shot DSC-TX7 LCD Screen Replacement: passo 8, immagine 1 di 2 Sony Cyber-shot DSC-TX7 LCD Screen Replacement: passo 8, immagine 2 di 2
    • Peel the black sticker from the motherboard.

    • Locate the connection ribbon between the front cover and the body of the device.

  9. Sony Cyber-shot DSC-TX7 LCD Screen Replacement: passo 9, immagine 1 di 2 Sony Cyber-shot DSC-TX7 LCD Screen Replacement: passo 9, immagine 2 di 2
    • Pull the ribbon out of the connection port so that they are completely disconnected.

  10. Sony Cyber-shot DSC-TX7 LCD Screen Replacement: passo 10, immagine 1 di 2 Sony Cyber-shot DSC-TX7 LCD Screen Replacement: passo 10, immagine 2 di 2
    • Use the plastic opening tool to separate the back cover from the inner hardware.

    • Continue until back cover can be pulled away from inner hardware.

  11. Sony Cyber-shot DSC-TX7 LCD Screen Replacement: passo 11, immagine 1 di 2 Sony Cyber-shot DSC-TX7 LCD Screen Replacement: passo 11, immagine 2 di 2
    • Remove the back cover so that the back cover is now completely separate from the body of the device.

  12. Sony Cyber-shot DSC-TX7 LCD Screen Replacement, LCD Screen: passo 12, immagine 1 di 3 Sony Cyber-shot DSC-TX7 LCD Screen Replacement, LCD Screen: passo 12, immagine 2 di 3 Sony Cyber-shot DSC-TX7 LCD Screen Replacement, LCD Screen: passo 12, immagine 3 di 3
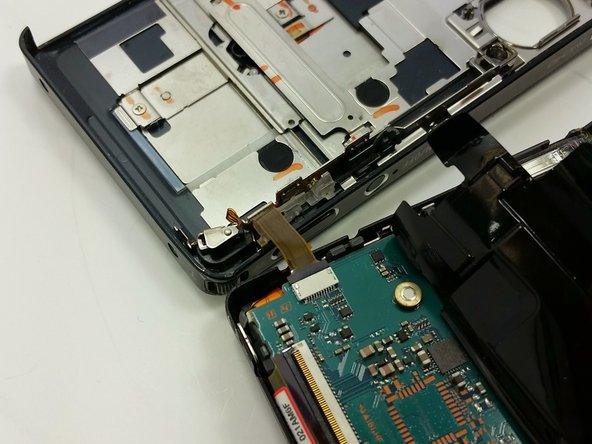
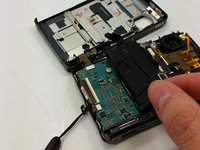
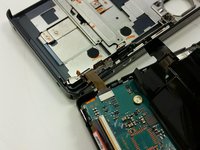
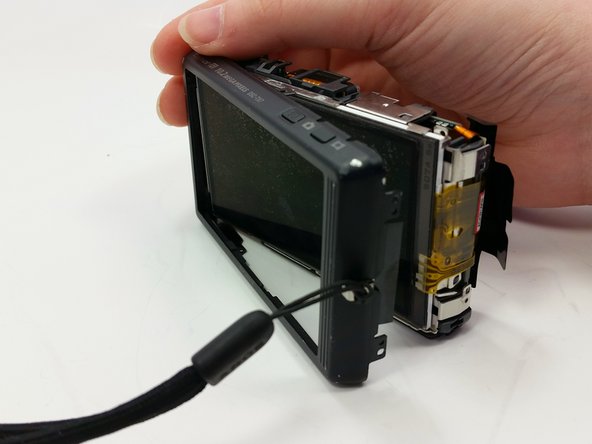
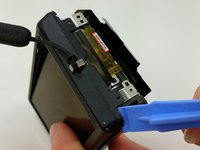
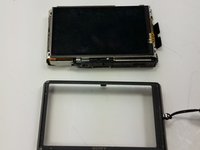
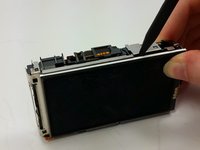
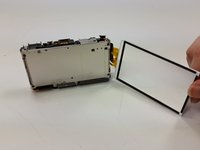
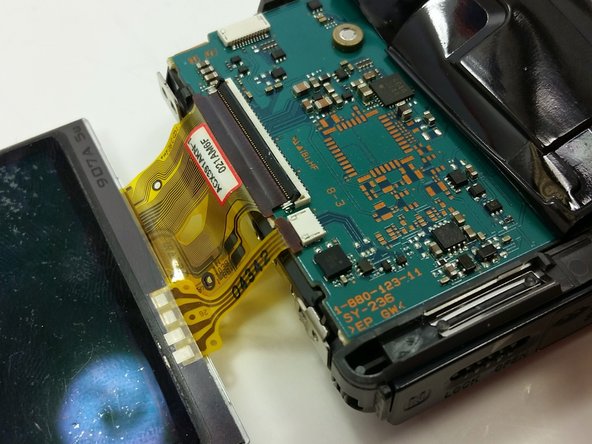
    • Pry the LCD screen using the spudger from the back of the camera.

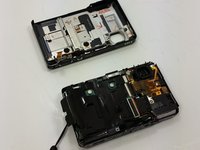
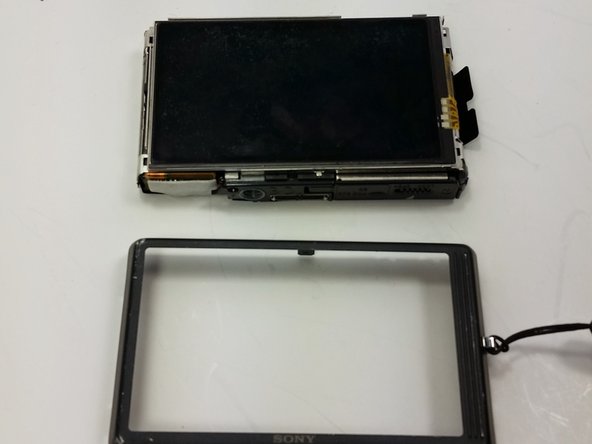
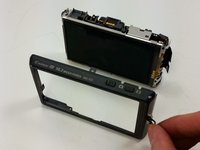
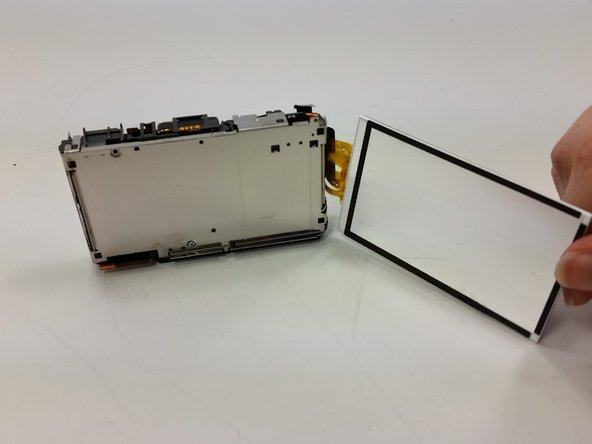
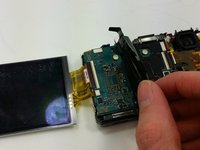
    • Flip screen away from body of device.

  13. Sony Cyber-shot DSC-TX7 LCD Screen Replacement: passo 13, immagine 1 di 1
    • Lay the camera as shown, so that screen and camera body are next to each other, connected by the yellow ribbon.

    • Peel back the black sticker covering the motherboard.

  14. Sony Cyber-shot DSC-TX7 LCD Screen Replacement: passo 14, immagine 1 di 2 Sony Cyber-shot DSC-TX7 LCD Screen Replacement: passo 14, immagine 2 di 2
    • Locate the yellow ribbon's connection port.

    • Flip the black bar holding the ribbon in place toward the body of the camera.

  15. Sony Cyber-shot DSC-TX7 LCD Screen Replacement: passo 15, immagine 1 di 1
    • Pull the yellow ribbon out of the connection port.

    • The LCD screen is now separate from the body of the device.

Conclusione

To reassemble your device, follow these instructions in reverse order.

Team

2 Commenti

Very nice guide... Could you provide a dealer where it is possible to find spare parts for Sony cameras?

serhatturkmen - Replica

where can I find a new screen?

John Price - Replica

Aggiungi Commento

Visualizza Statistiche:

Ultime 24 Ore: 0

Ultimi 7 Giorni: 9

Ultimi 30 Giorni: 35

Tutti i Tempi: 1,209