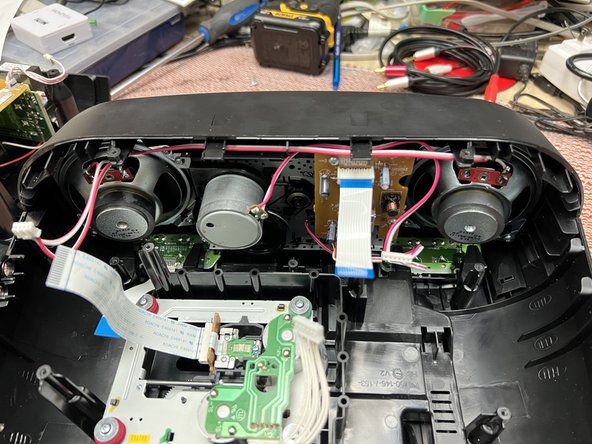
Salta al contenuto principale

Sony CFD-S70 Disassembly

Cosa ti serve

  1. Sony CFD-S70 Disassembly, Remove the bottom screws: passo 1, immagine 1 di 3 Sony CFD-S70 Disassembly, Remove the bottom screws: passo 1, immagine 2 di 3 Sony CFD-S70 Disassembly, Remove the bottom screws: passo 1, immagine 3 di 3
    • Using a PH2 screwdriver, remove the 5 screws in the holes

    • Don’t forget to remove the two screws circled in green

    • The hole screws can be difficult to remove. Don’t forget to use a magnetized screwdriver

    • The antenna screws can be ignored for now. It’s not important for the disassembly

  2. Sony CFD-S70 Disassembly, Remove the top screws: passo 2, immagine 1 di 3 Sony CFD-S70 Disassembly, Remove the top screws: passo 2, immagine 2 di 3 Sony CFD-S70 Disassembly, Remove the top screws: passo 2, immagine 3 di 3
    • Open the CD cover and remove the two screws using a PH0 screwdriver

    • Move the handle up to unscrew the hole screws using a PH2 screwdriver

    • Be careful around the optical pickup (the small lense)

  3. Sony CFD-S70 Disassembly, Opening the device: passo 3, immagine 1 di 2 Sony CFD-S70 Disassembly, Opening the device: passo 3, immagine 2 di 2
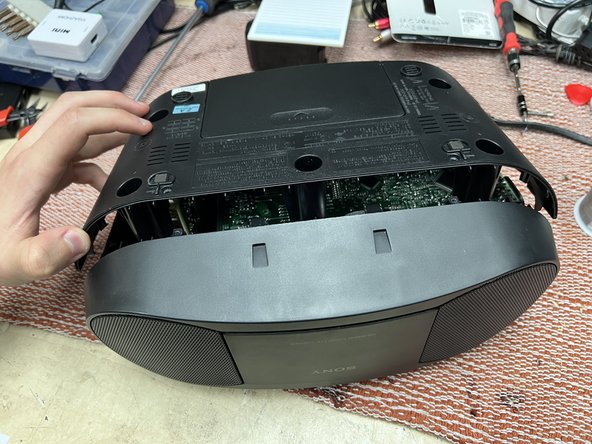
    • Turn the device on his back and pull back and up the bottom portion of the device

    • There’s a connector attached, be careful

  4. Sony CFD-S70 Disassembly, Removing a cable: passo 4, immagine 1 di 1
    • Be careful, the connector is fragile

  5. Sony CFD-S70 Disassembly, Removing and unplugging the main: passo 5, immagine 1 di 3 Sony CFD-S70 Disassembly, Removing and unplugging the main: passo 5, immagine 2 di 3 Sony CFD-S70 Disassembly, Removing and unplugging the main: passo 5, immagine 3 di 3
    • Remove the two screws with a PH2

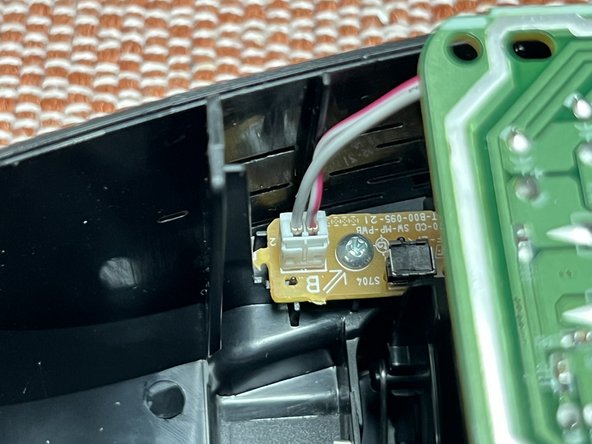
    • Remove the connector on the left side of the mainboard

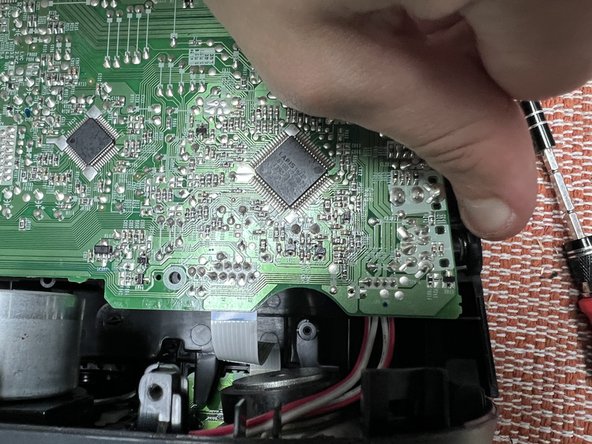
    • Stress the right side where there’s the audio connections and pull the main by the left

  6. Sony CFD-S70 Disassembly, Disconnecting connectors: passo 6, immagine 1 di 2 Sony CFD-S70 Disassembly, Disconnecting connectors: passo 6, immagine 2 di 2
    • On the bottom of the main, gently disconnect the connector

    • This connector is VERY fragile. Use something to hold it in place

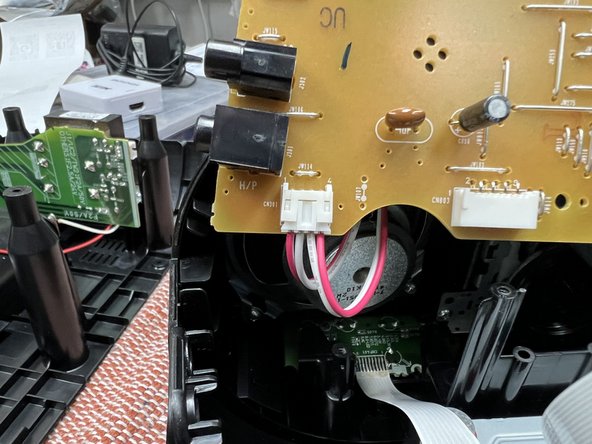
    • Like the connector, remove the Flex cable from the main

    • Also use caution while removing it. It can break/cut very easily

  7. Sony CFD-S70 Disassembly, Disconnecting connectors: passo 7, immagine 1 di 3 Sony CFD-S70 Disassembly, Disconnecting connectors: passo 7, immagine 2 di 3 Sony CFD-S70 Disassembly, Disconnecting connectors: passo 7, immagine 3 di 3
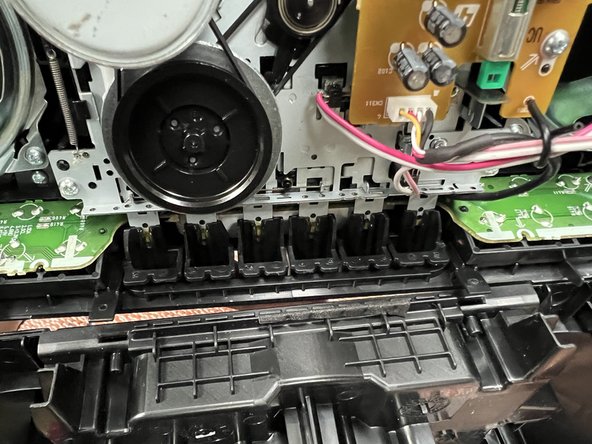
    • Carefully flip the main and disconnect like the others the cables. You can now remove the mainboard

    • Like before, they’re very fragile

  8. Sony CFD-S70 Disassembly, Removing the front: passo 8, immagine 1 di 2 Sony CFD-S70 Disassembly, Removing the front: passo 8, immagine 2 di 2
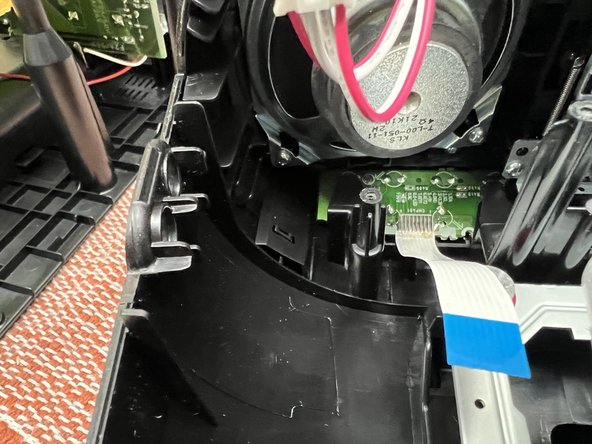
    • Now it’s time to remove the front of the device. There’s two little brackets on each side that is retaining the front

  9. Sony CFD-S70 Disassembly, Pulling the front tabs: passo 9, immagine 1 di 2 Sony CFD-S70 Disassembly, Pulling the front tabs: passo 9, immagine 2 di 2
    • Using a flat screwdriver or any other flat and thin tool, pry the outside tabs working your way down and pull the front from the top of the device

    • There’s two little tabs with screw holes. Be careful not to damage them

Conclusione

To reassemble your device, follow these instructions in reverse order. Have fun :D

Maxence Chartre

Membro da: 05/23/21

170 Reputazione

1 Guida realizzata

0 Commenti

Aggiungi Commento

Visualizza Statistiche:

Ultime 24 Ore: 1

Ultimi 7 Giorni: 7

Ultimi 30 Giorni: 30

Tutti i Tempi: 145