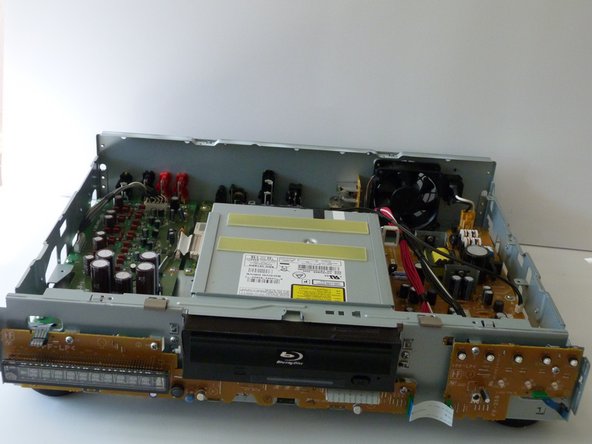
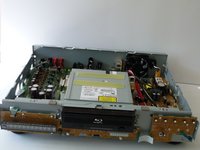
Salta al contenuto principale

Sony BDP-S1 Button Replacement

Cosa ti serve

  1. Sony BDP-S1 Button Replacement, Sony BDP-S1: Getting inside the device: passo 1, immagine 1 di 2 Sony BDP-S1 Button Replacement, Sony BDP-S1: Getting inside the device: passo 1, immagine 2 di 2
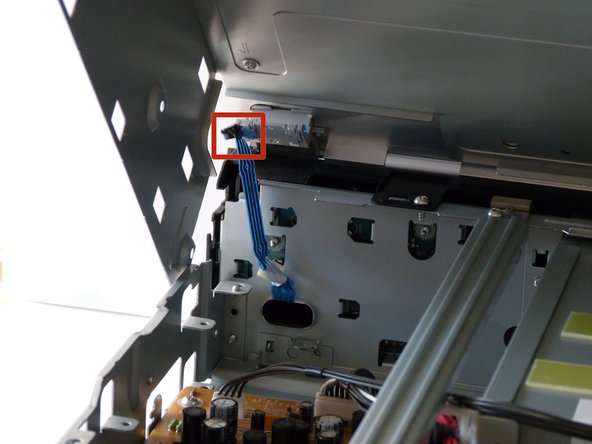
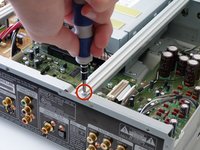
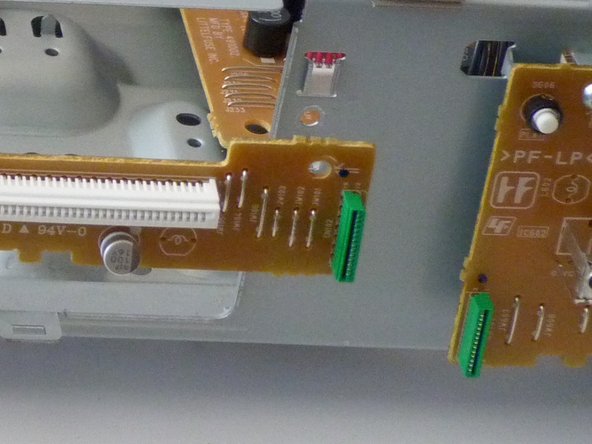
    • Remove the 12mm screws with the Philips #2 screwdriver which keep the plastic panels in place.

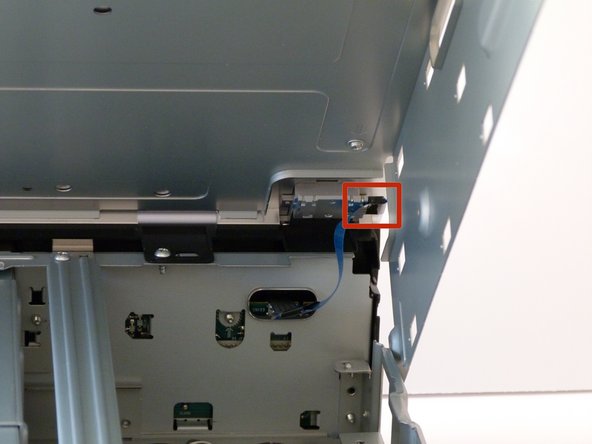
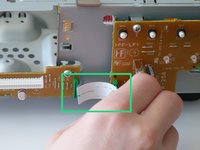
    • Don't forget, there are two more 12mm screws on the other side as well.

  2. Sony BDP-S1 Button Replacement: passo 2, immagine 1 di 3 Sony BDP-S1 Button Replacement: passo 2, immagine 2 di 3 Sony BDP-S1 Button Replacement: passo 2, immagine 3 di 3
    • First, remove the three 12mm black screws holding the top panel on (Phillips #2).

    • Then, remove the two 12mm black screws - one on each side of the back of the device - holding the top panel on.

    • Lastly, remove the three 12mm black screws on each side of device.

  3. Sony BDP-S1 Button Replacement: passo 3, immagine 1 di 3 Sony BDP-S1 Button Replacement: passo 3, immagine 2 di 3 Sony BDP-S1 Button Replacement: passo 3, immagine 3 di 3
    • Carefully lift up the top panel, because there are two blue ribbon cables that must be disconnected before removing the panel, and we do NOT want them to break.

    • After gently disconnecting the two ribbon cables (you can just pull them out with your hand), take the top off and set it to the side.

  4. Sony BDP-S1 Button Replacement: passo 4, immagine 1 di 3 Sony BDP-S1 Button Replacement: passo 4, immagine 2 di 3 Sony BDP-S1 Button Replacement: passo 4, immagine 3 di 3
    • After the top is off, you'll see that there are two metal bars that go across the top of the device.

    • Remove each bar by unscrewing the two 10mm silver screws on each end.

  5. Sony BDP-S1 Button Replacement, Front Panel Buttons: passo 5, immagine 1 di 1
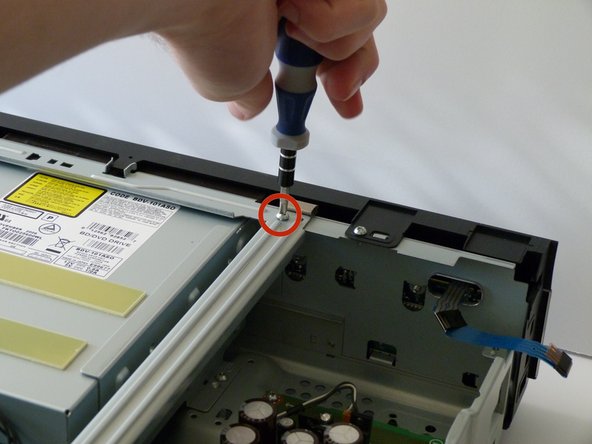
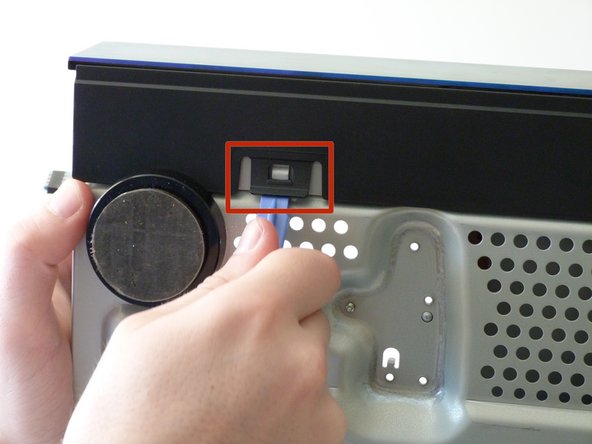
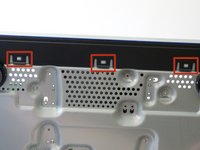
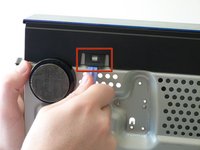
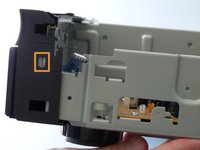
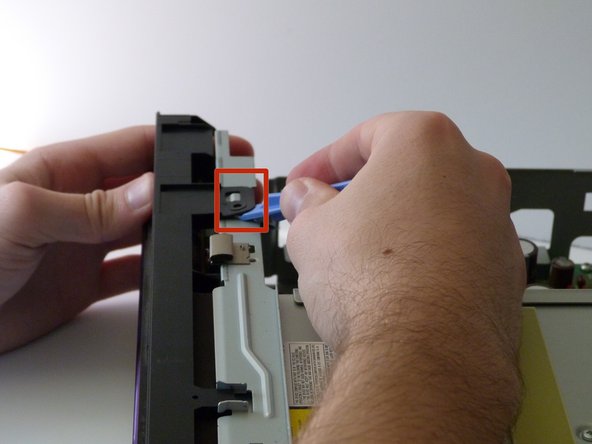
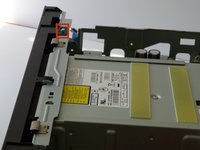
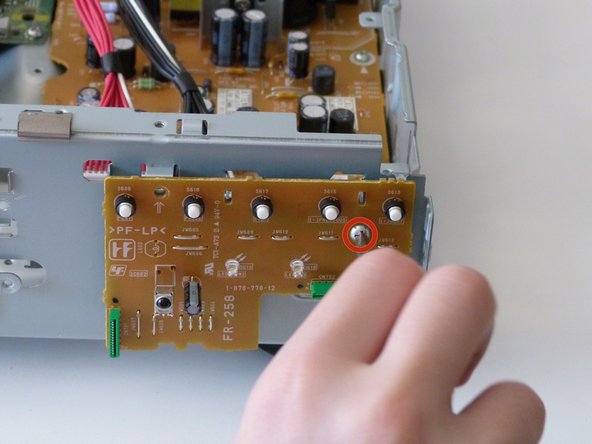
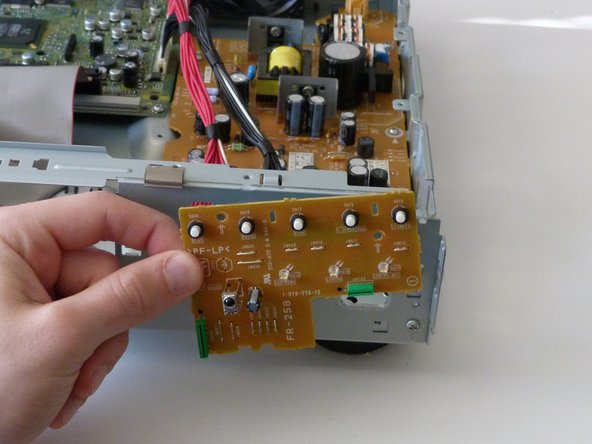
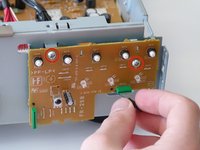
    • Now, on the front panel, you will want to remove the two 10mm screws on top of the device.

  6. Sony BDP-S1 Button Replacement: passo 6, immagine 1 di 3 Sony BDP-S1 Button Replacement: passo 6, immagine 2 di 3 Sony BDP-S1 Button Replacement: passo 6, immagine 3 di 3
    • Place your blu-ray player so that it's facing the ceiling and support it with your non-dominant hand.

    • With your screwing hand, use the plastic opening tool to gently undo the three clips on the bottom of the device.

    • Then put the device back down and undo the two clips on the side.

  7. Sony BDP-S1 Button Replacement: passo 7, immagine 1 di 3 Sony BDP-S1 Button Replacement: passo 7, immagine 2 di 3 Sony BDP-S1 Button Replacement: passo 7, immagine 3 di 3
    • On the top of the panel, use the plastic opening tool to unhook the top two clips.

    • Now the front should be detached so you can remove the front panel from the rest of the device.

  8. Sony BDP-S1 Button Replacement: passo 8, immagine 1 di 2 Sony BDP-S1 Button Replacement: passo 8, immagine 2 di 2
    • Remove the ribbon cable found on the front panel by gently pulling at the base of the cable at each end.

    • NOTE: In these photos, the disk drive is removed. You don't have to remove the disk drive during this particular guide.

  9. Sony BDP-S1 Button Replacement: passo 9, immagine 1 di 3 Sony BDP-S1 Button Replacement: passo 9, immagine 2 di 3 Sony BDP-S1 Button Replacement: passo 9, immagine 3 di 3
    • Finally, remove the two 10mm screws on the front.

    • Congratulations! You have taken out the front panel!

Conclusione

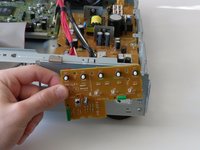
To reassemble your device, follow these instructions in reverse order.

Mac

Membro da: 01/26/14

107 Reputazione

1 Guida realizzata

Team

Cal Poly, Team 9-30, Maness Winter 2014 Membro di Cal Poly, Team 9-30, Maness Winter 2014

CPSU-MANESS-W14S9G30

3 Membri

5 Guide realizzate

0 Commenti

Aggiungi Commento

Visualizza Statistiche:

Ultime 24 Ore: 0

Ultimi 7 Giorni: 0

Ultimi 30 Giorni: 2

Tutti i Tempi: 576